These tables look like they’re just floating in the air, but they’re actually a clever demonstration of the principle of tensegrity. The principle of tensegrity originated in the nineteen fifties and is still used in the design of modern buildings and structures. The worlds largest tensegrity structure is currently the Kurilpa Bridge in Brisbane, Australia. In this guide, I’ll be showing you how to build your own tensegrity tables step by step.
Have a look at my video summary of the build and the final product, otherwise, read on for the step by step instructions.
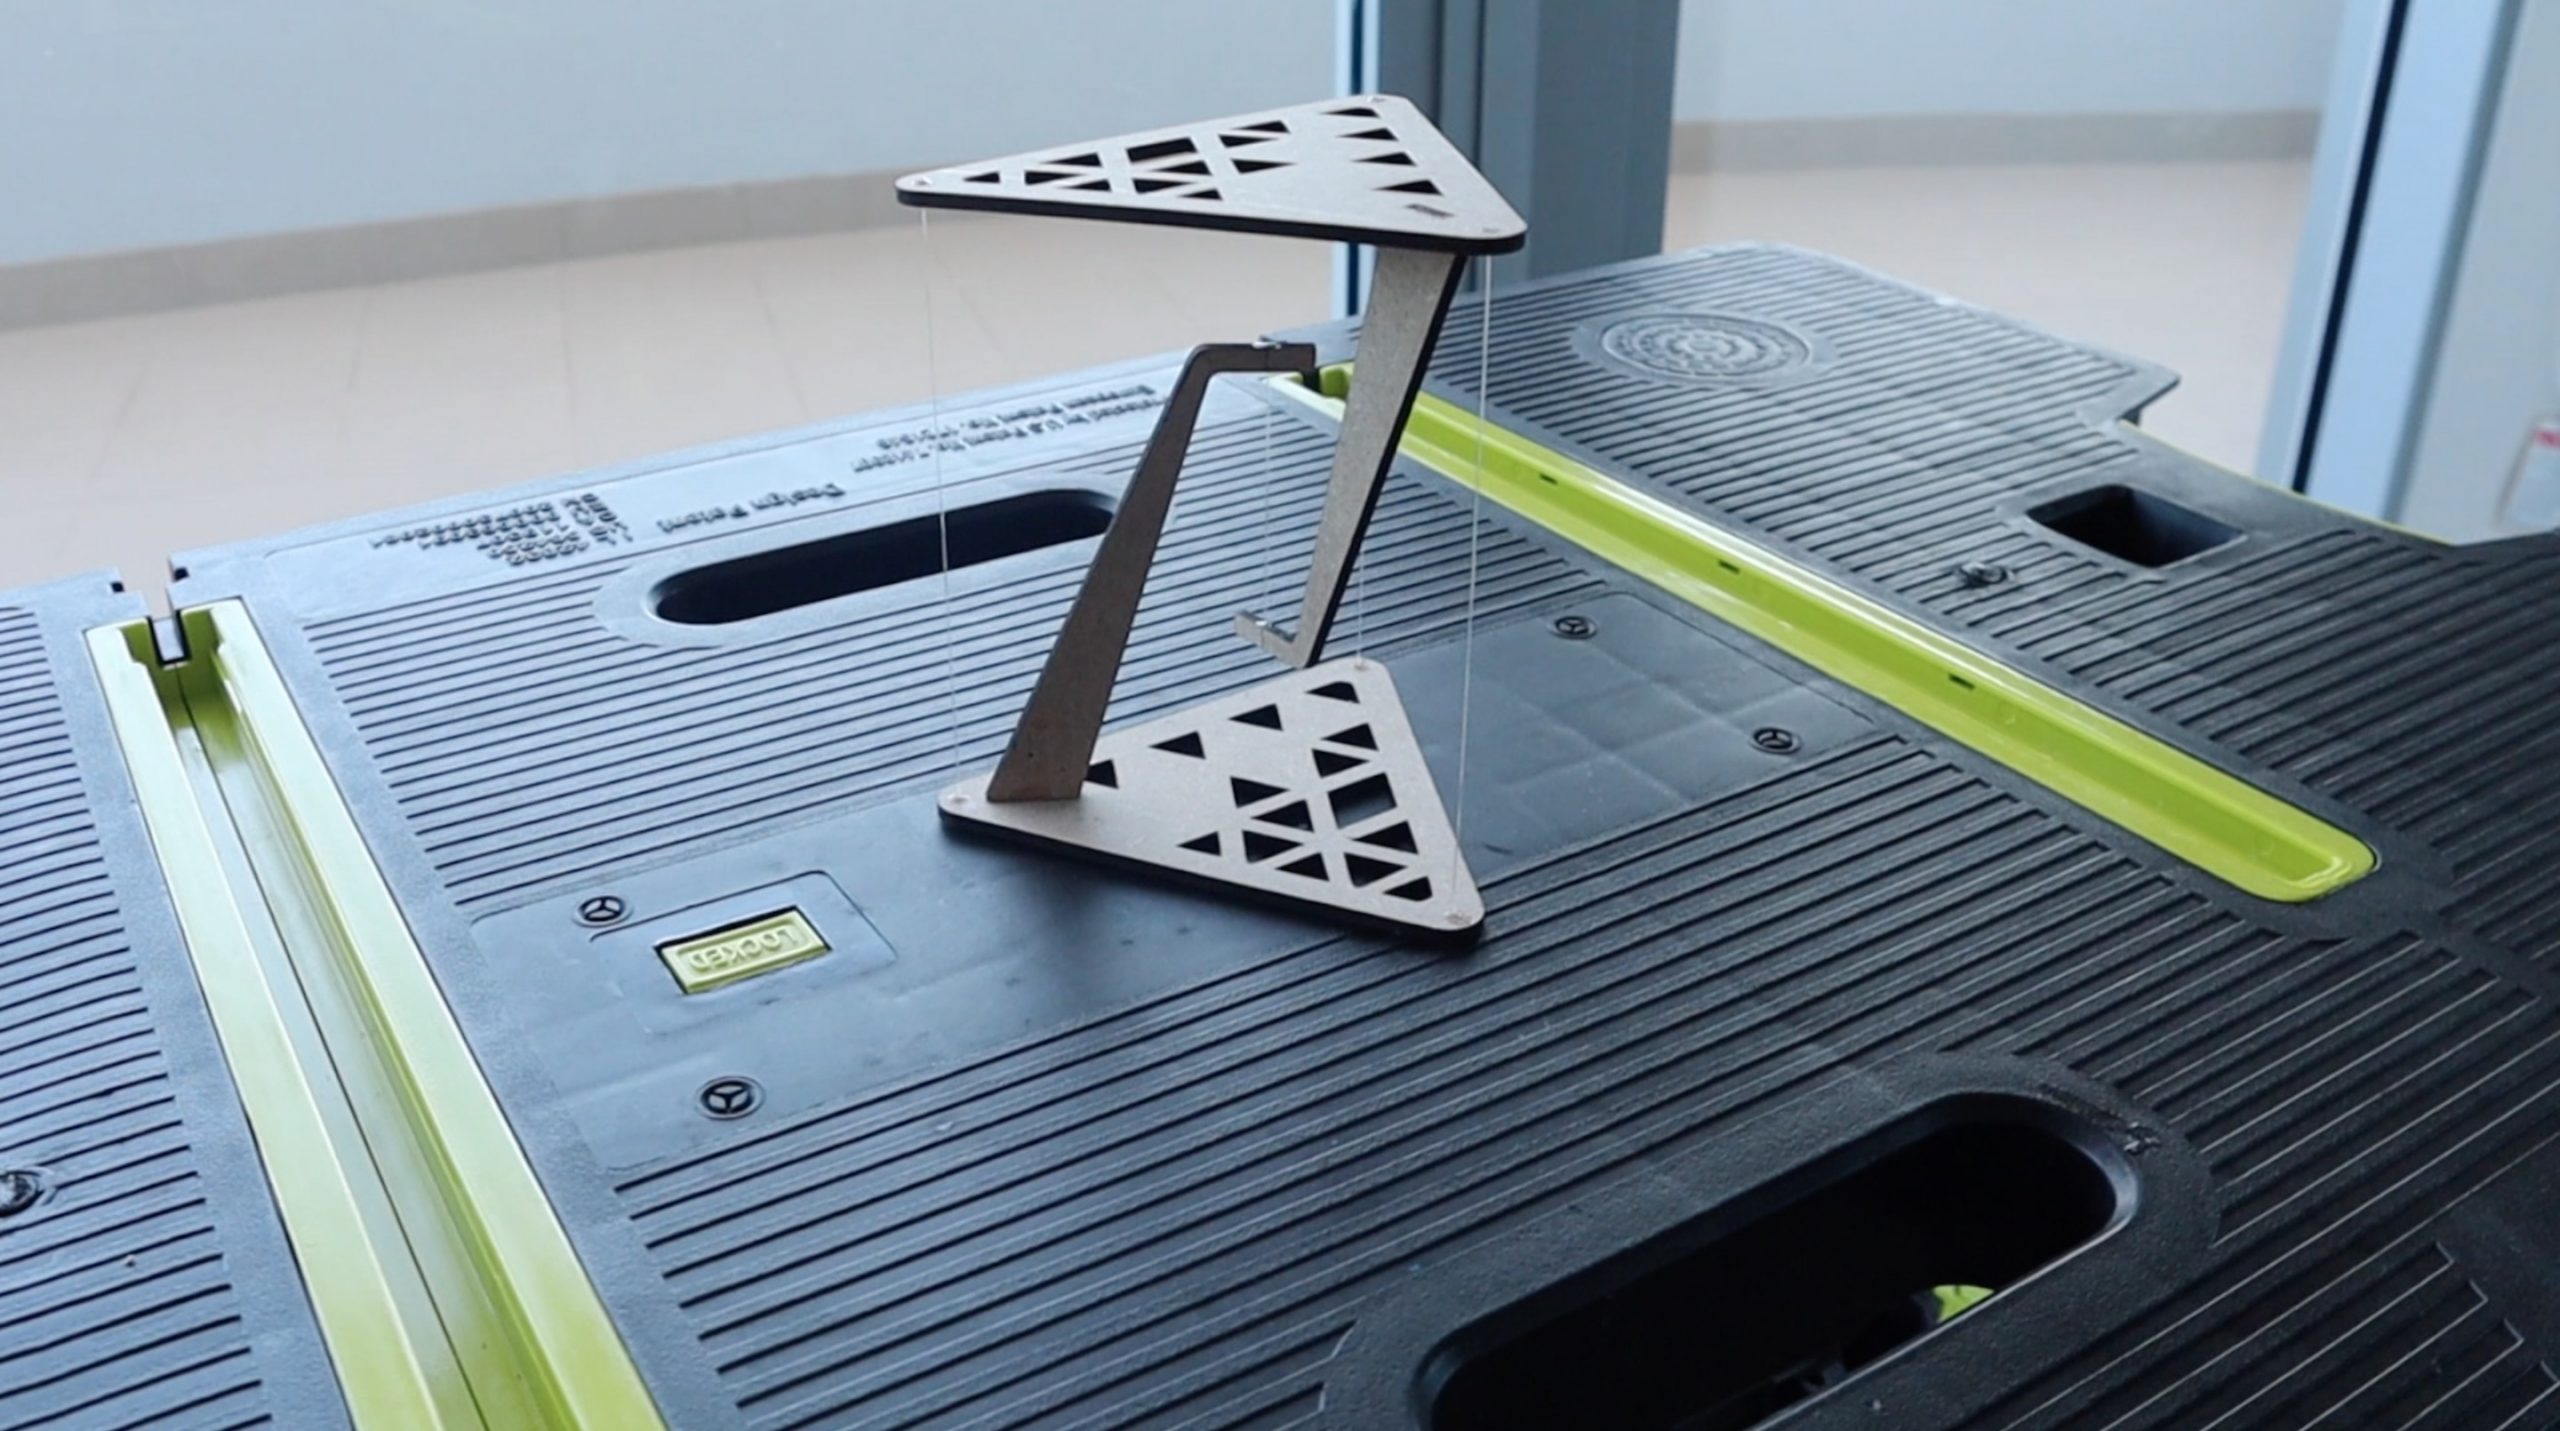
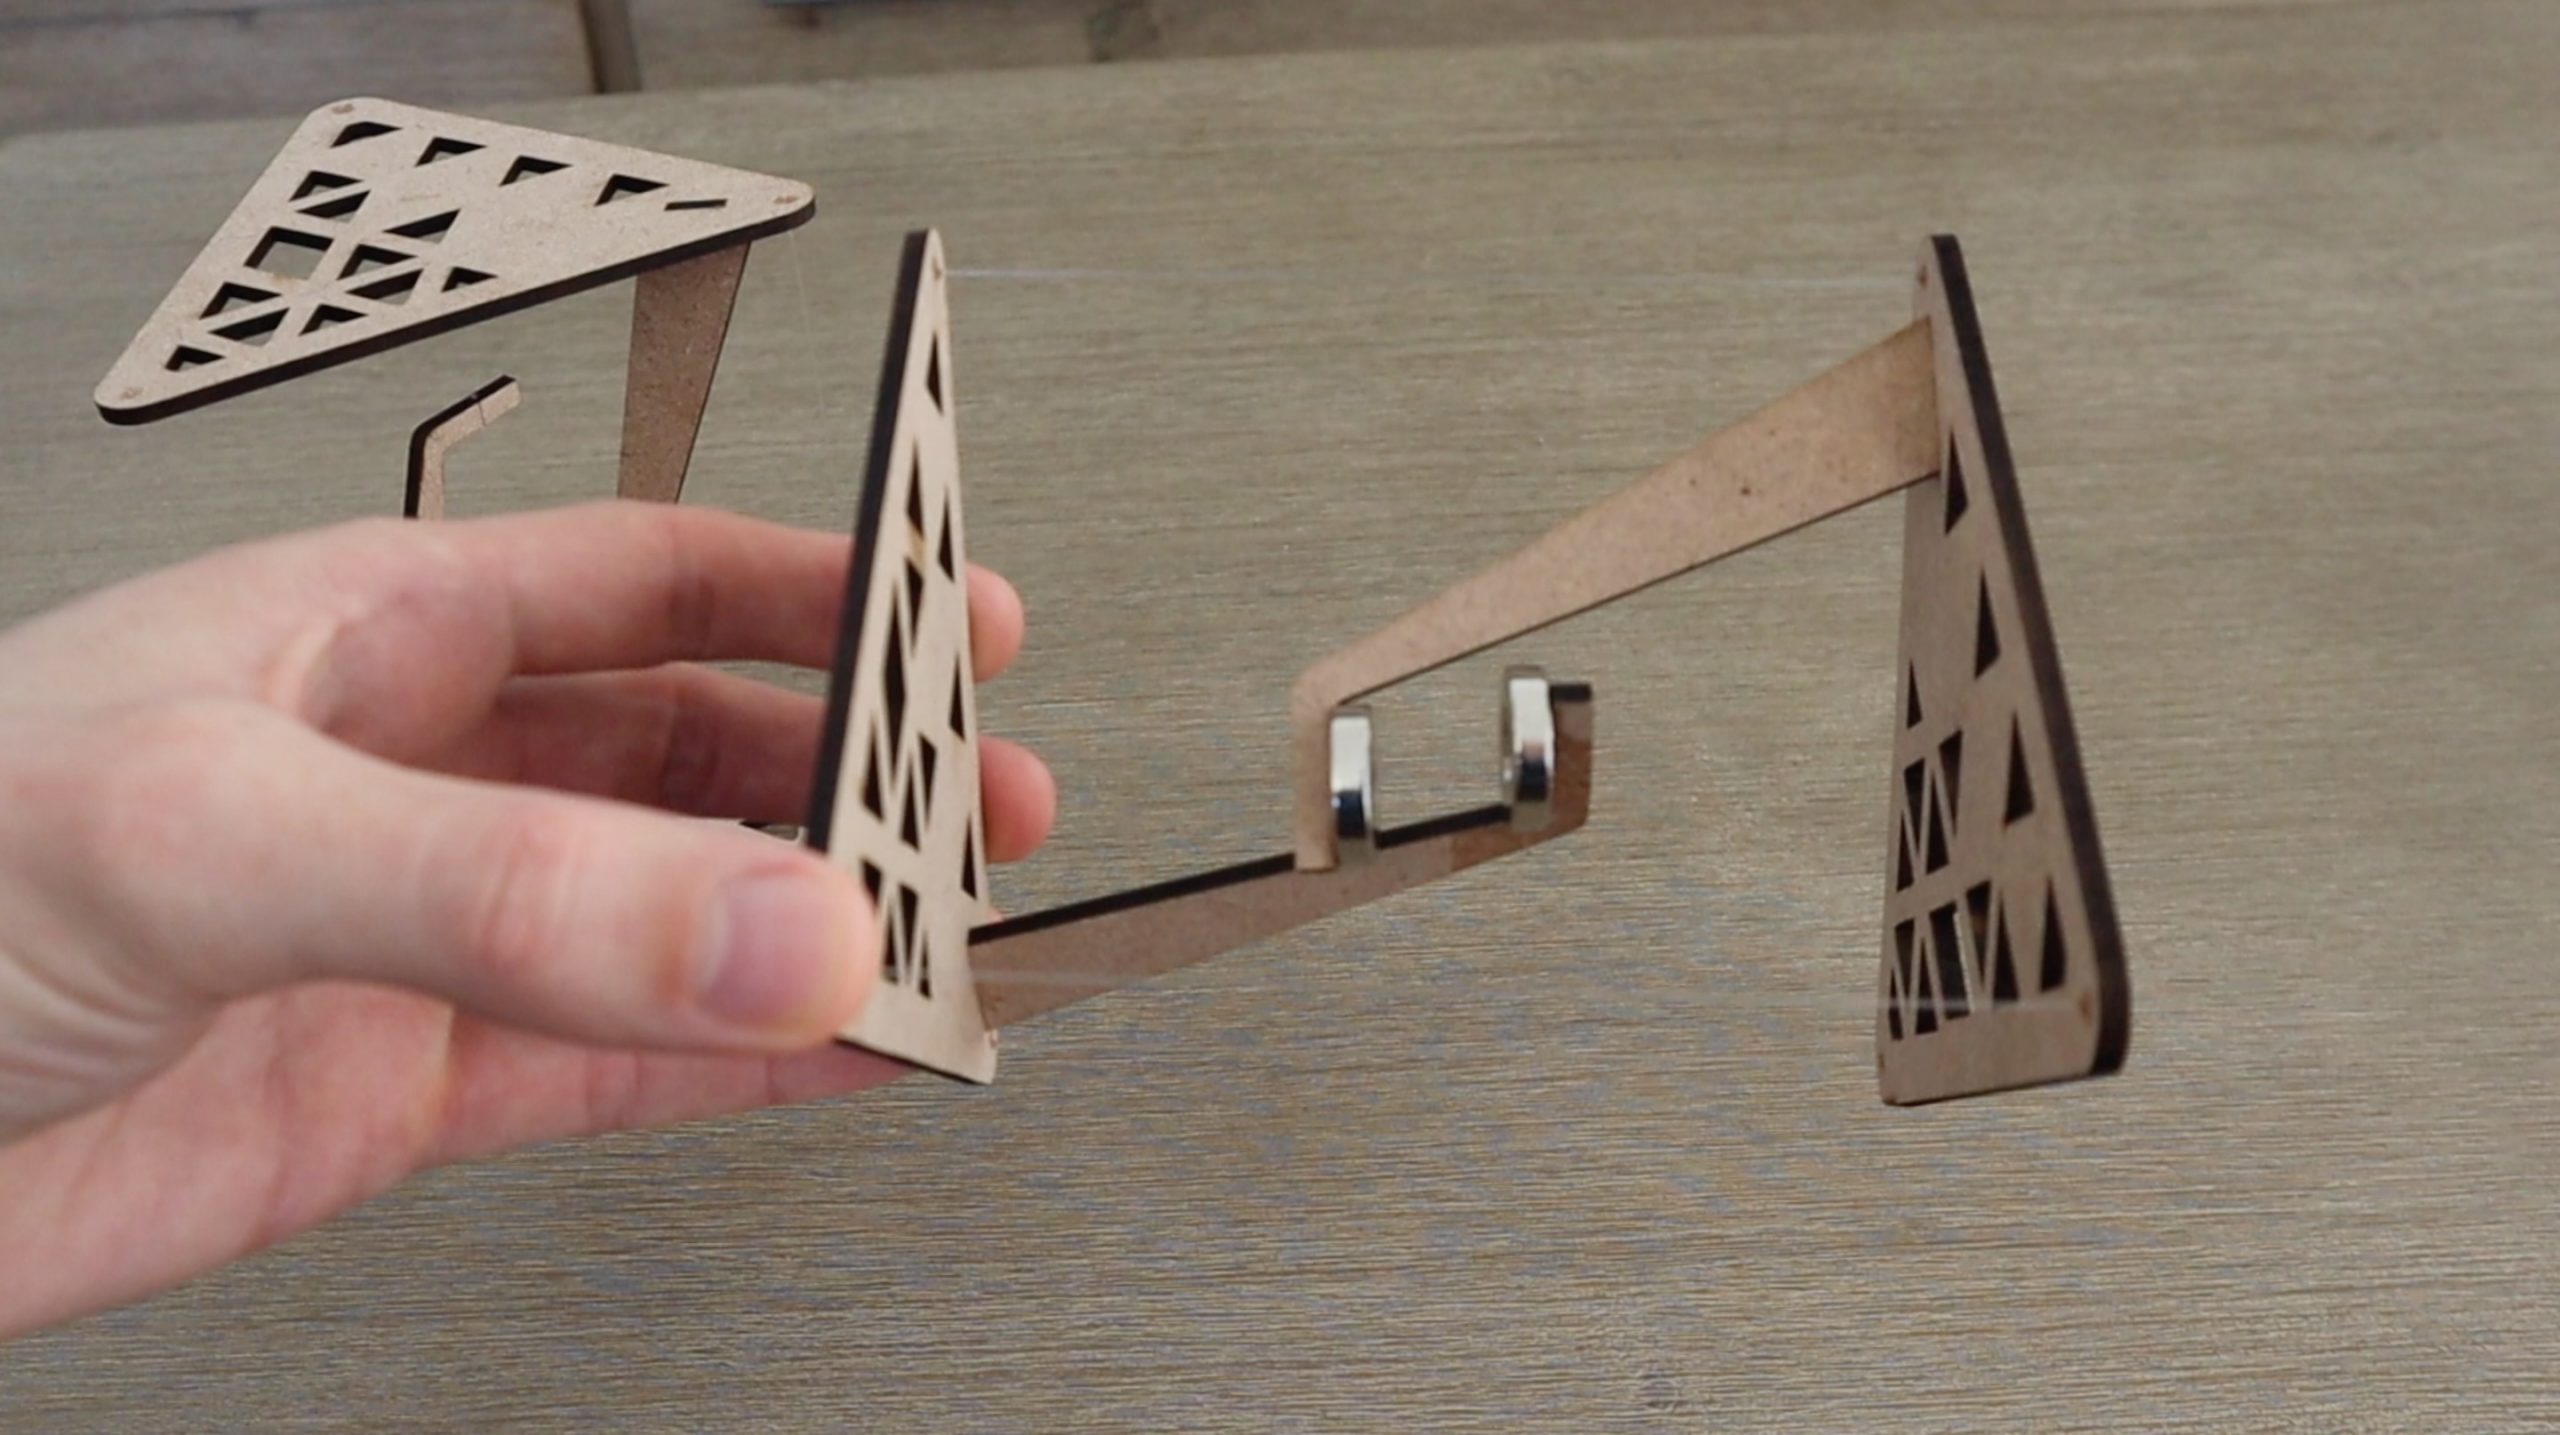
At first glance, it appears that the top surface is being supported by the three outside pieces of fishing line, which doesn’t make sense since we know that fishing line or string can’t support compressive loads. But taking a closer look, you will see that the line doing all of the work is actually the one in the centre.
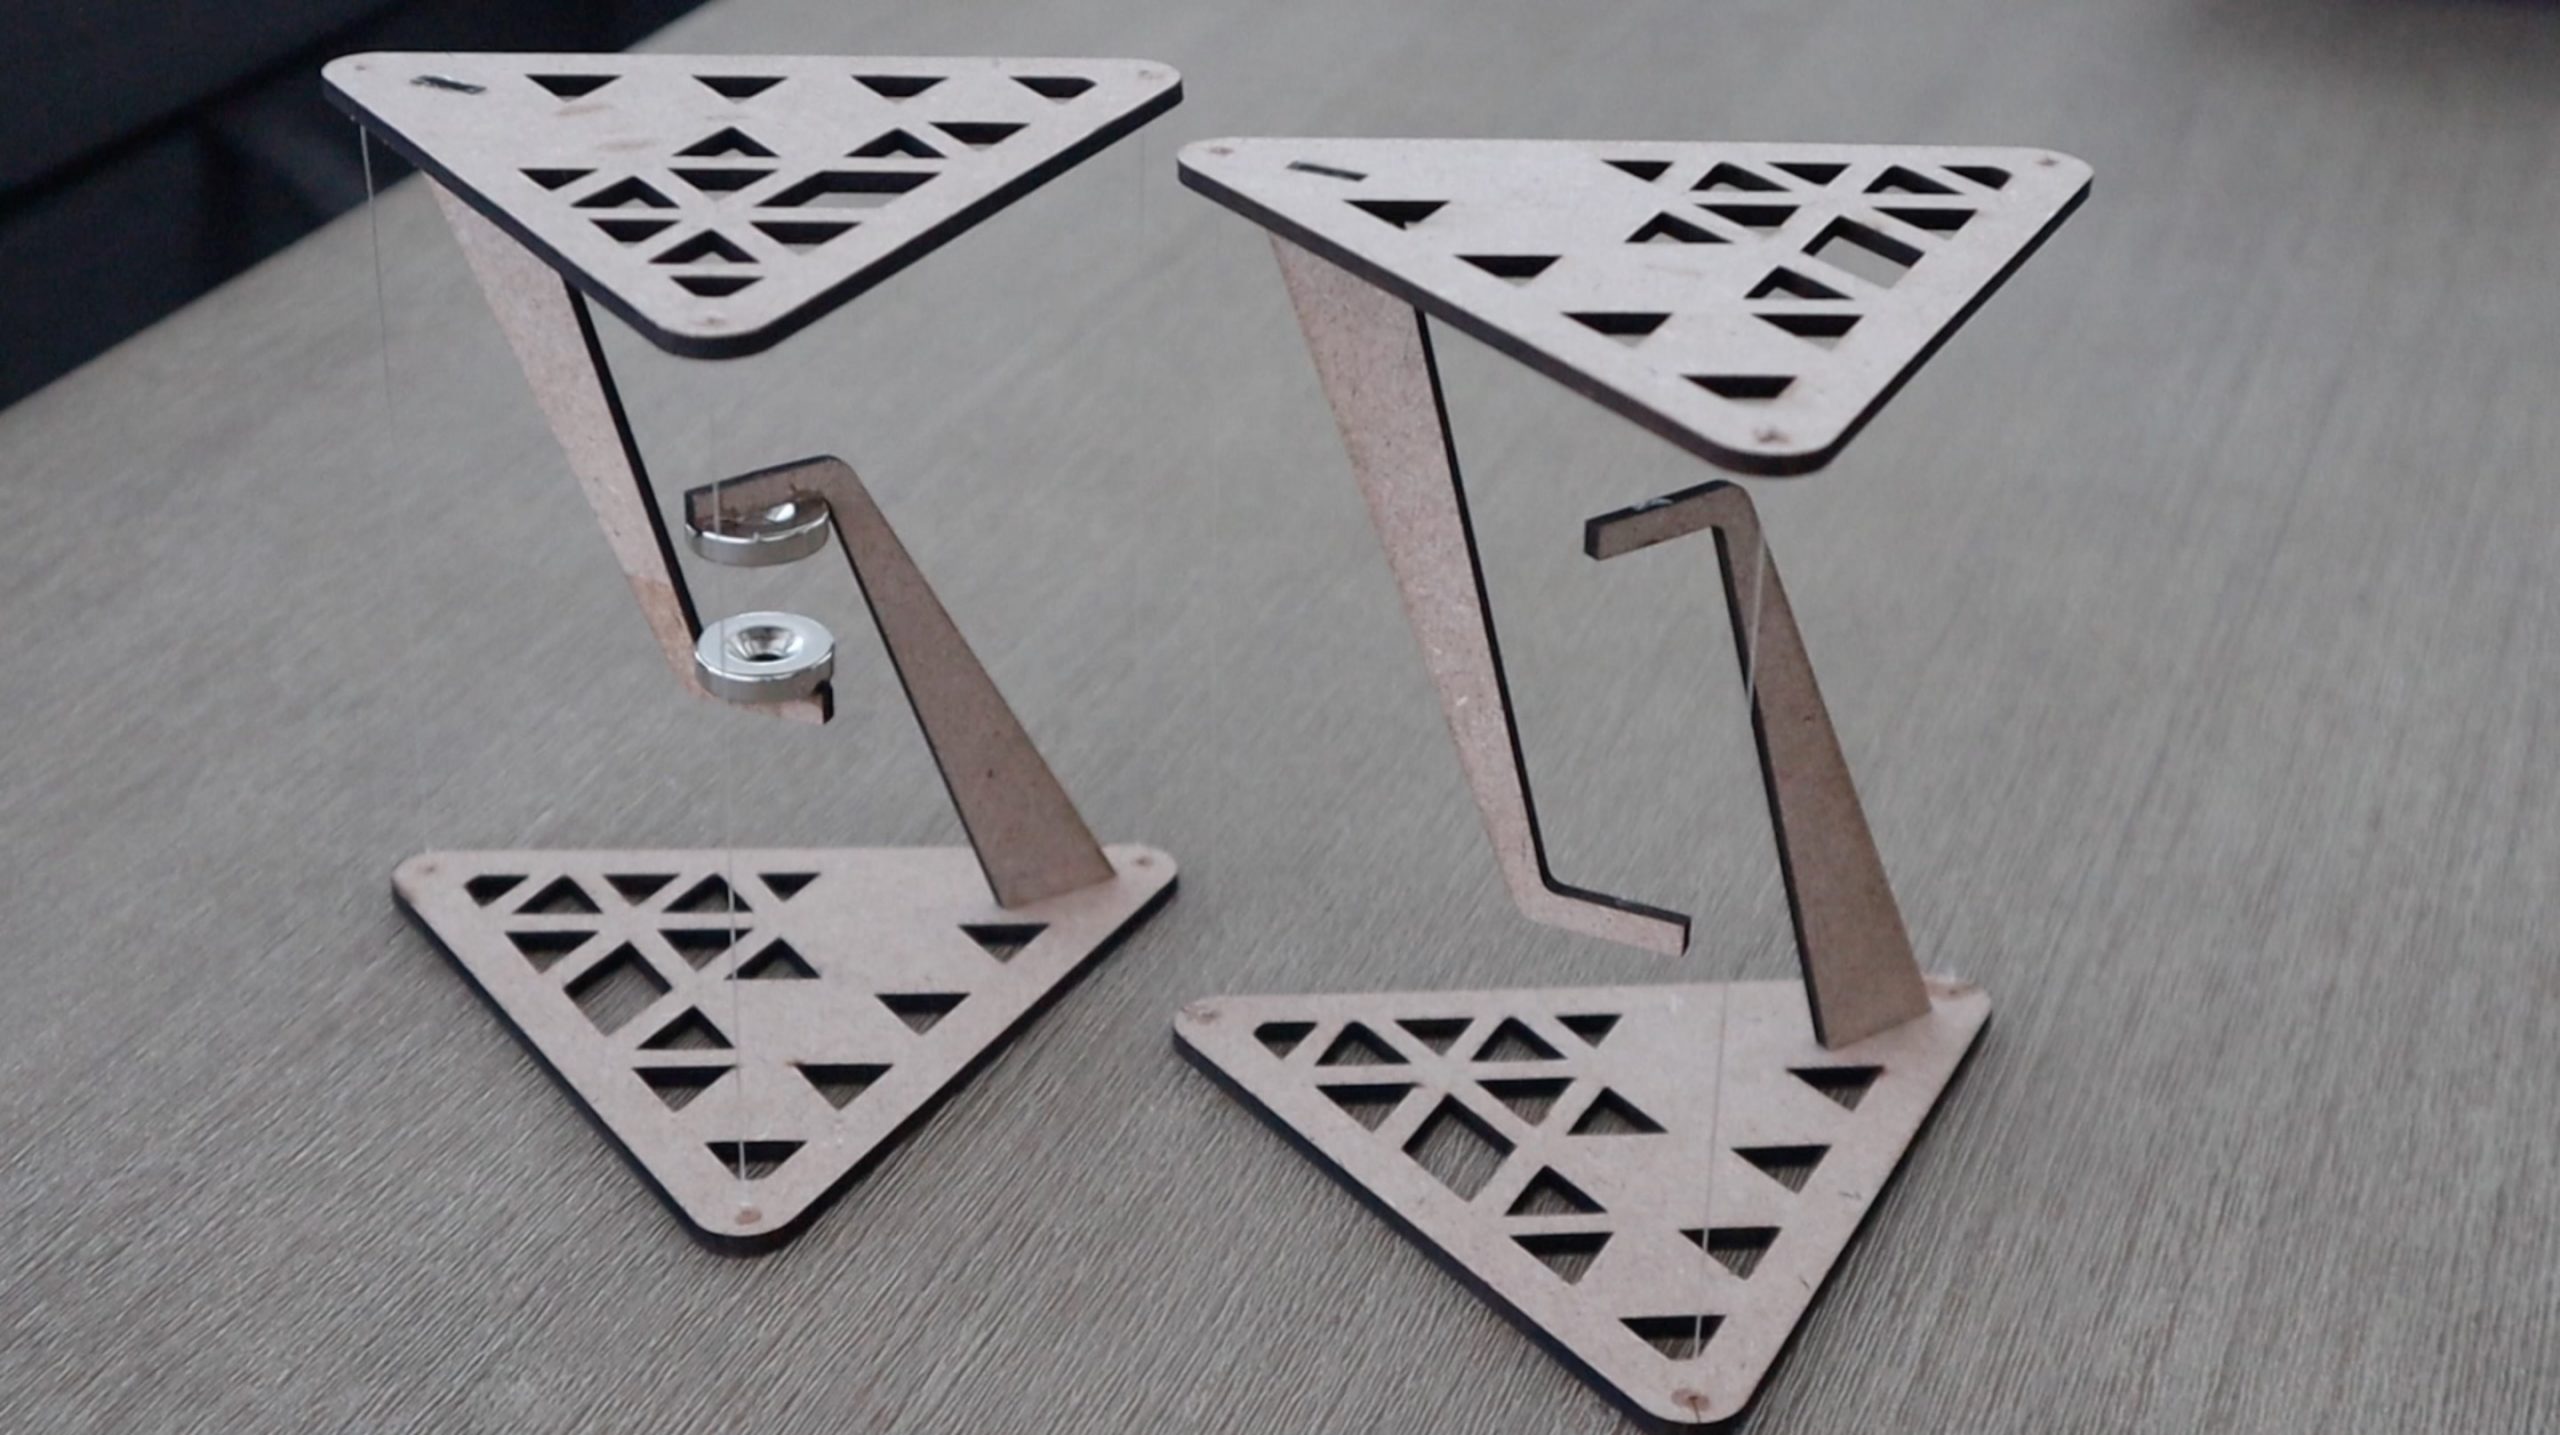
The piece of fishing line in the centre of the structure is in tension and is supporting the load of the surface of the table and whatever is placed onto it. The three pieces of line on the outside are simply holding the top surface in place so that it remains directly overhead the centre line and doesn’t fall over.

If any of these four lines are cut, the table will collapse under its own weight.
To better understand tensegrity tables and how they work, let’s try building our own ones.
What You Need To Build Your Own
- 3mm MDF Sheet – Buy Here
- Clear Fishing Line – Buy Here
- Neodynium Magnets – Buy Here
- Wood Glue – Buy Here
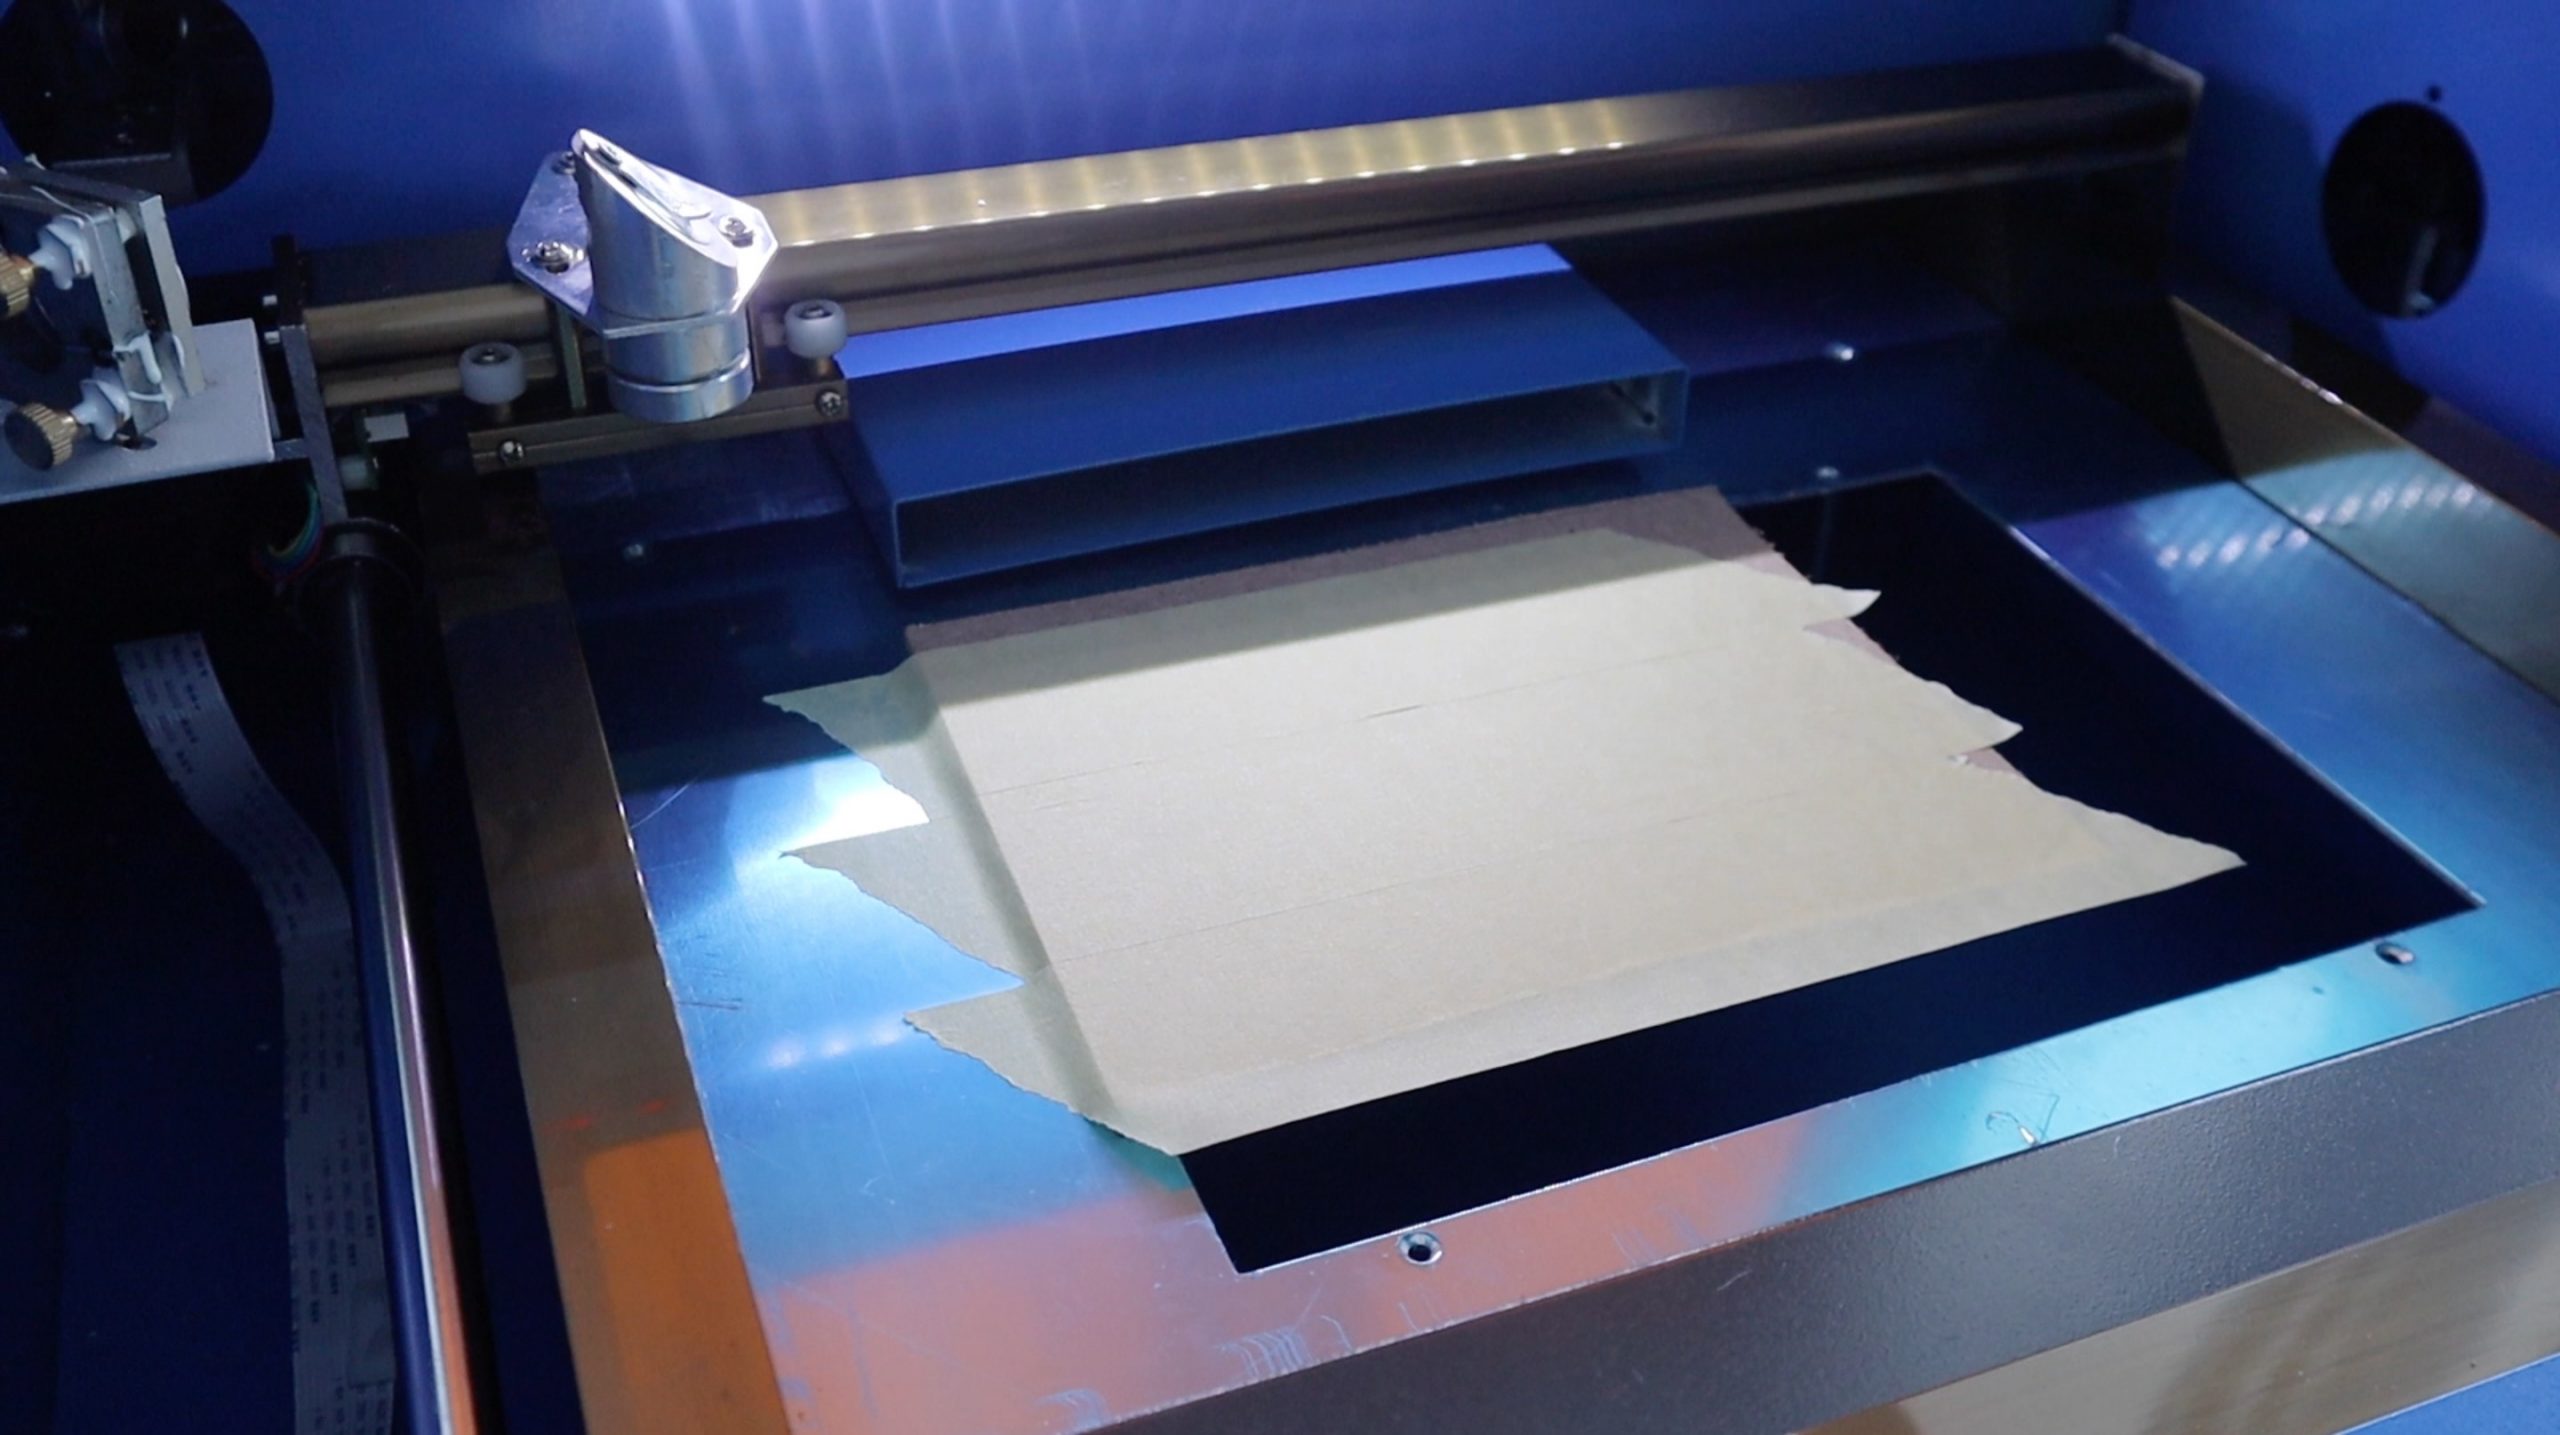
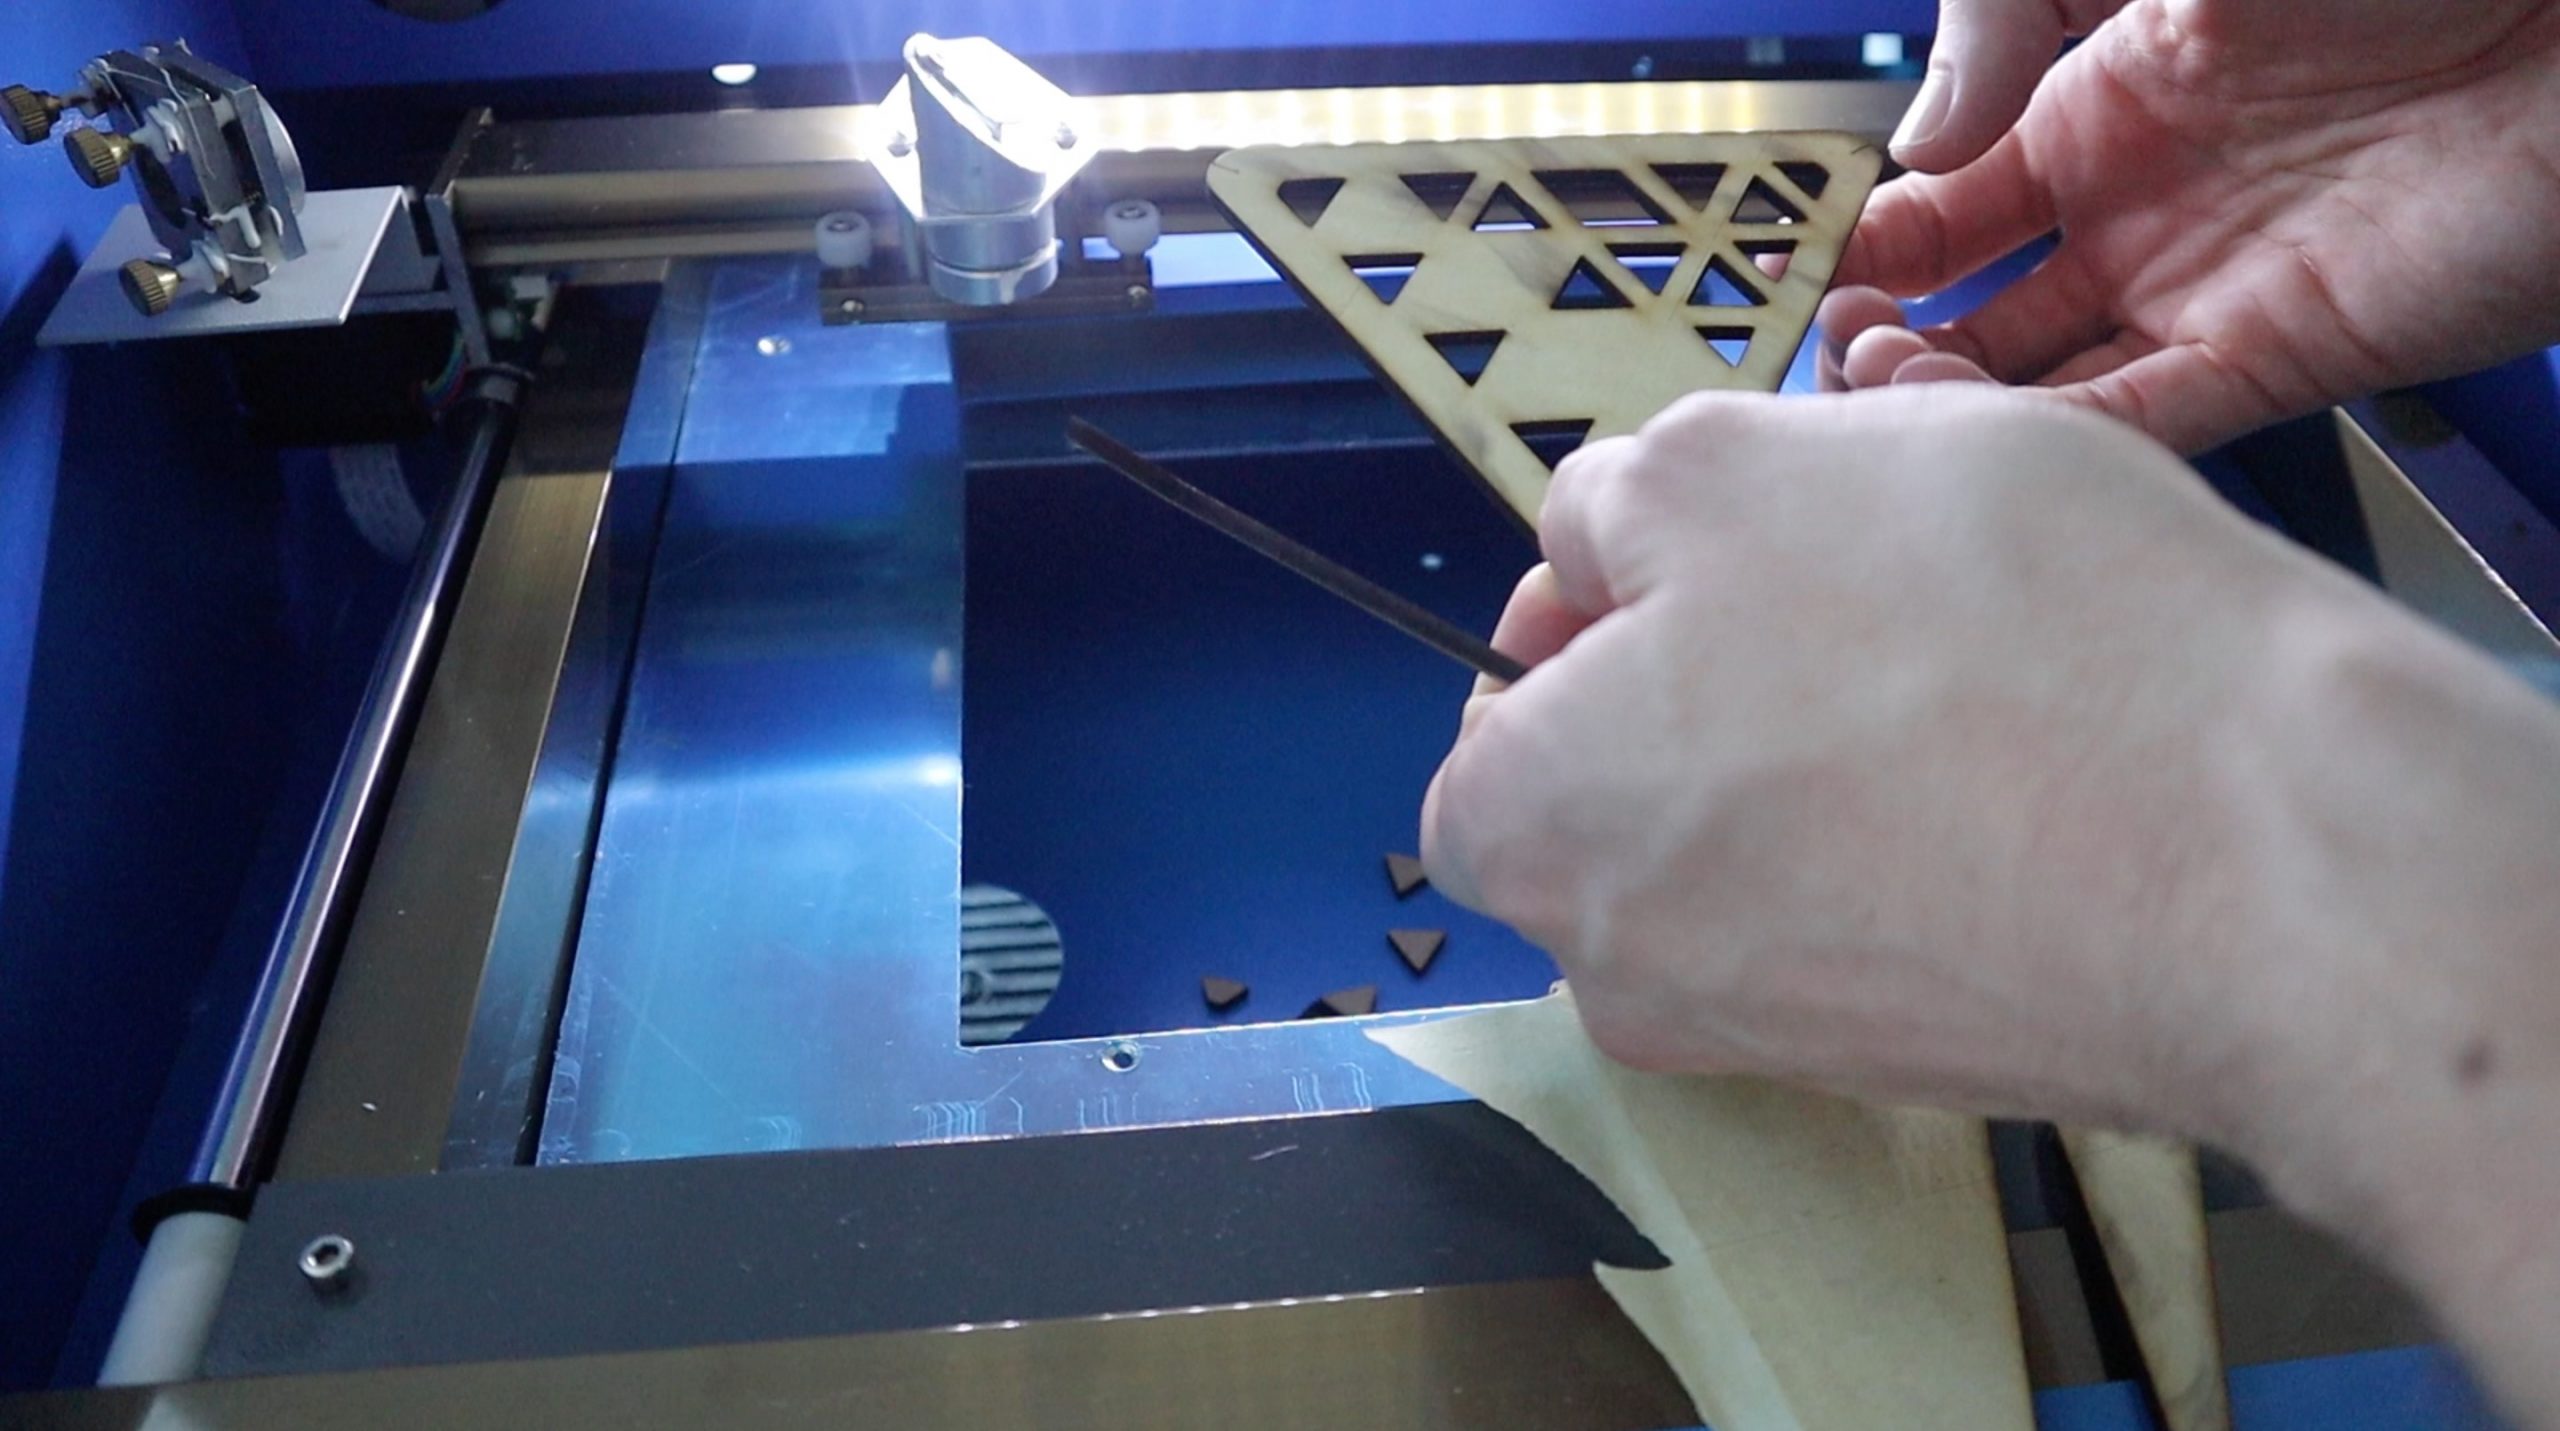
These tables were cut on a laser cutter, but you can still cut out the outlines of the components and build your own using MDF, acrylic or plywood if you don’t have access to a laser cutter, or make use of an online laser cutting service.
- K40 Laser Cutter Used – Buy Here
How To Make Your Own Desktop Tensegrity Tables
I designed the basic components in Inkscape, to be laser cut from 3mm MDF. You could also cut them from plywood or acrylic and you can cut the outlines out by hand if you don’t have access to a laser cutter.
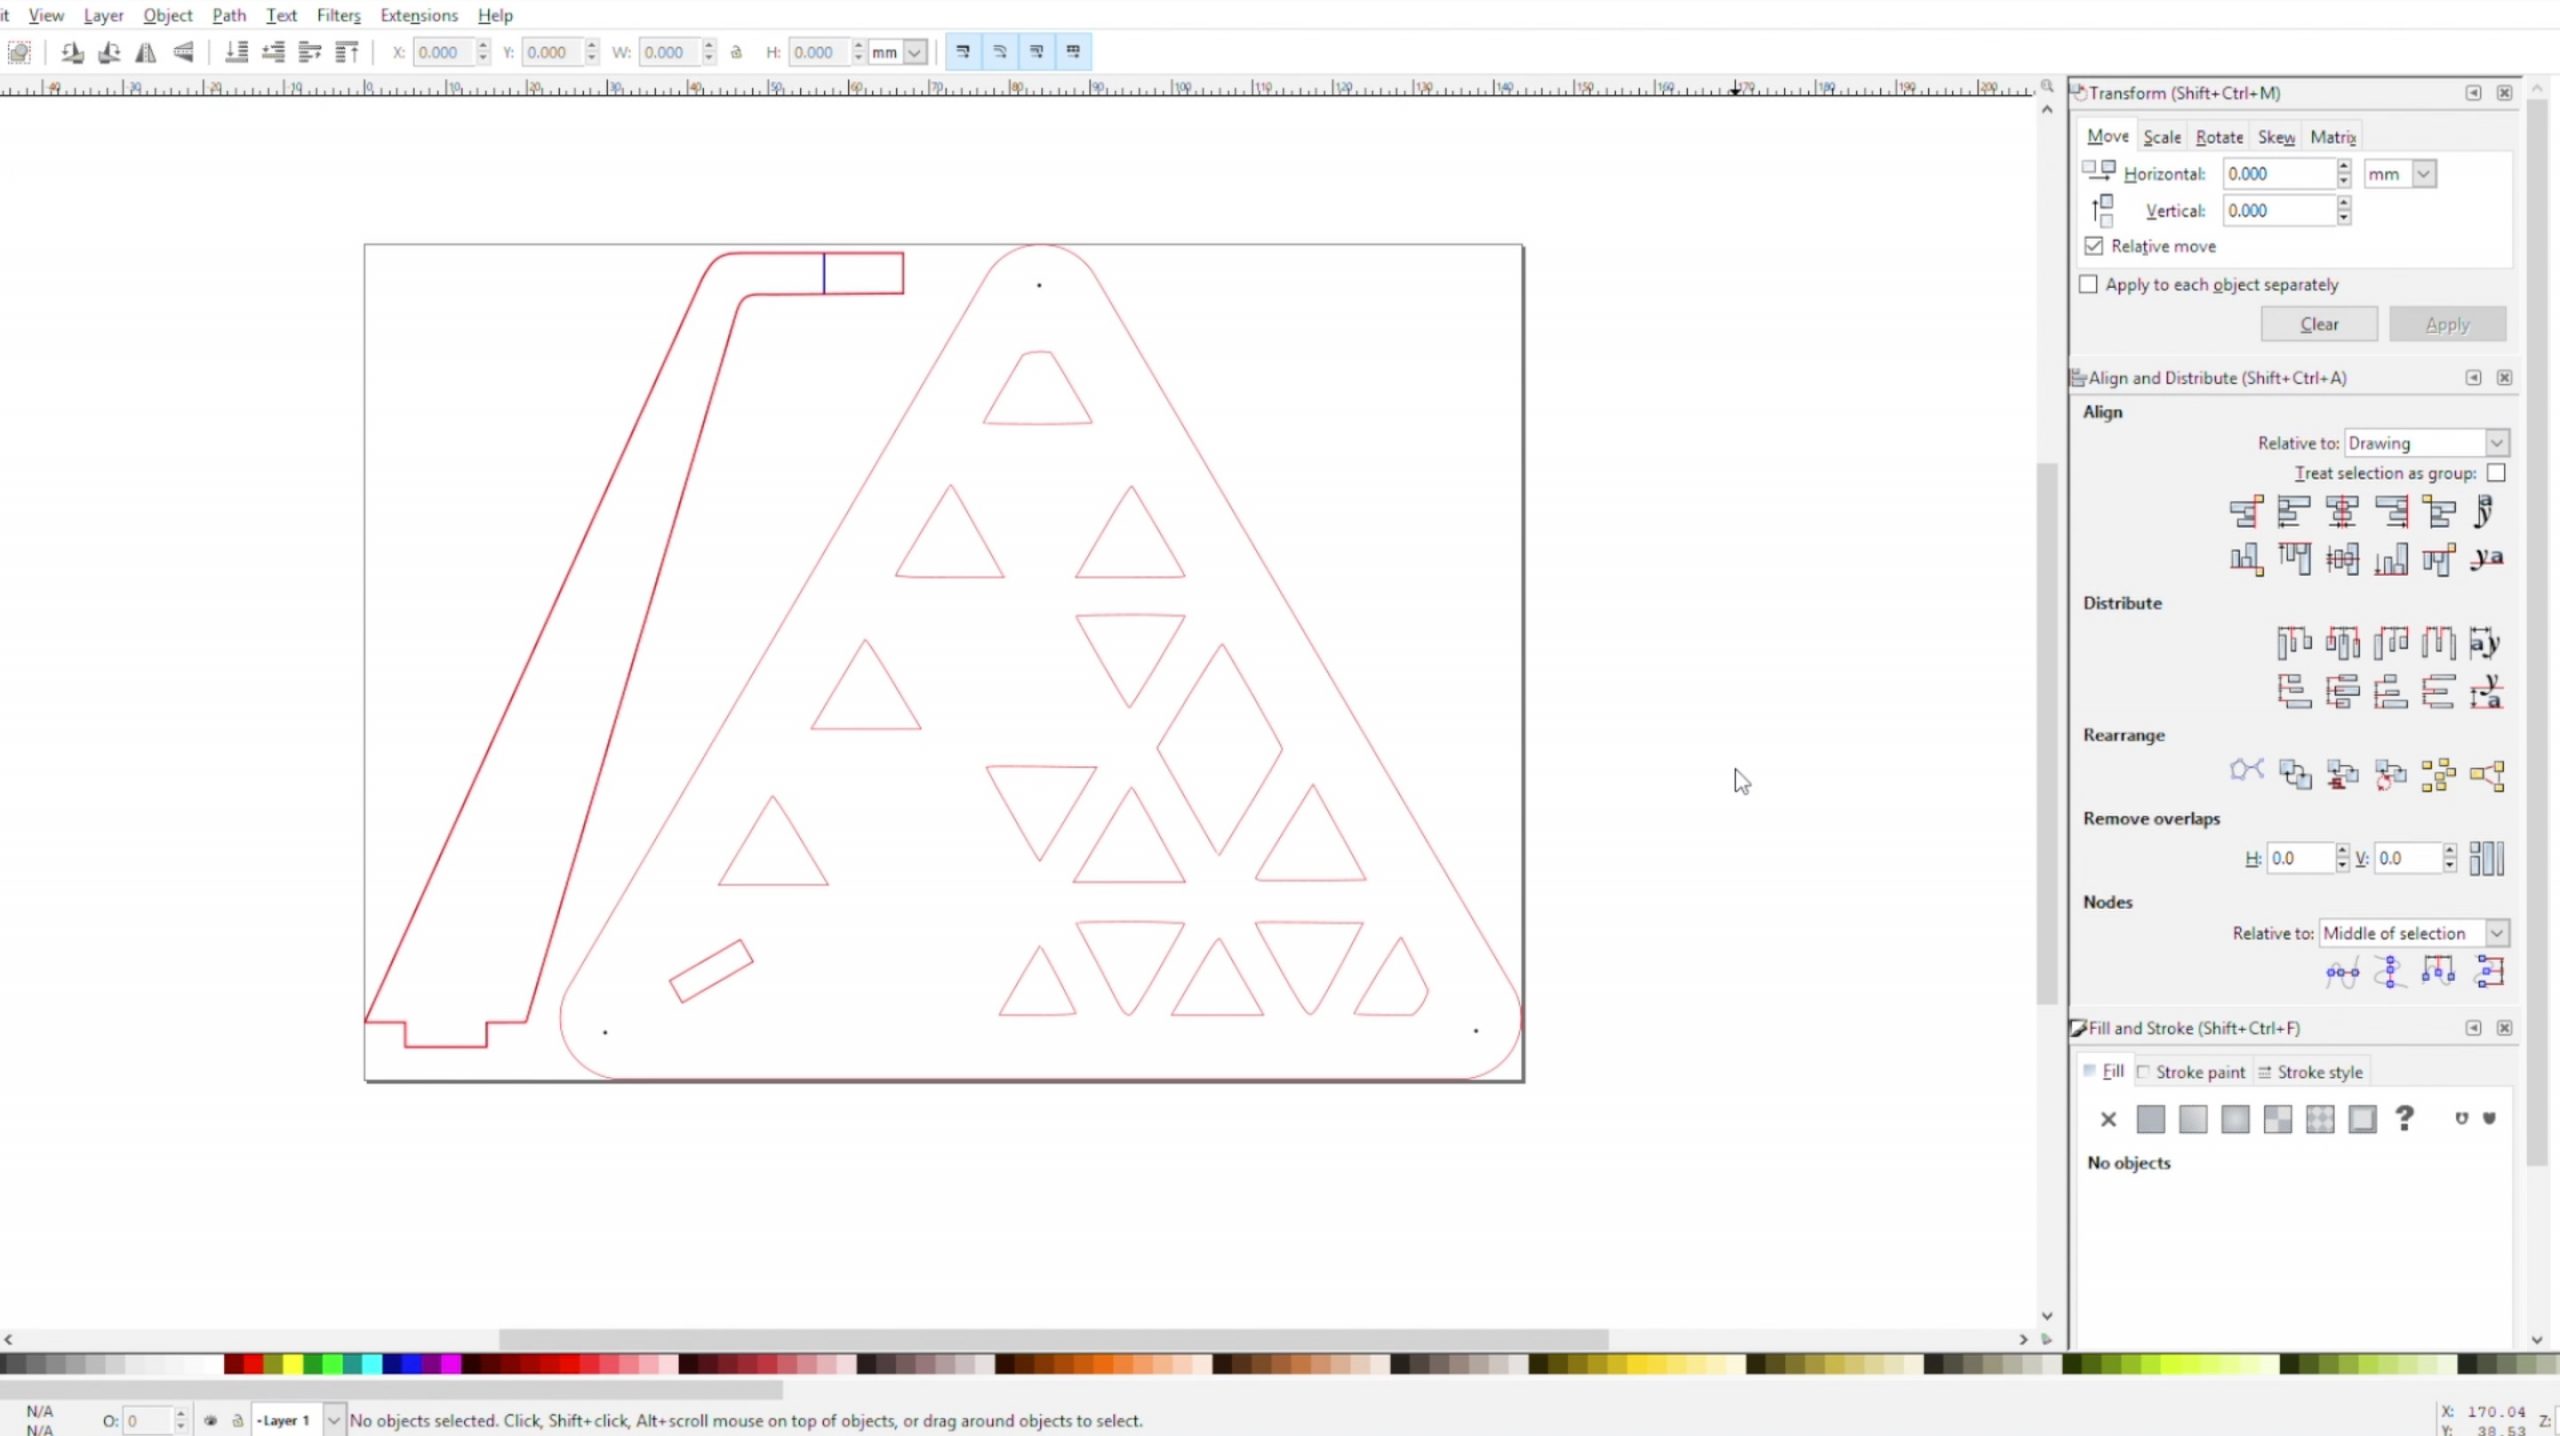
Download The Cutting Template Files – Tensegrity Table Files
The file above includes the Inkscape svg files as well as dxf files and an A4 printable pdf template, so you should be able to find an application to open and print or cut them out.
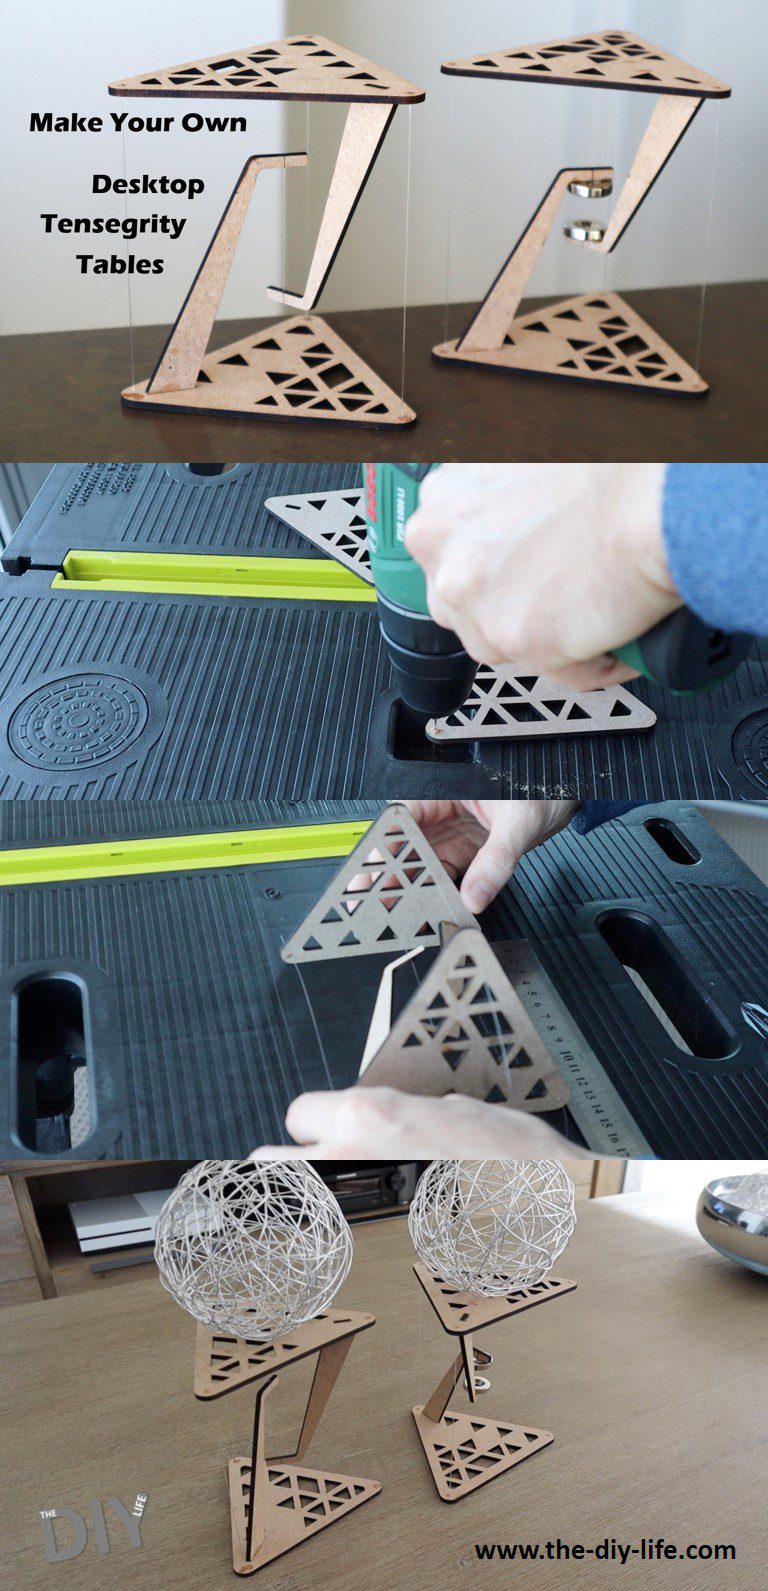
I’ve added a few engraving marks as guides for the holes to be drilled for the fishing line as well.
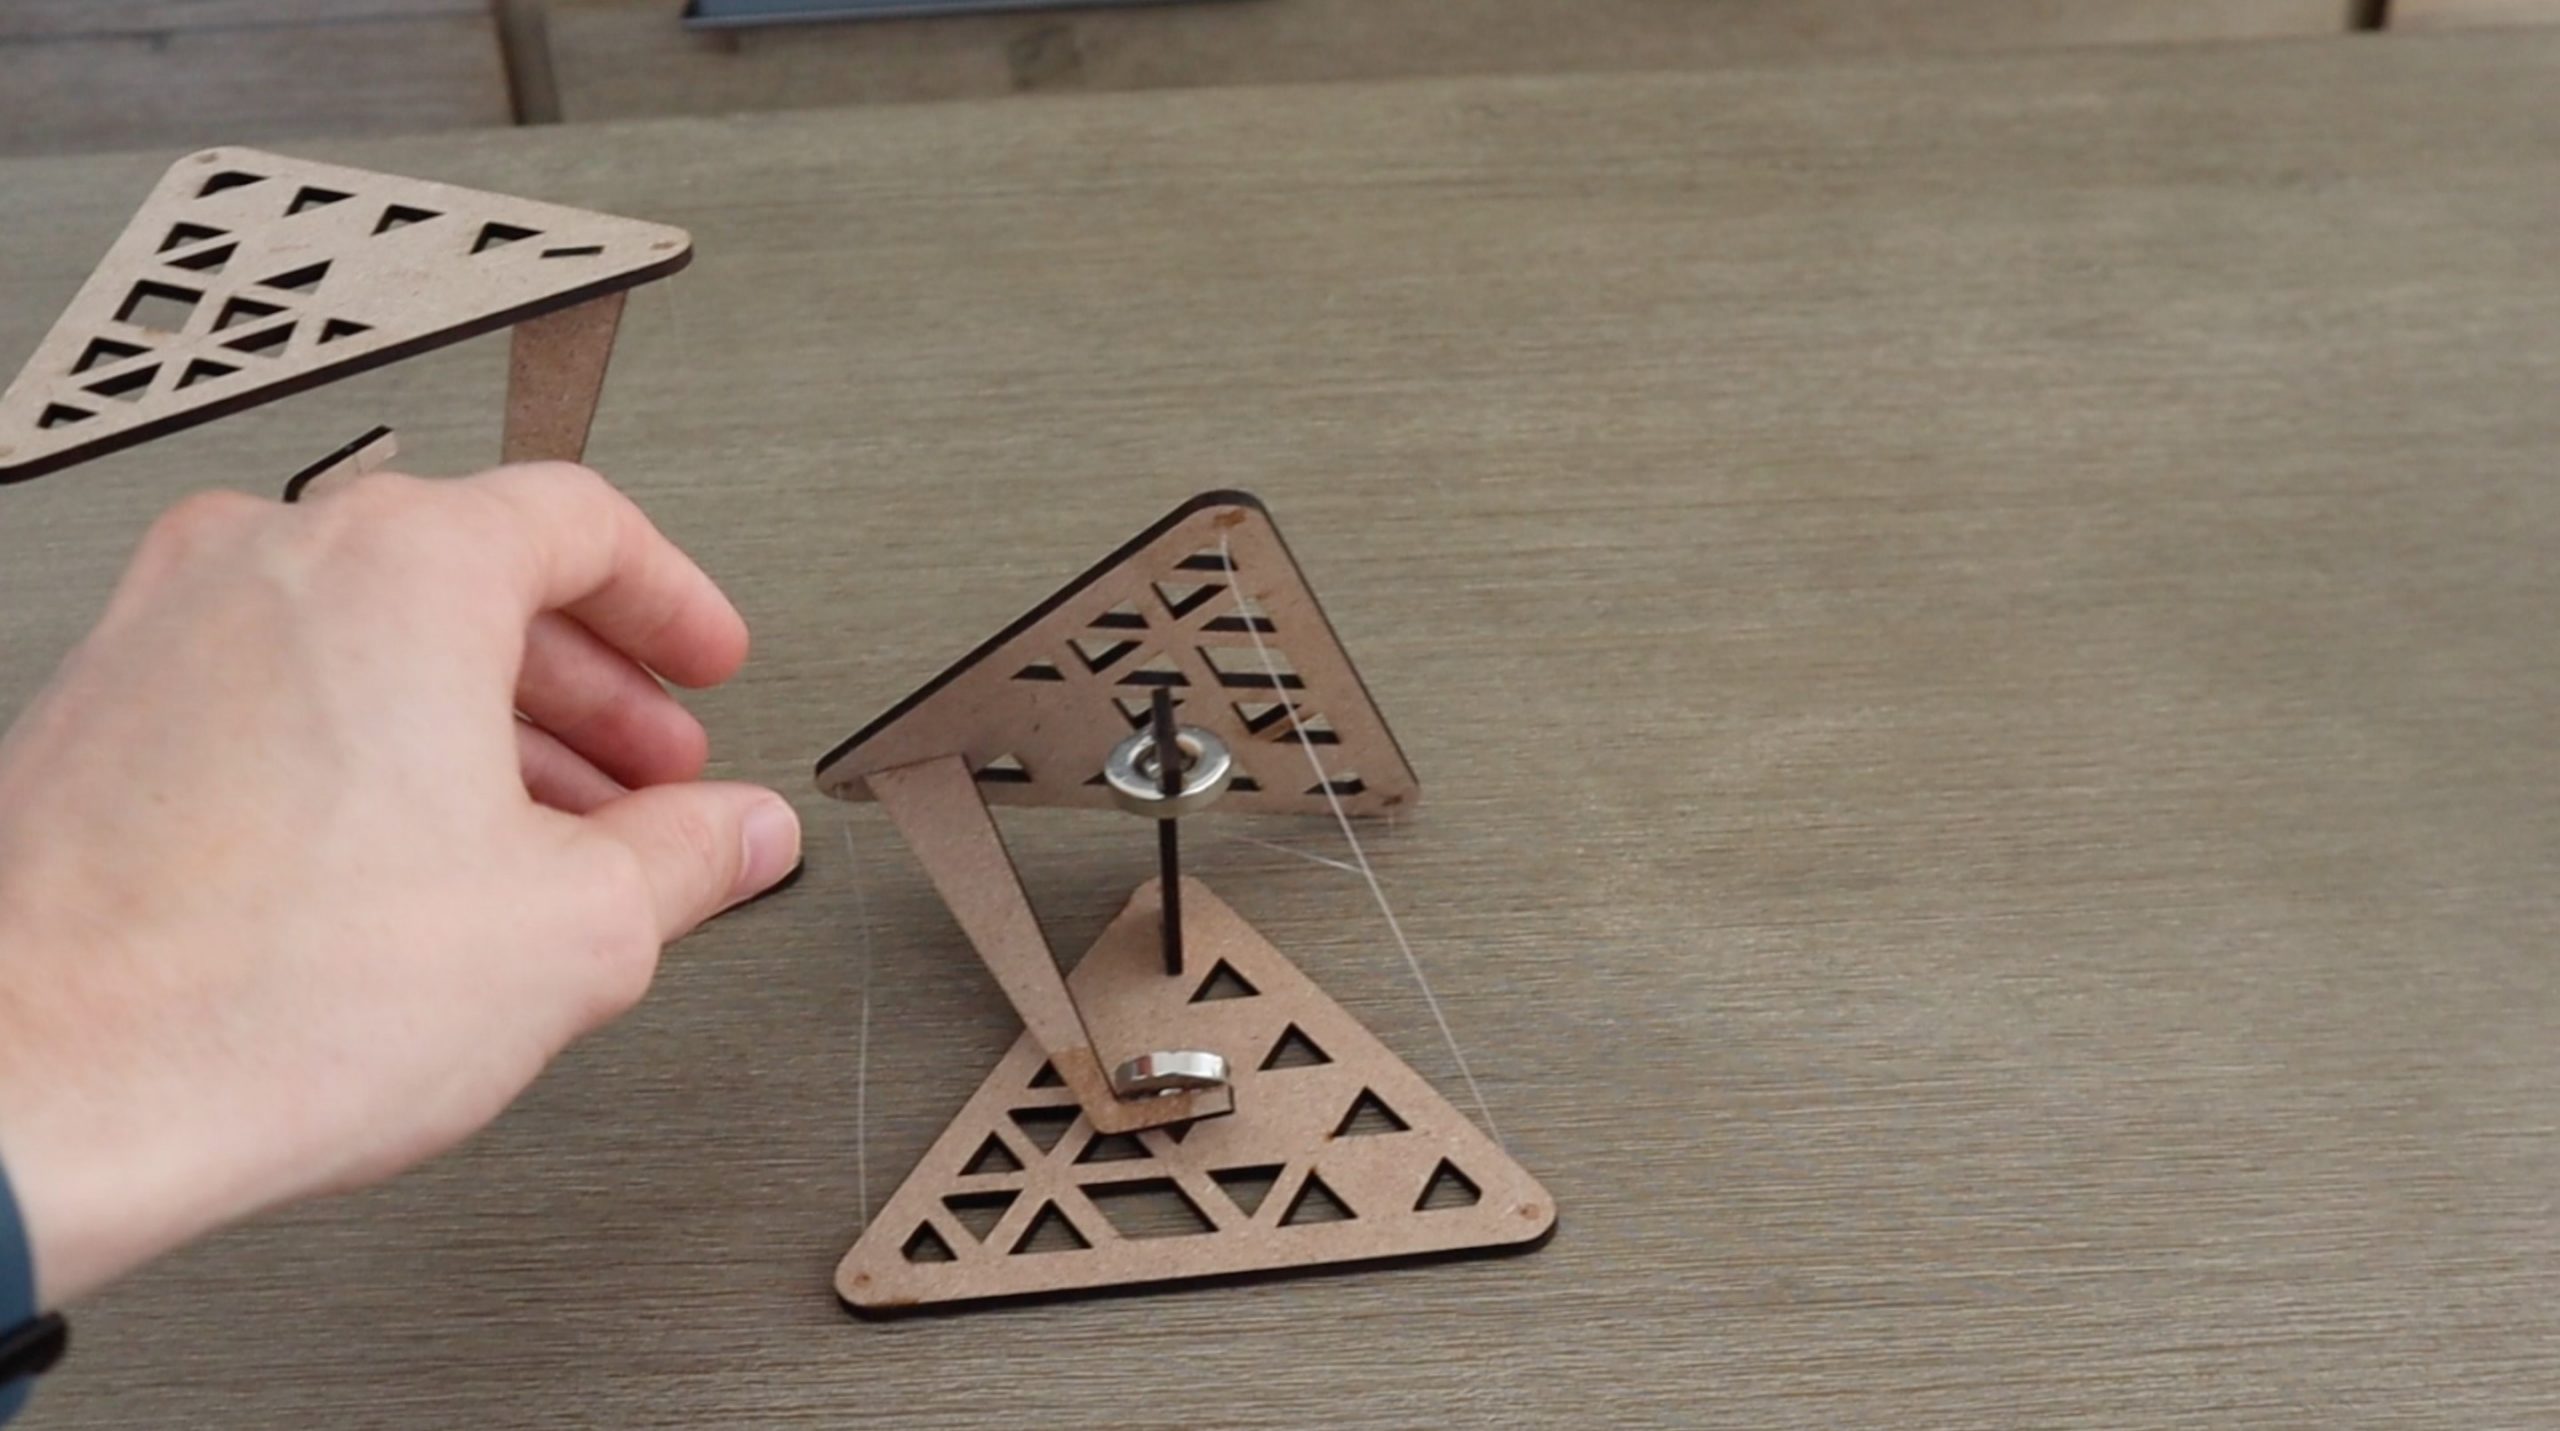
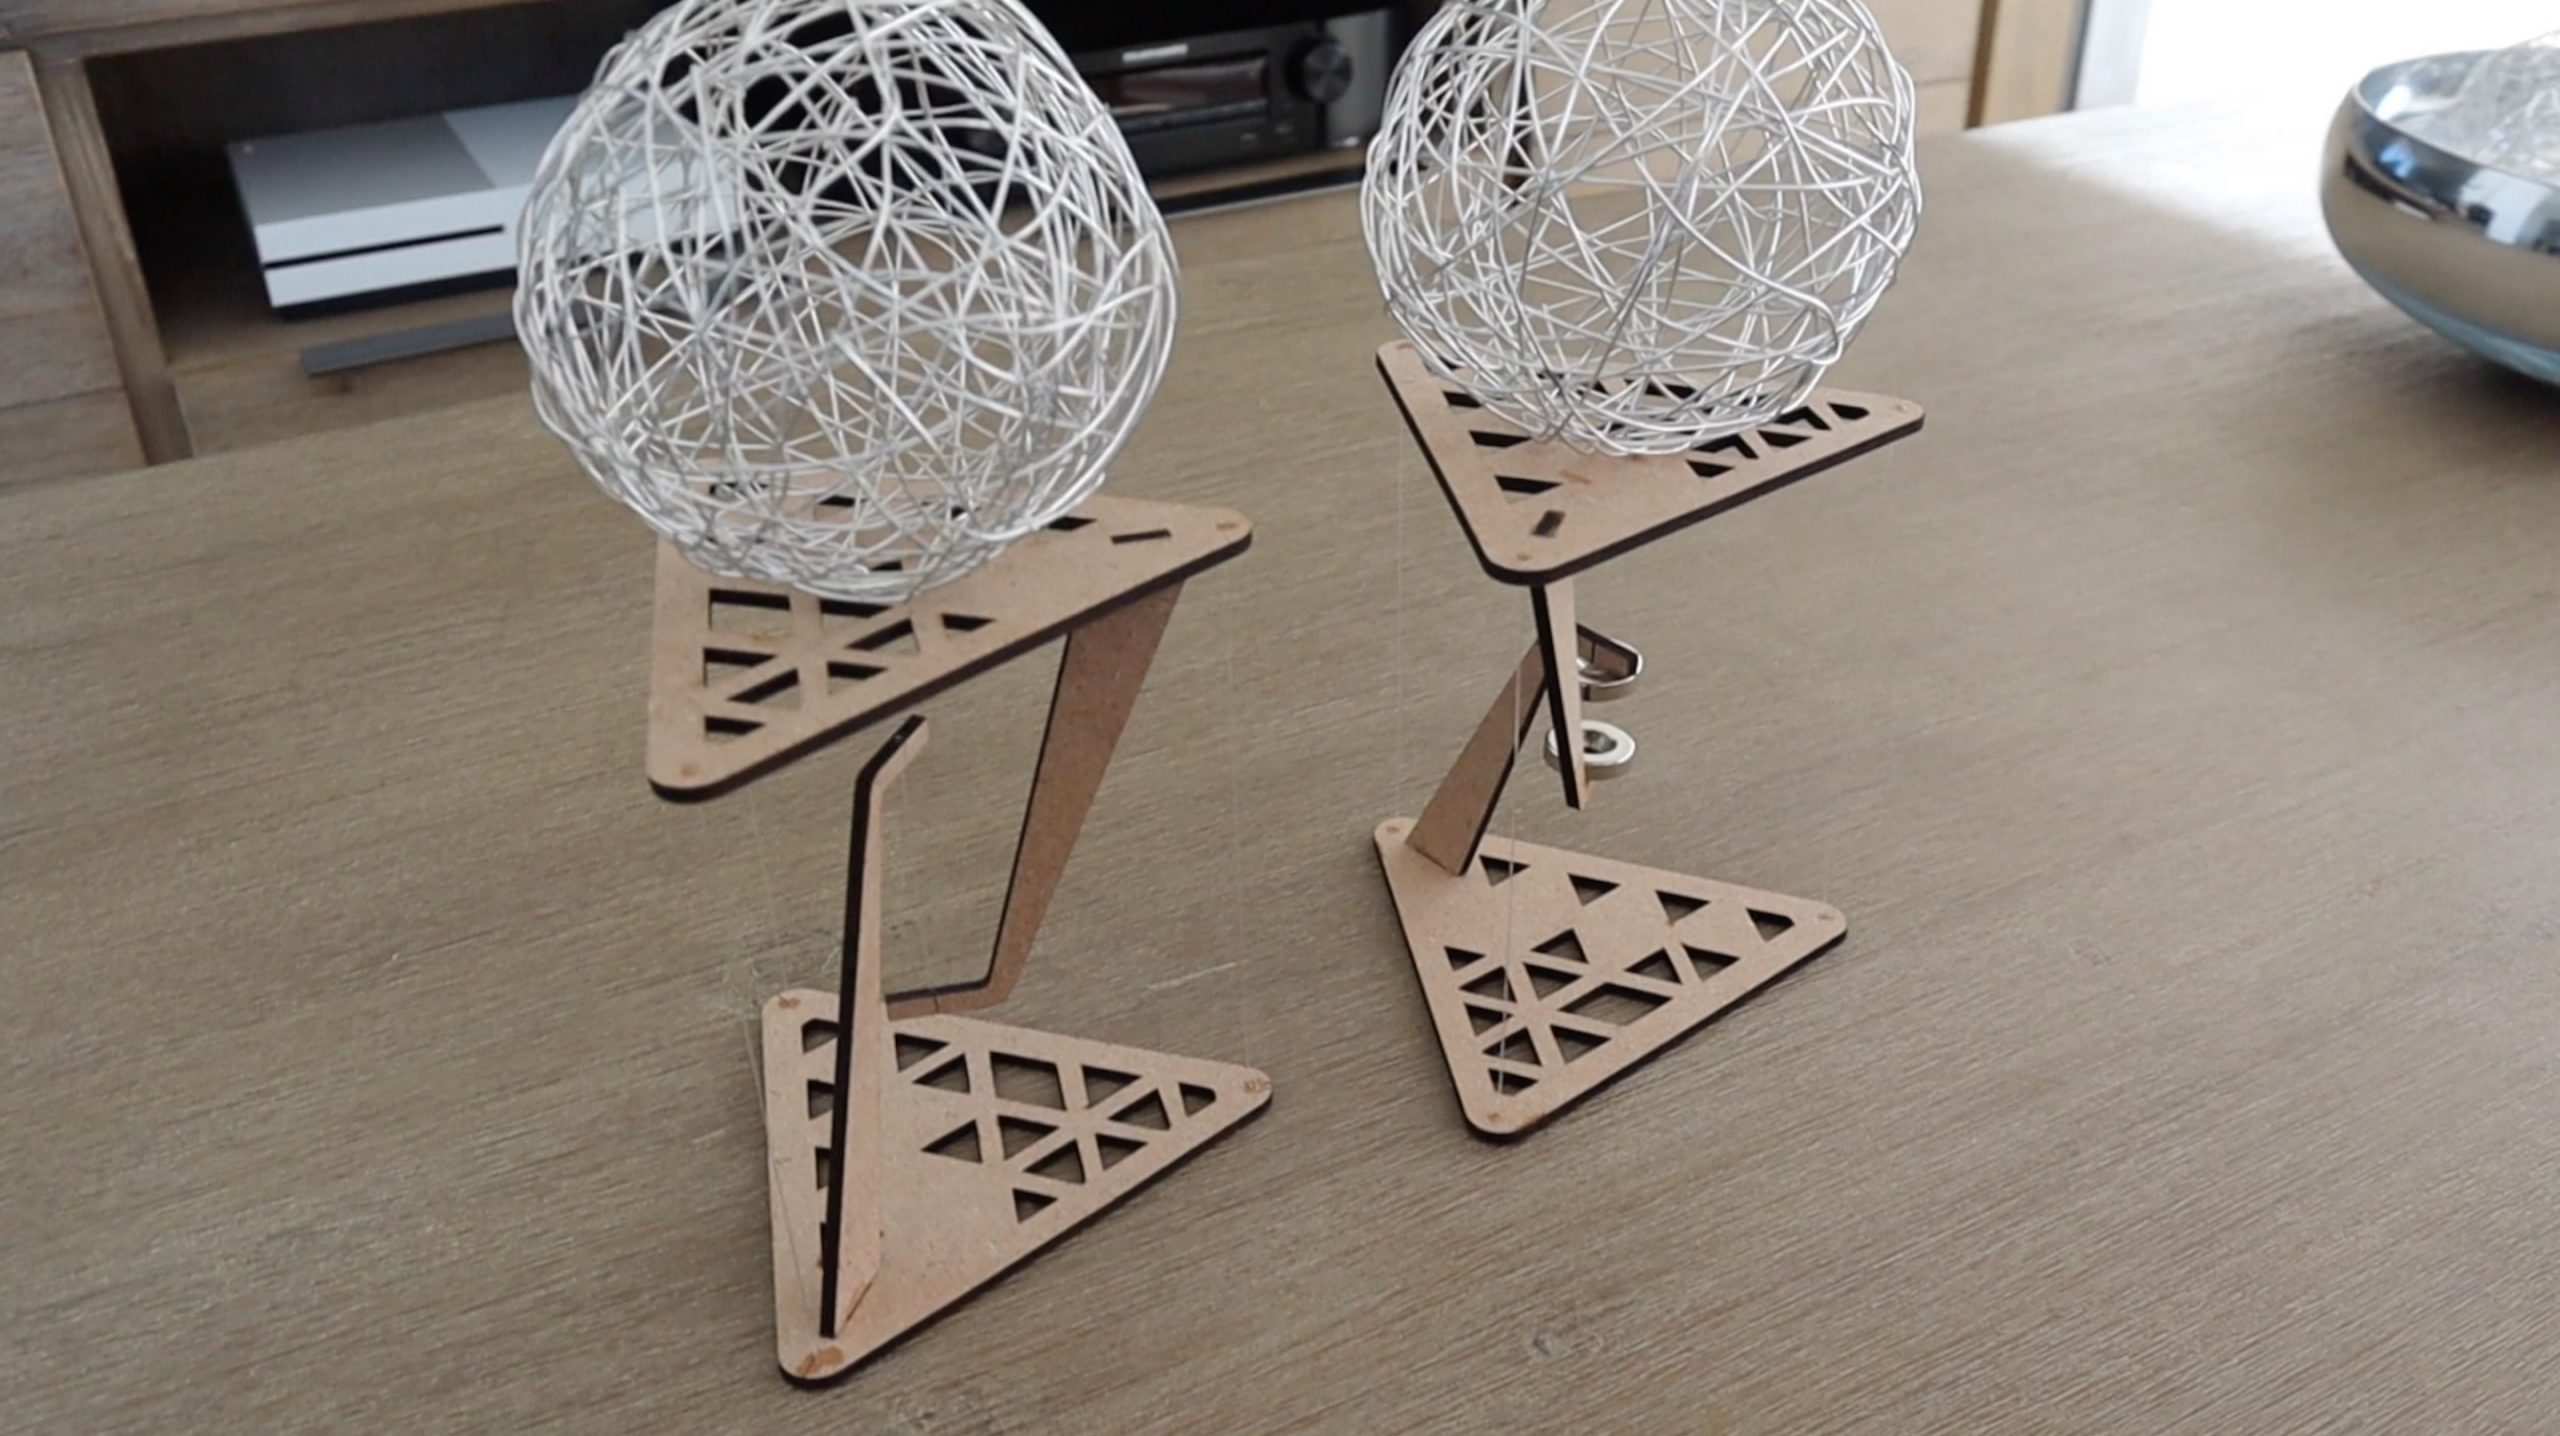
I designed two versions of these tables, one which is supported by a strand of fishing line in the centre and one which is supported by two agents. The flat sections are the same, I’ve just adjusted the height of the vertical section to accommodate the magnets in the centre instead of the fishing line. The magnets add an interesting dynamic to the table, as there is now effectively no physical component holding the table up, it’s purely supported by the invisible magnetic force between the two magnets.
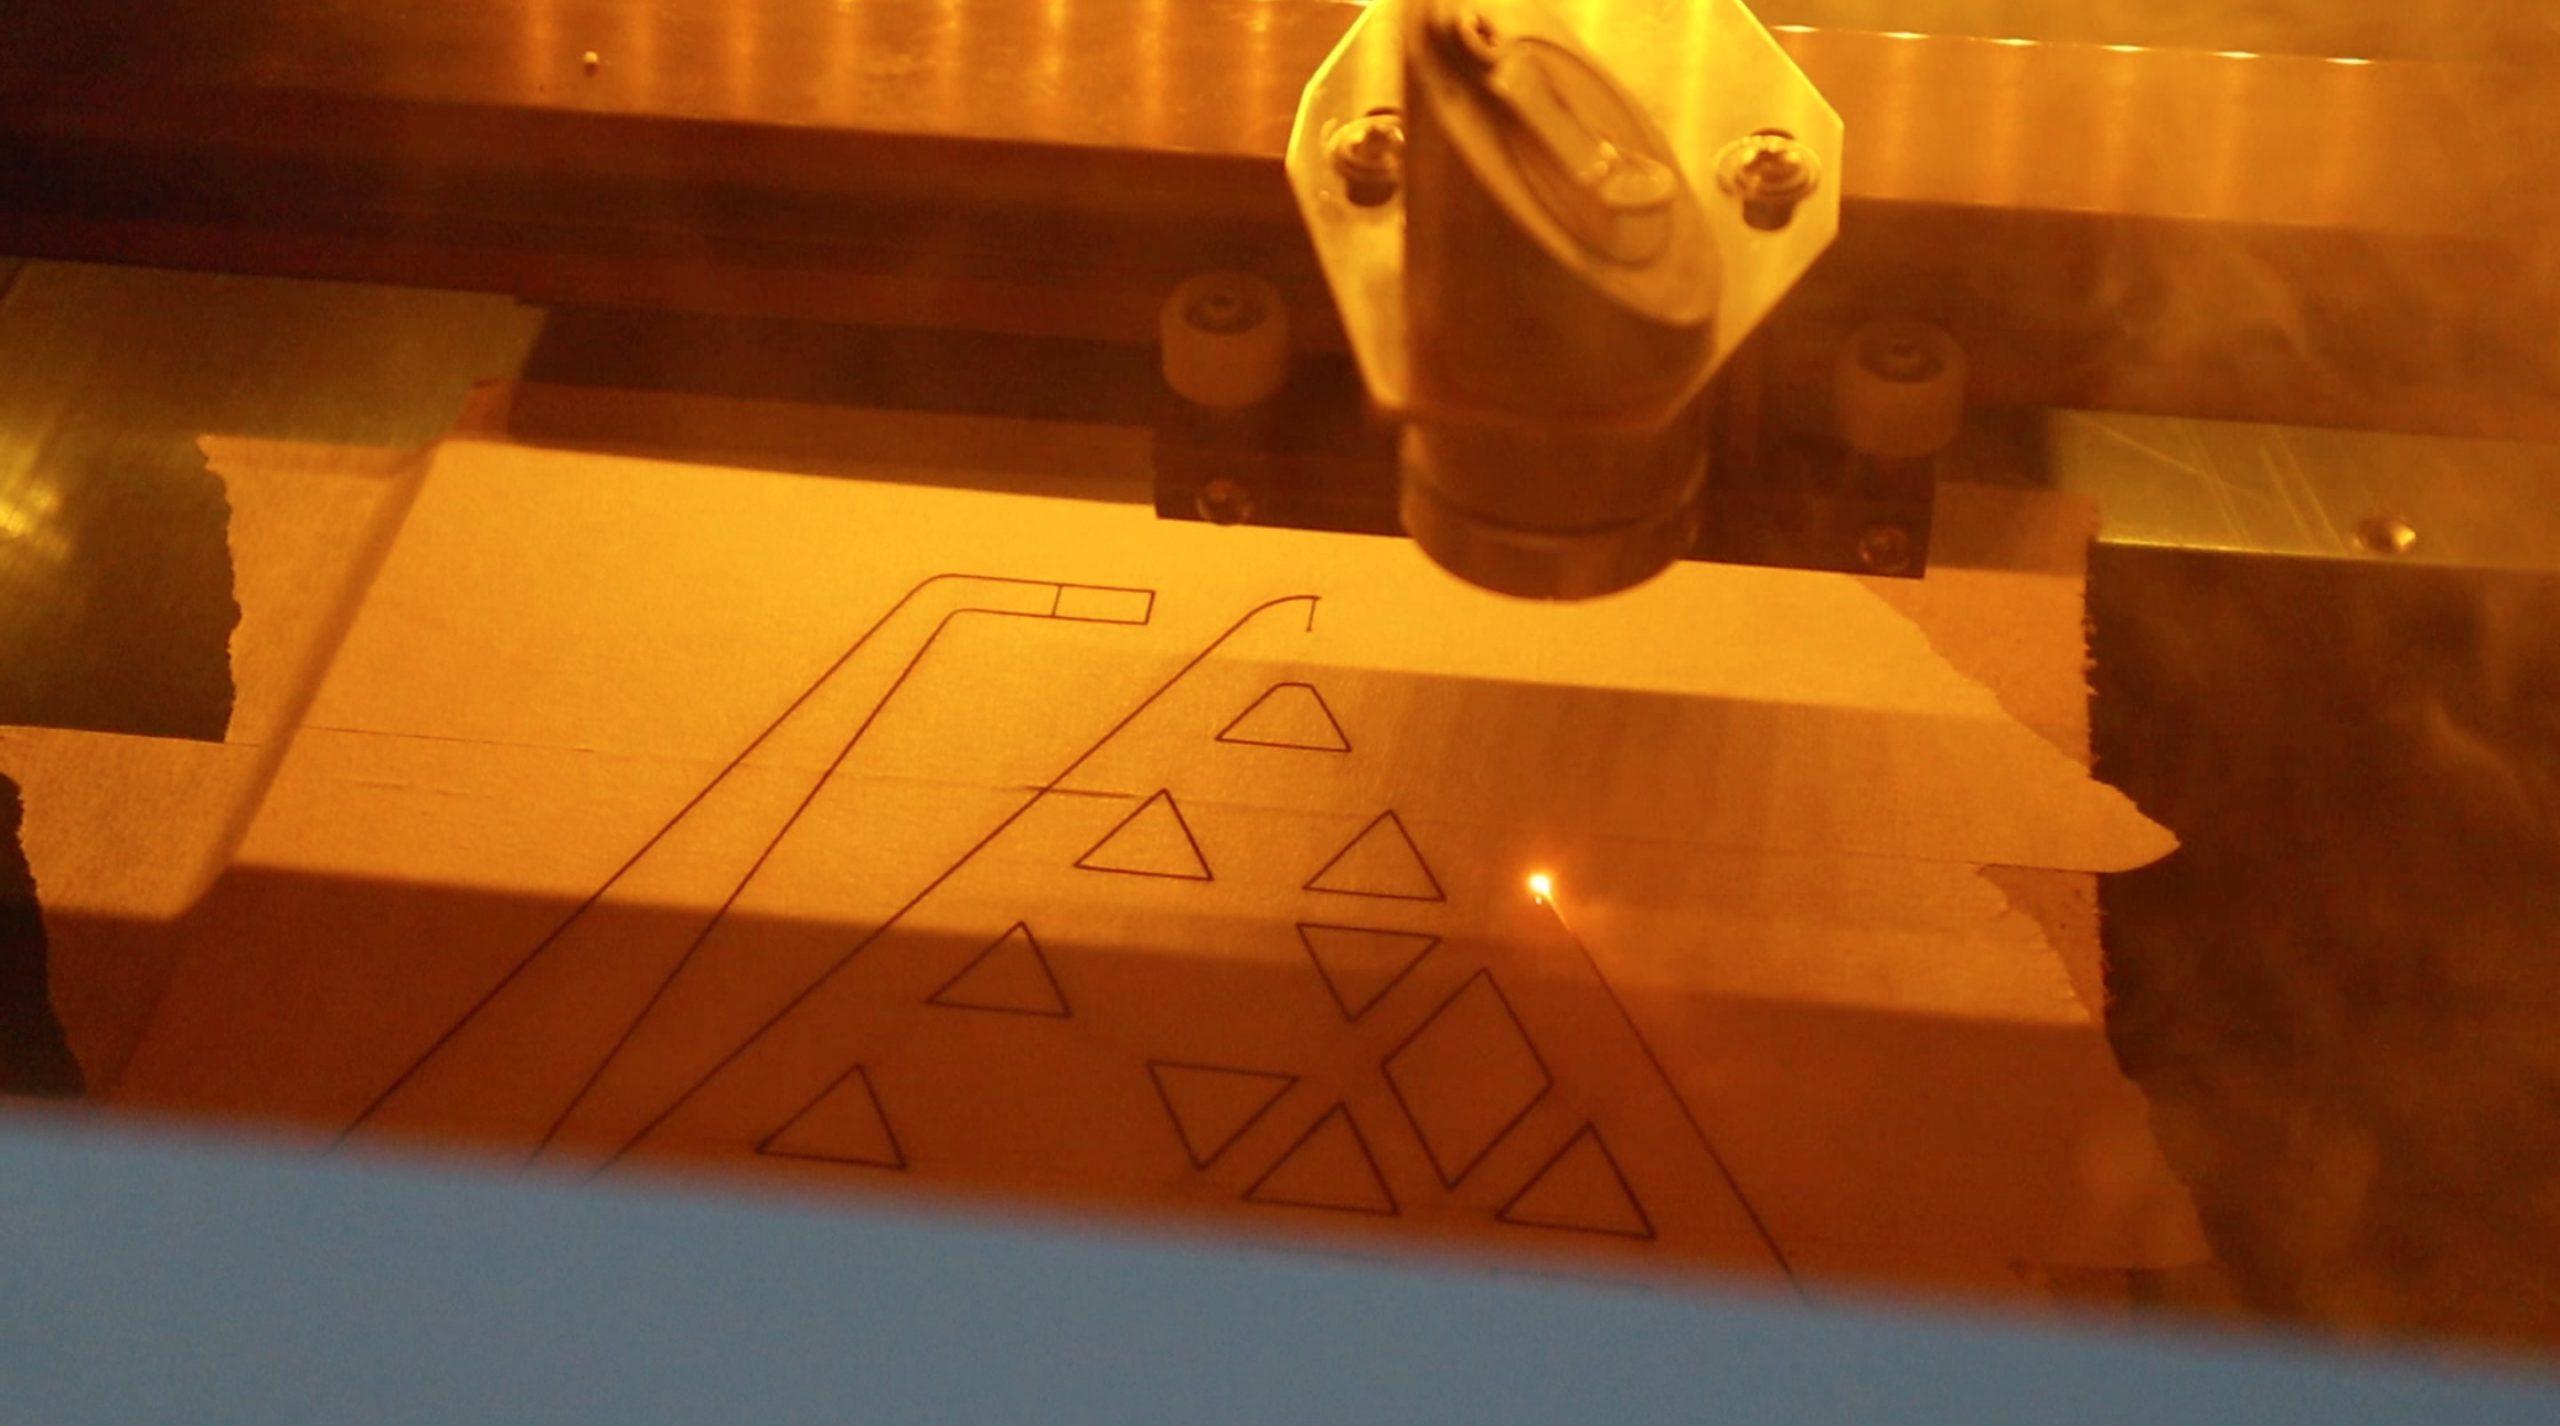
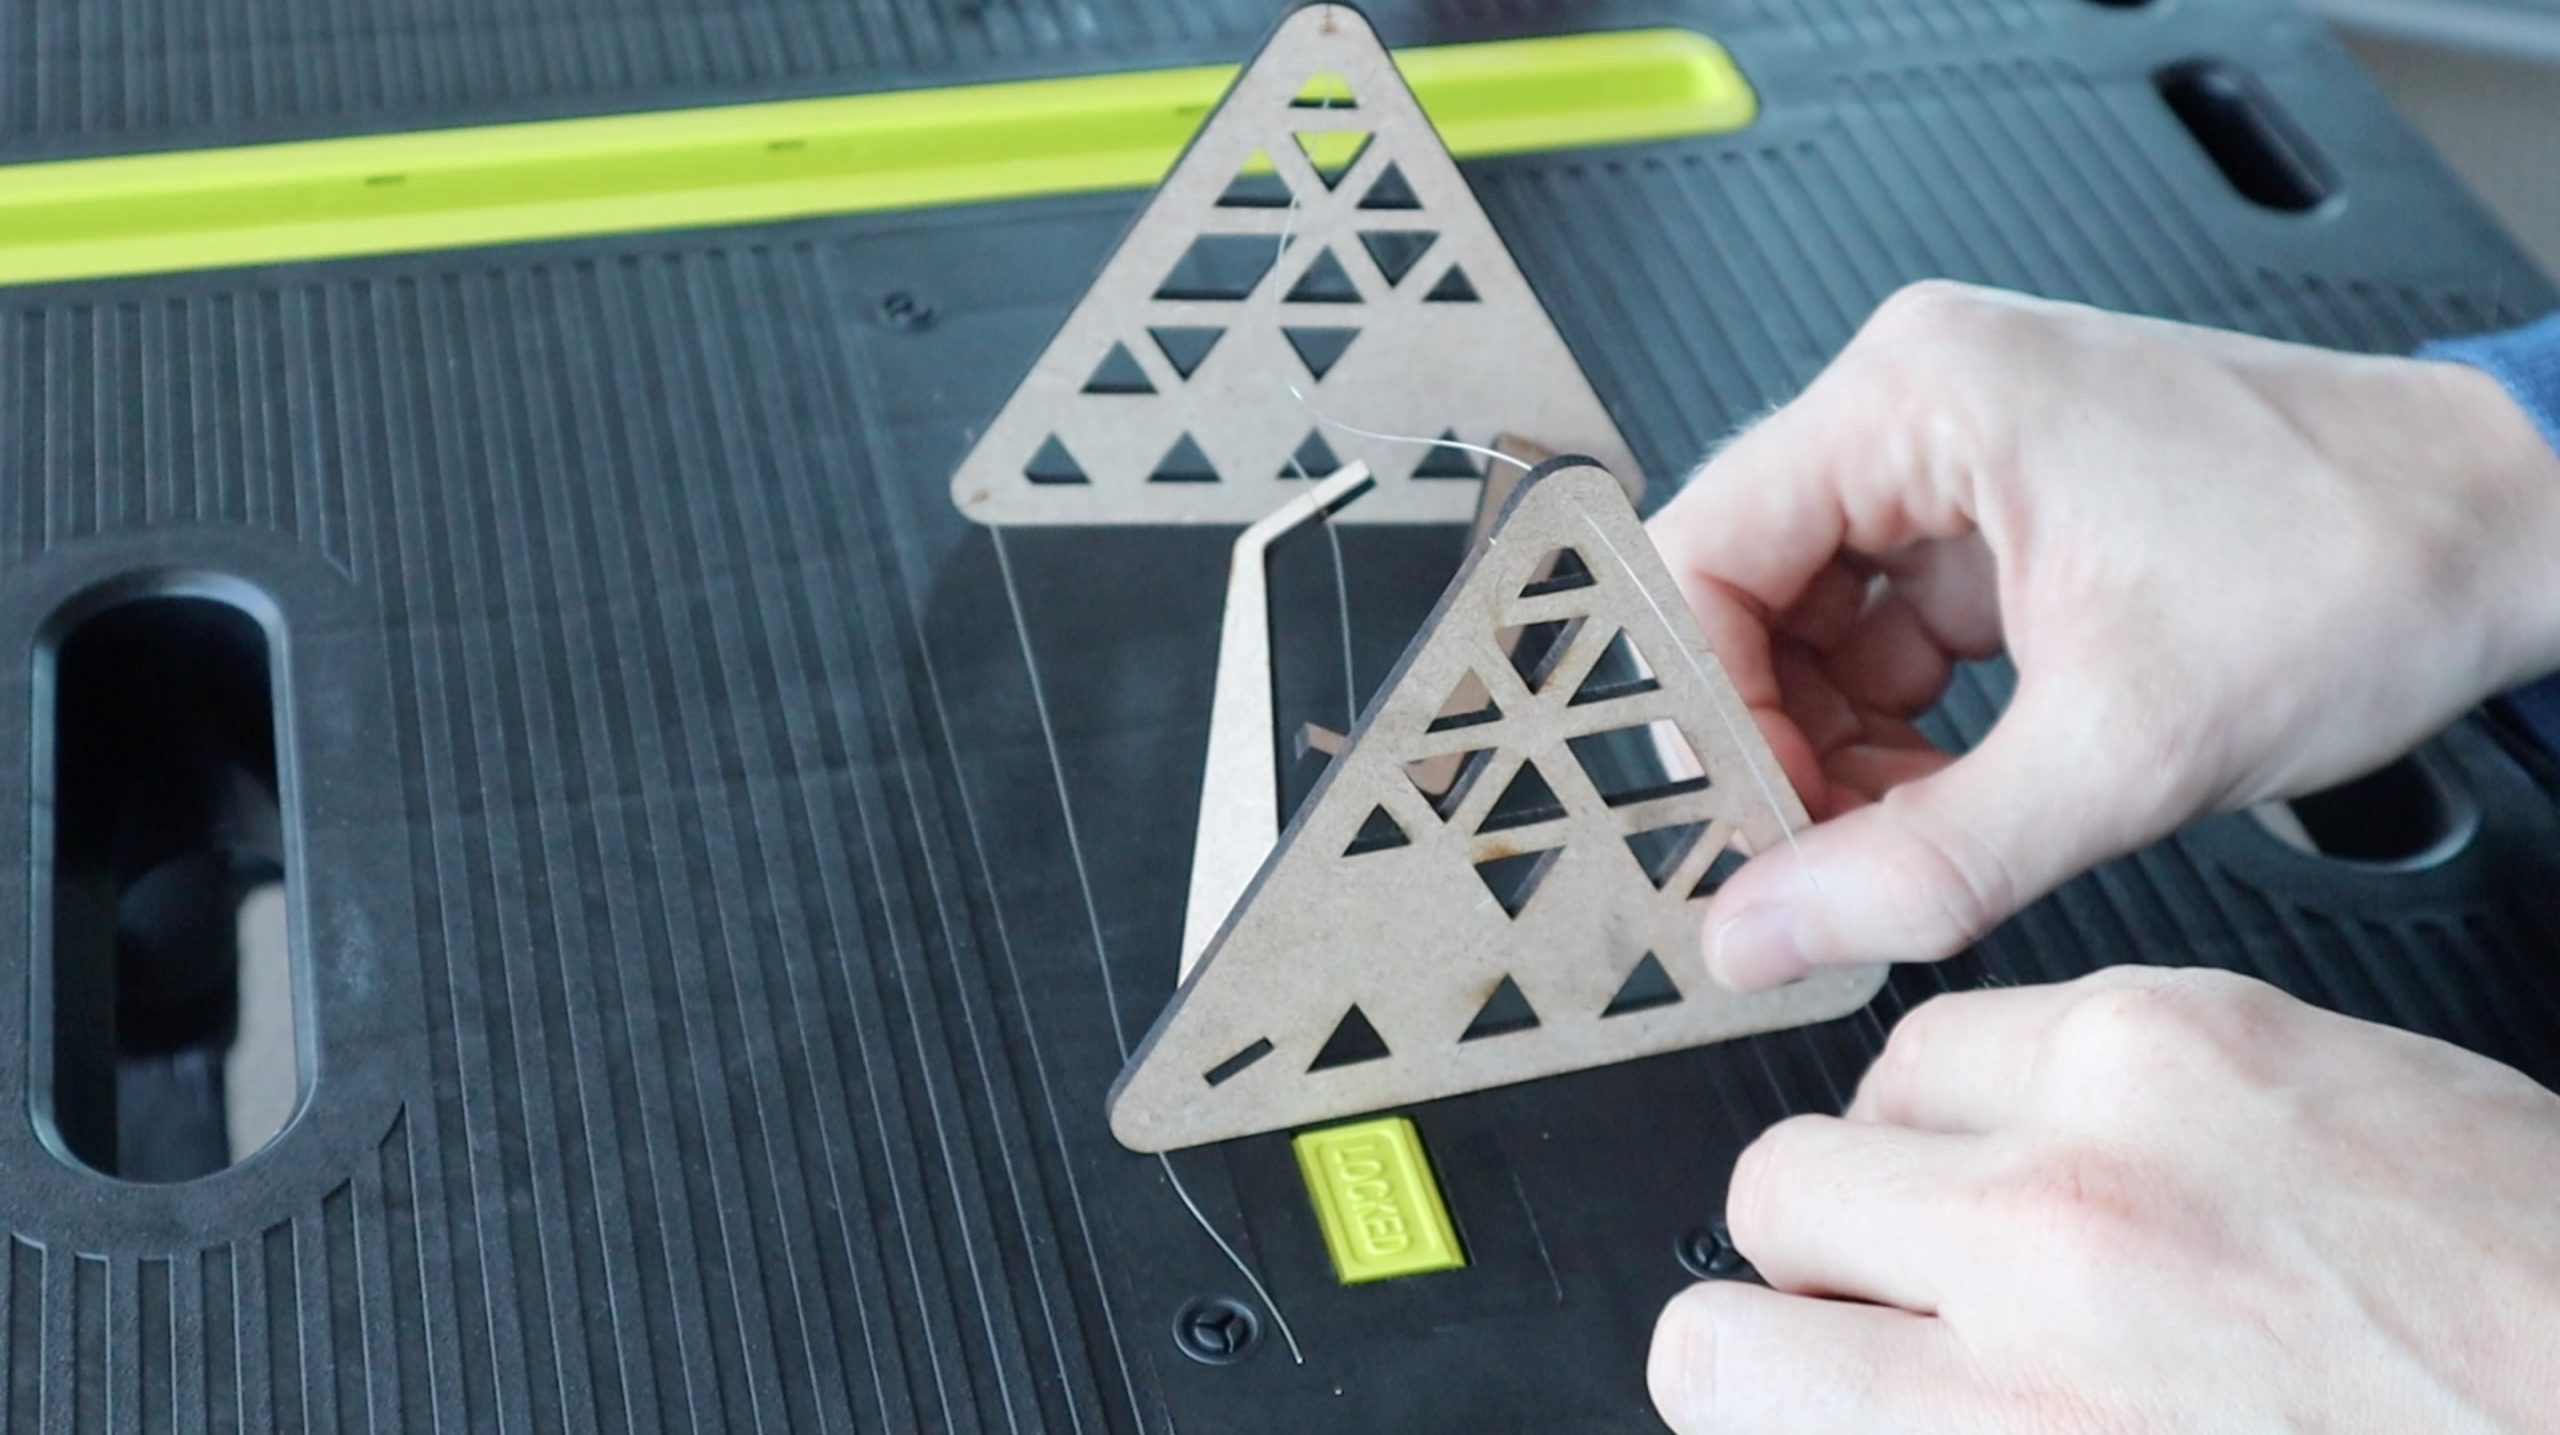
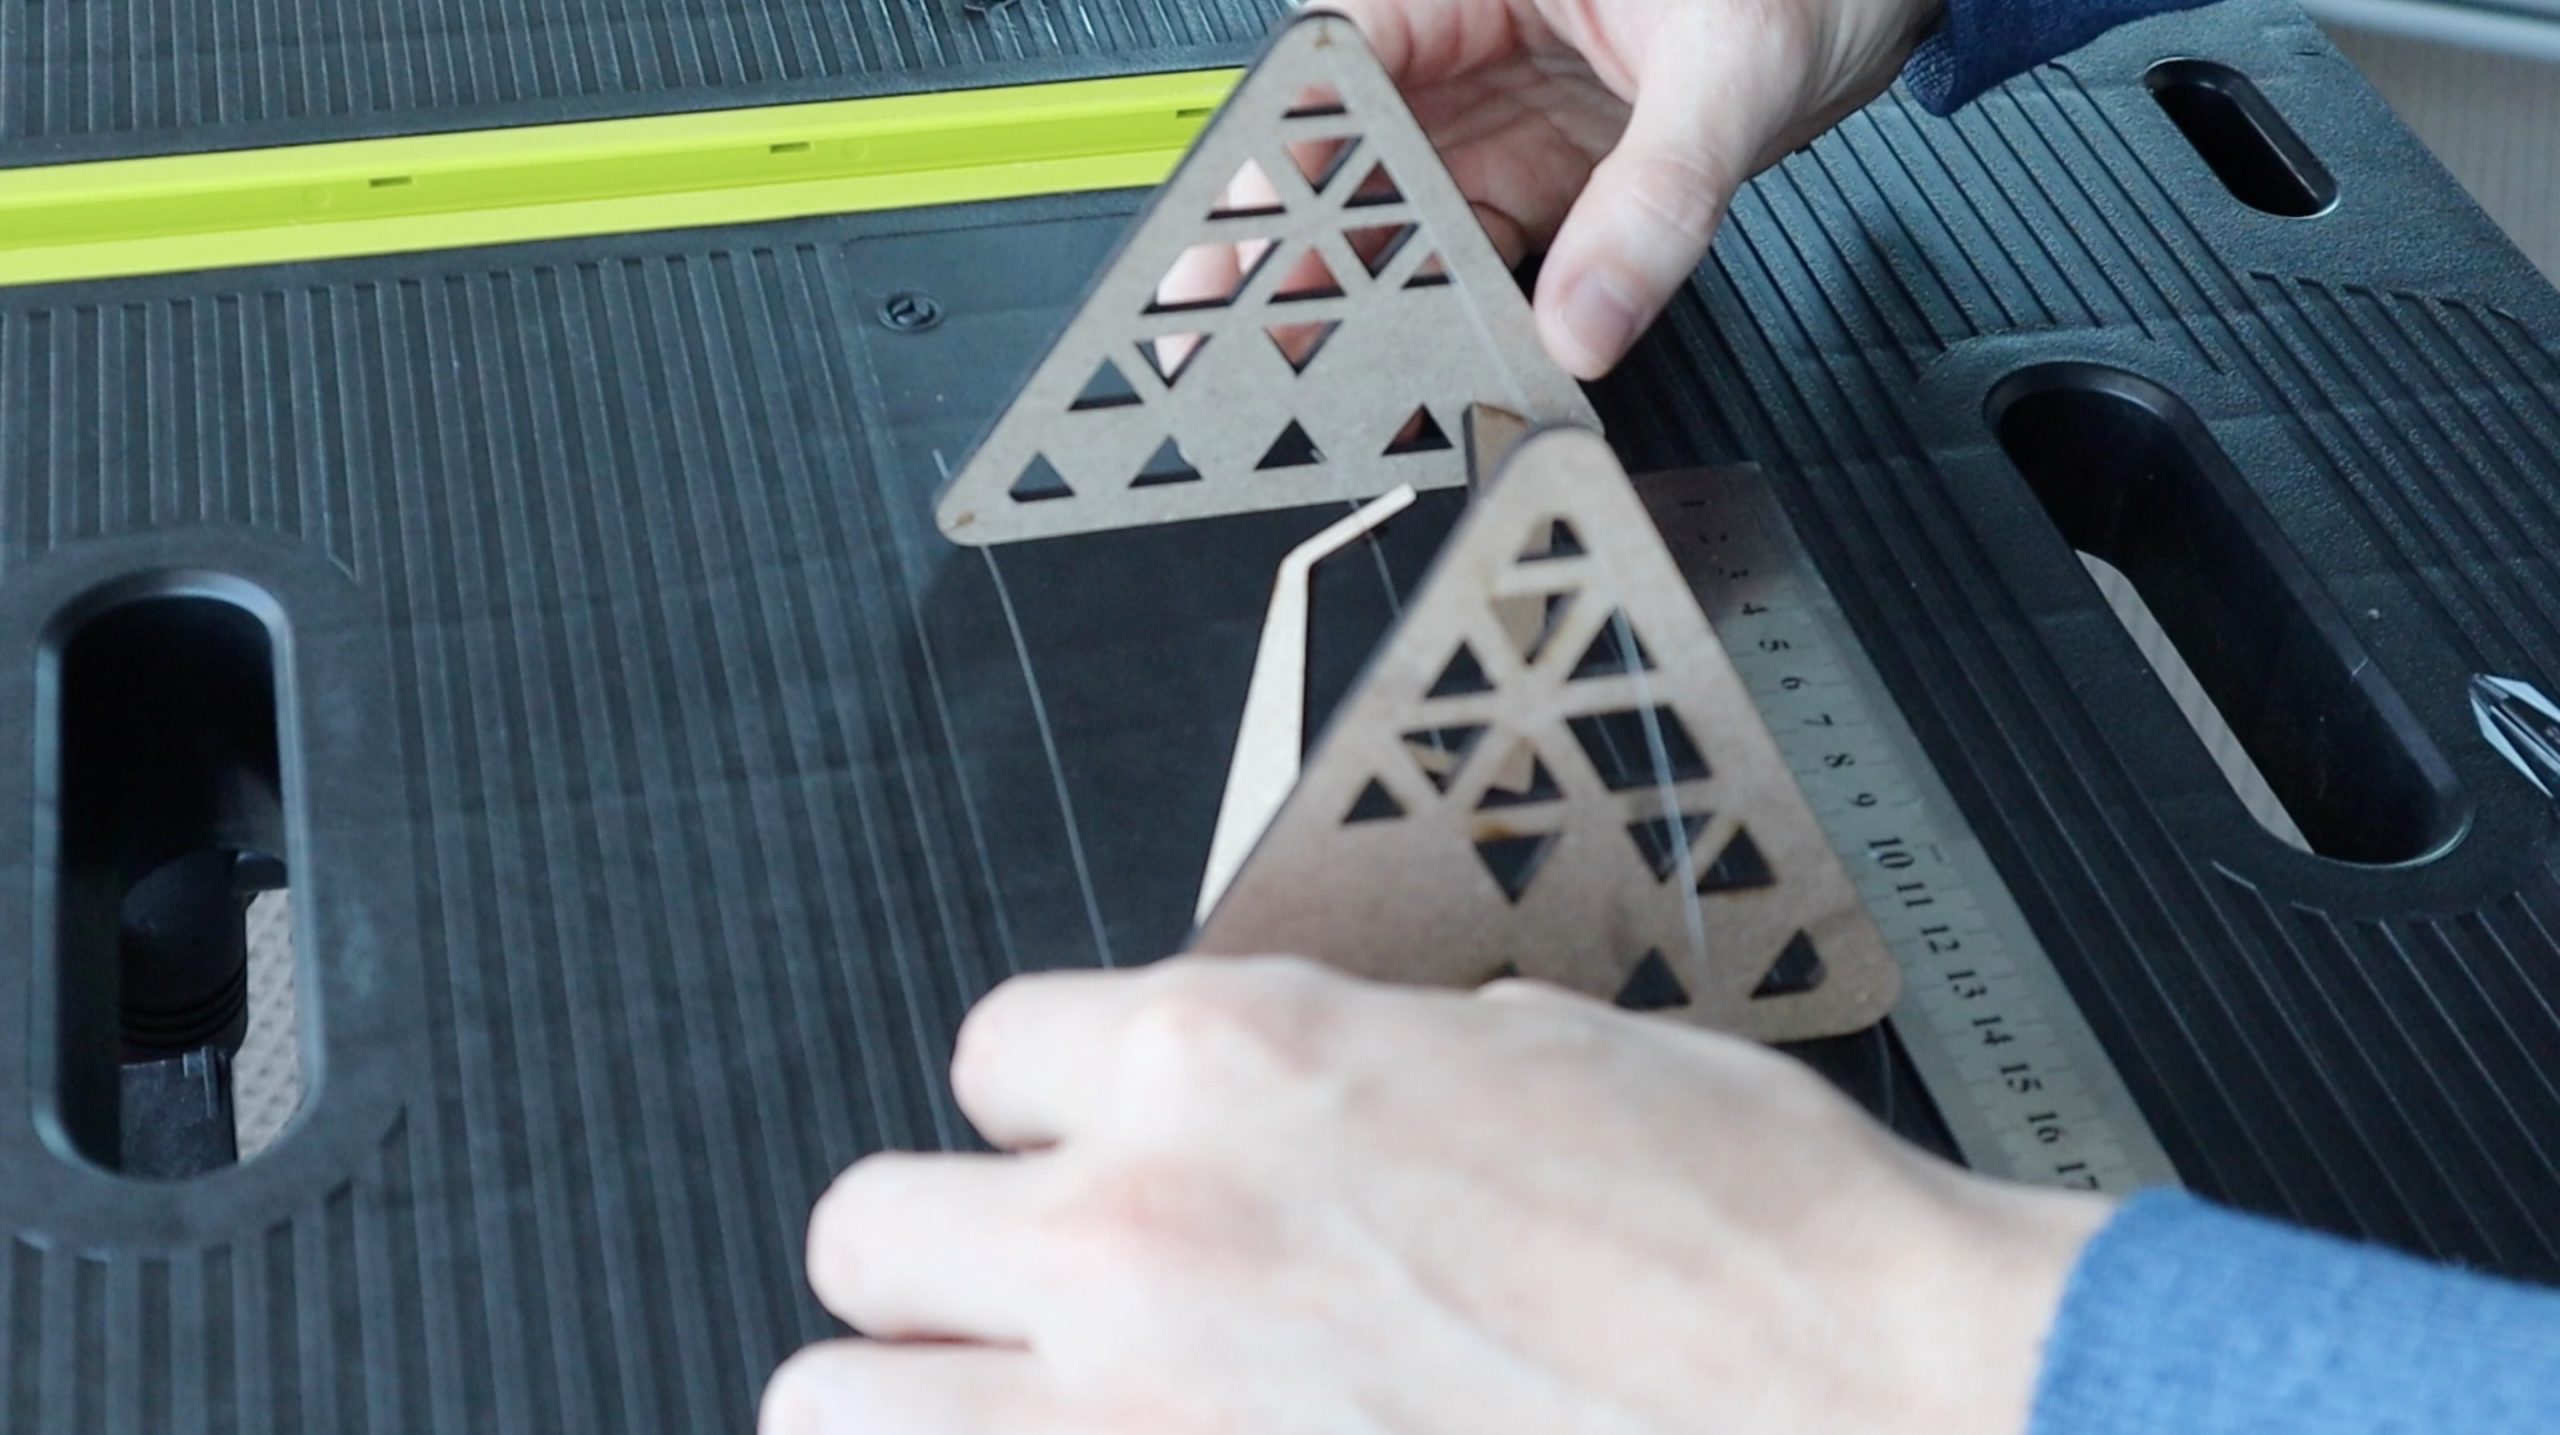
Cut your components from your chosen material. You’ll need two table ends and two vertical supports for each table.
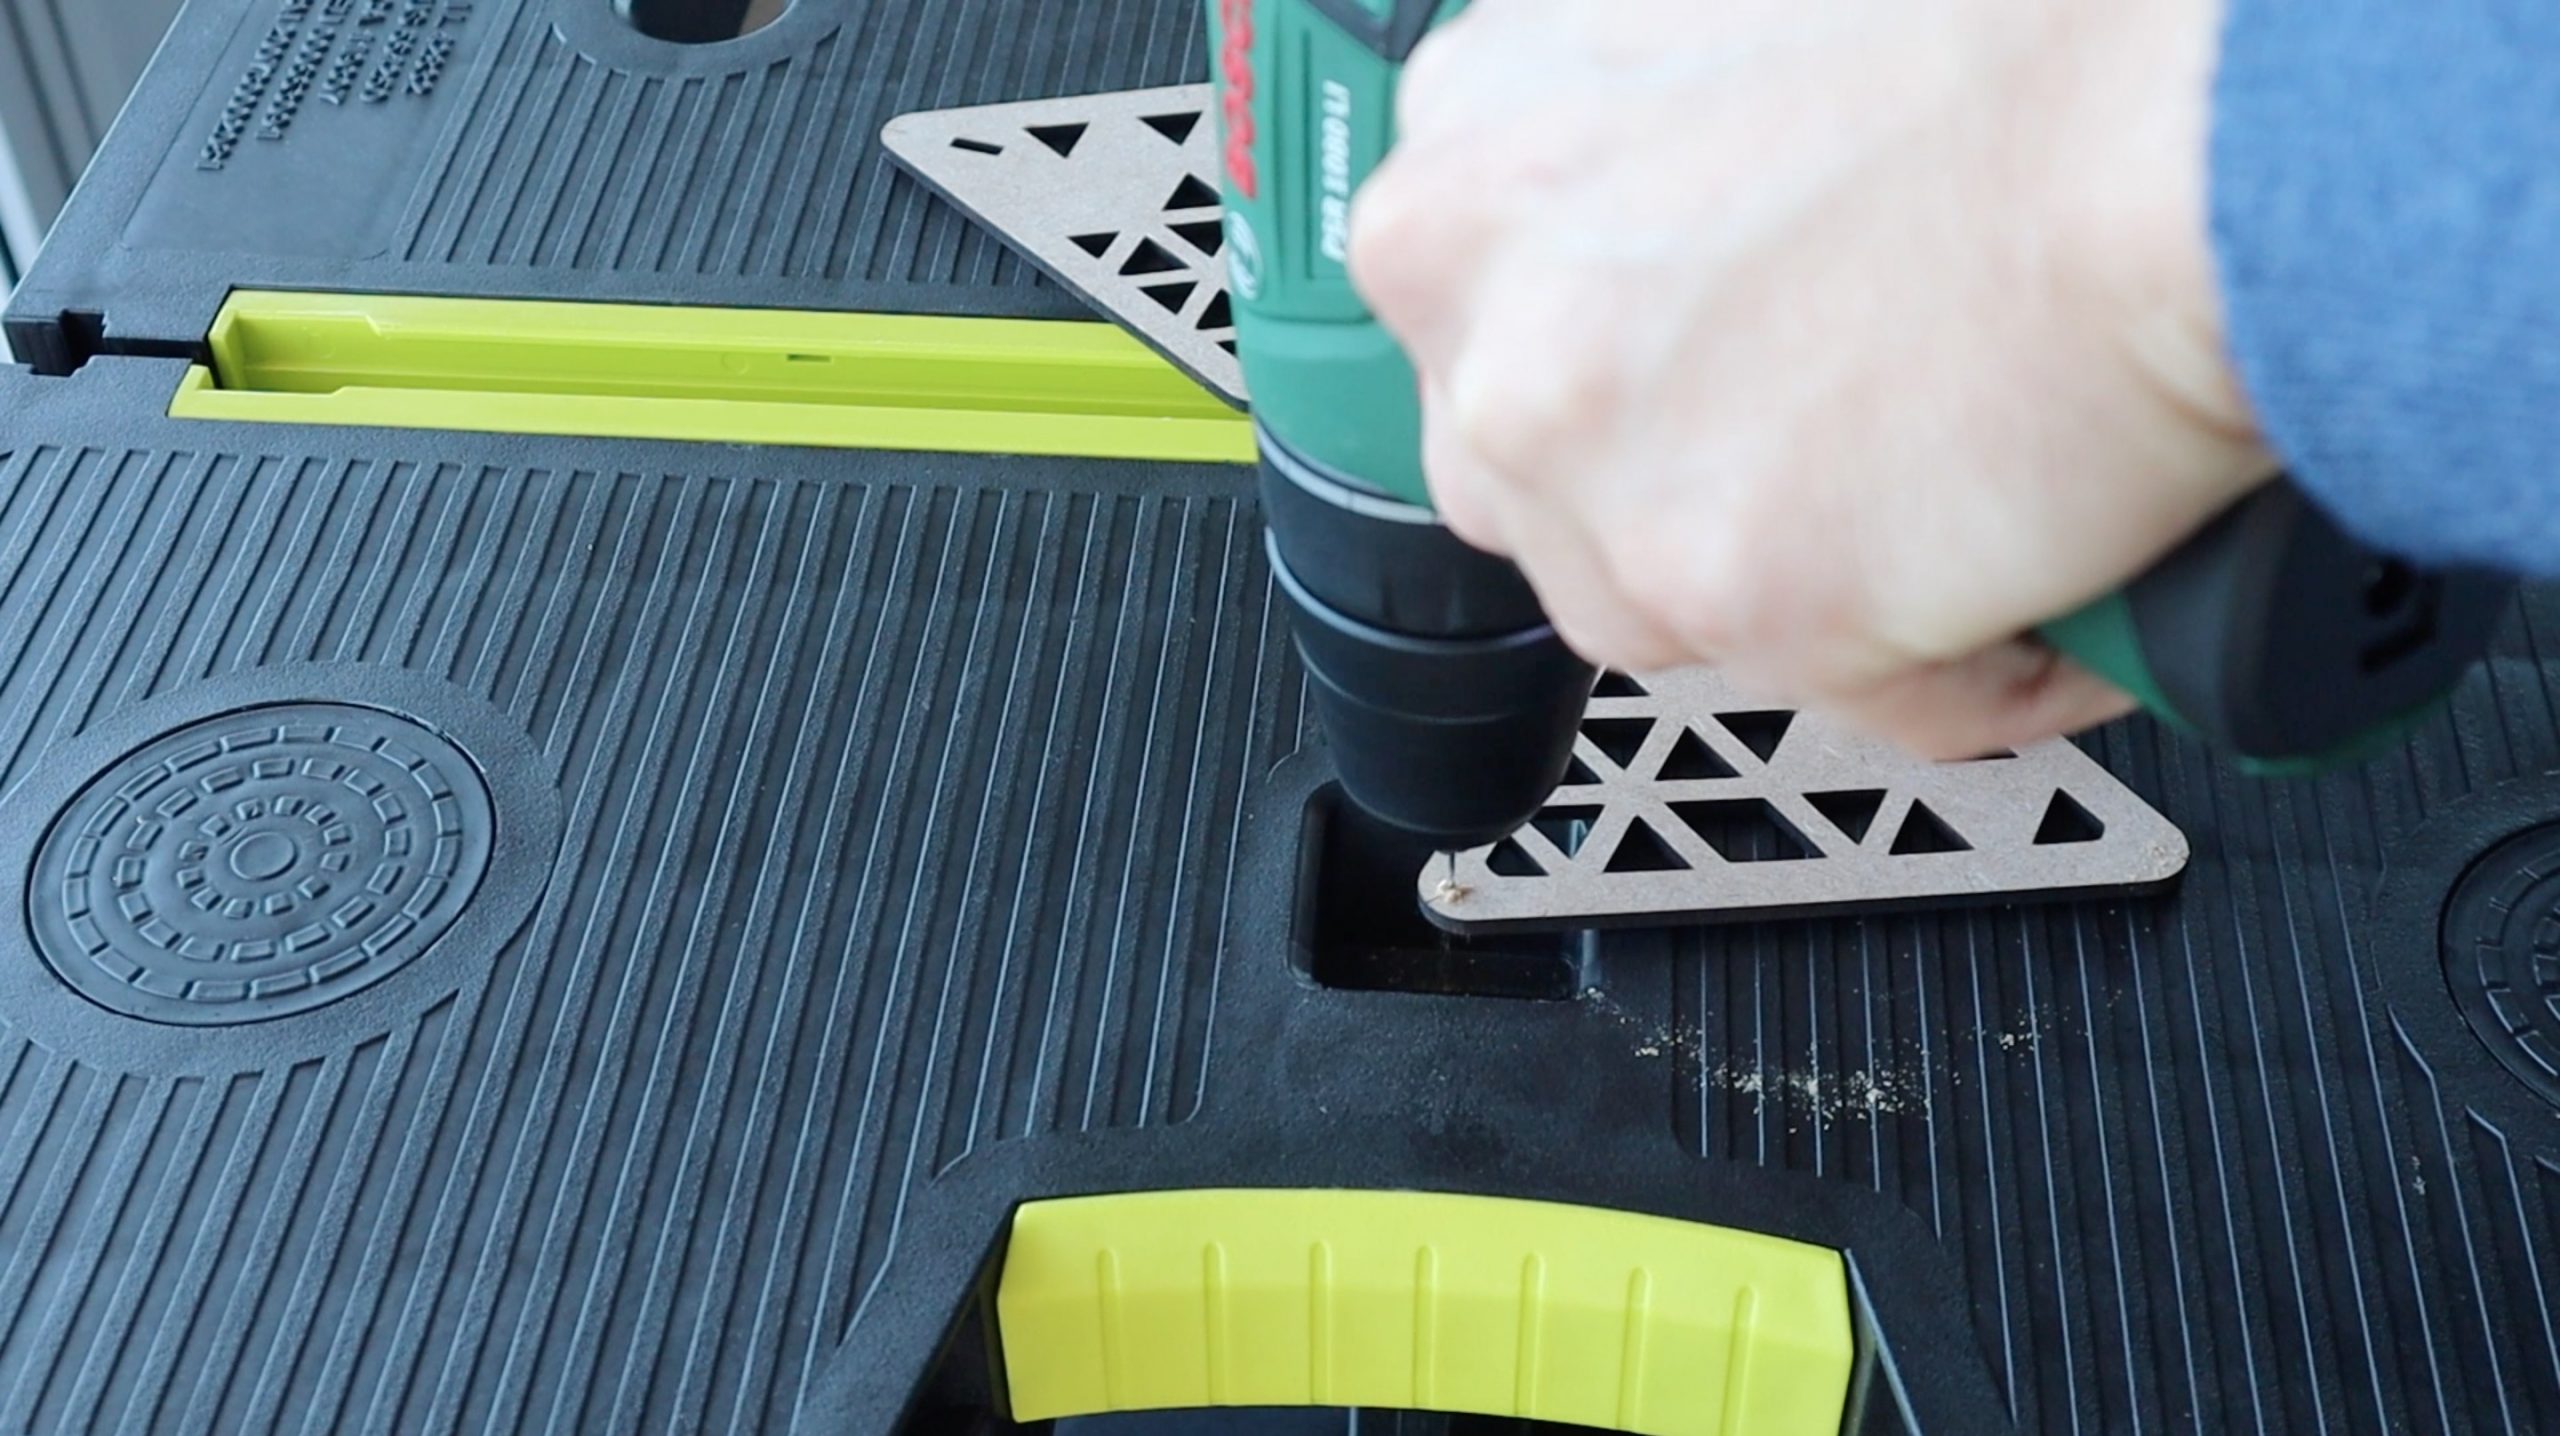
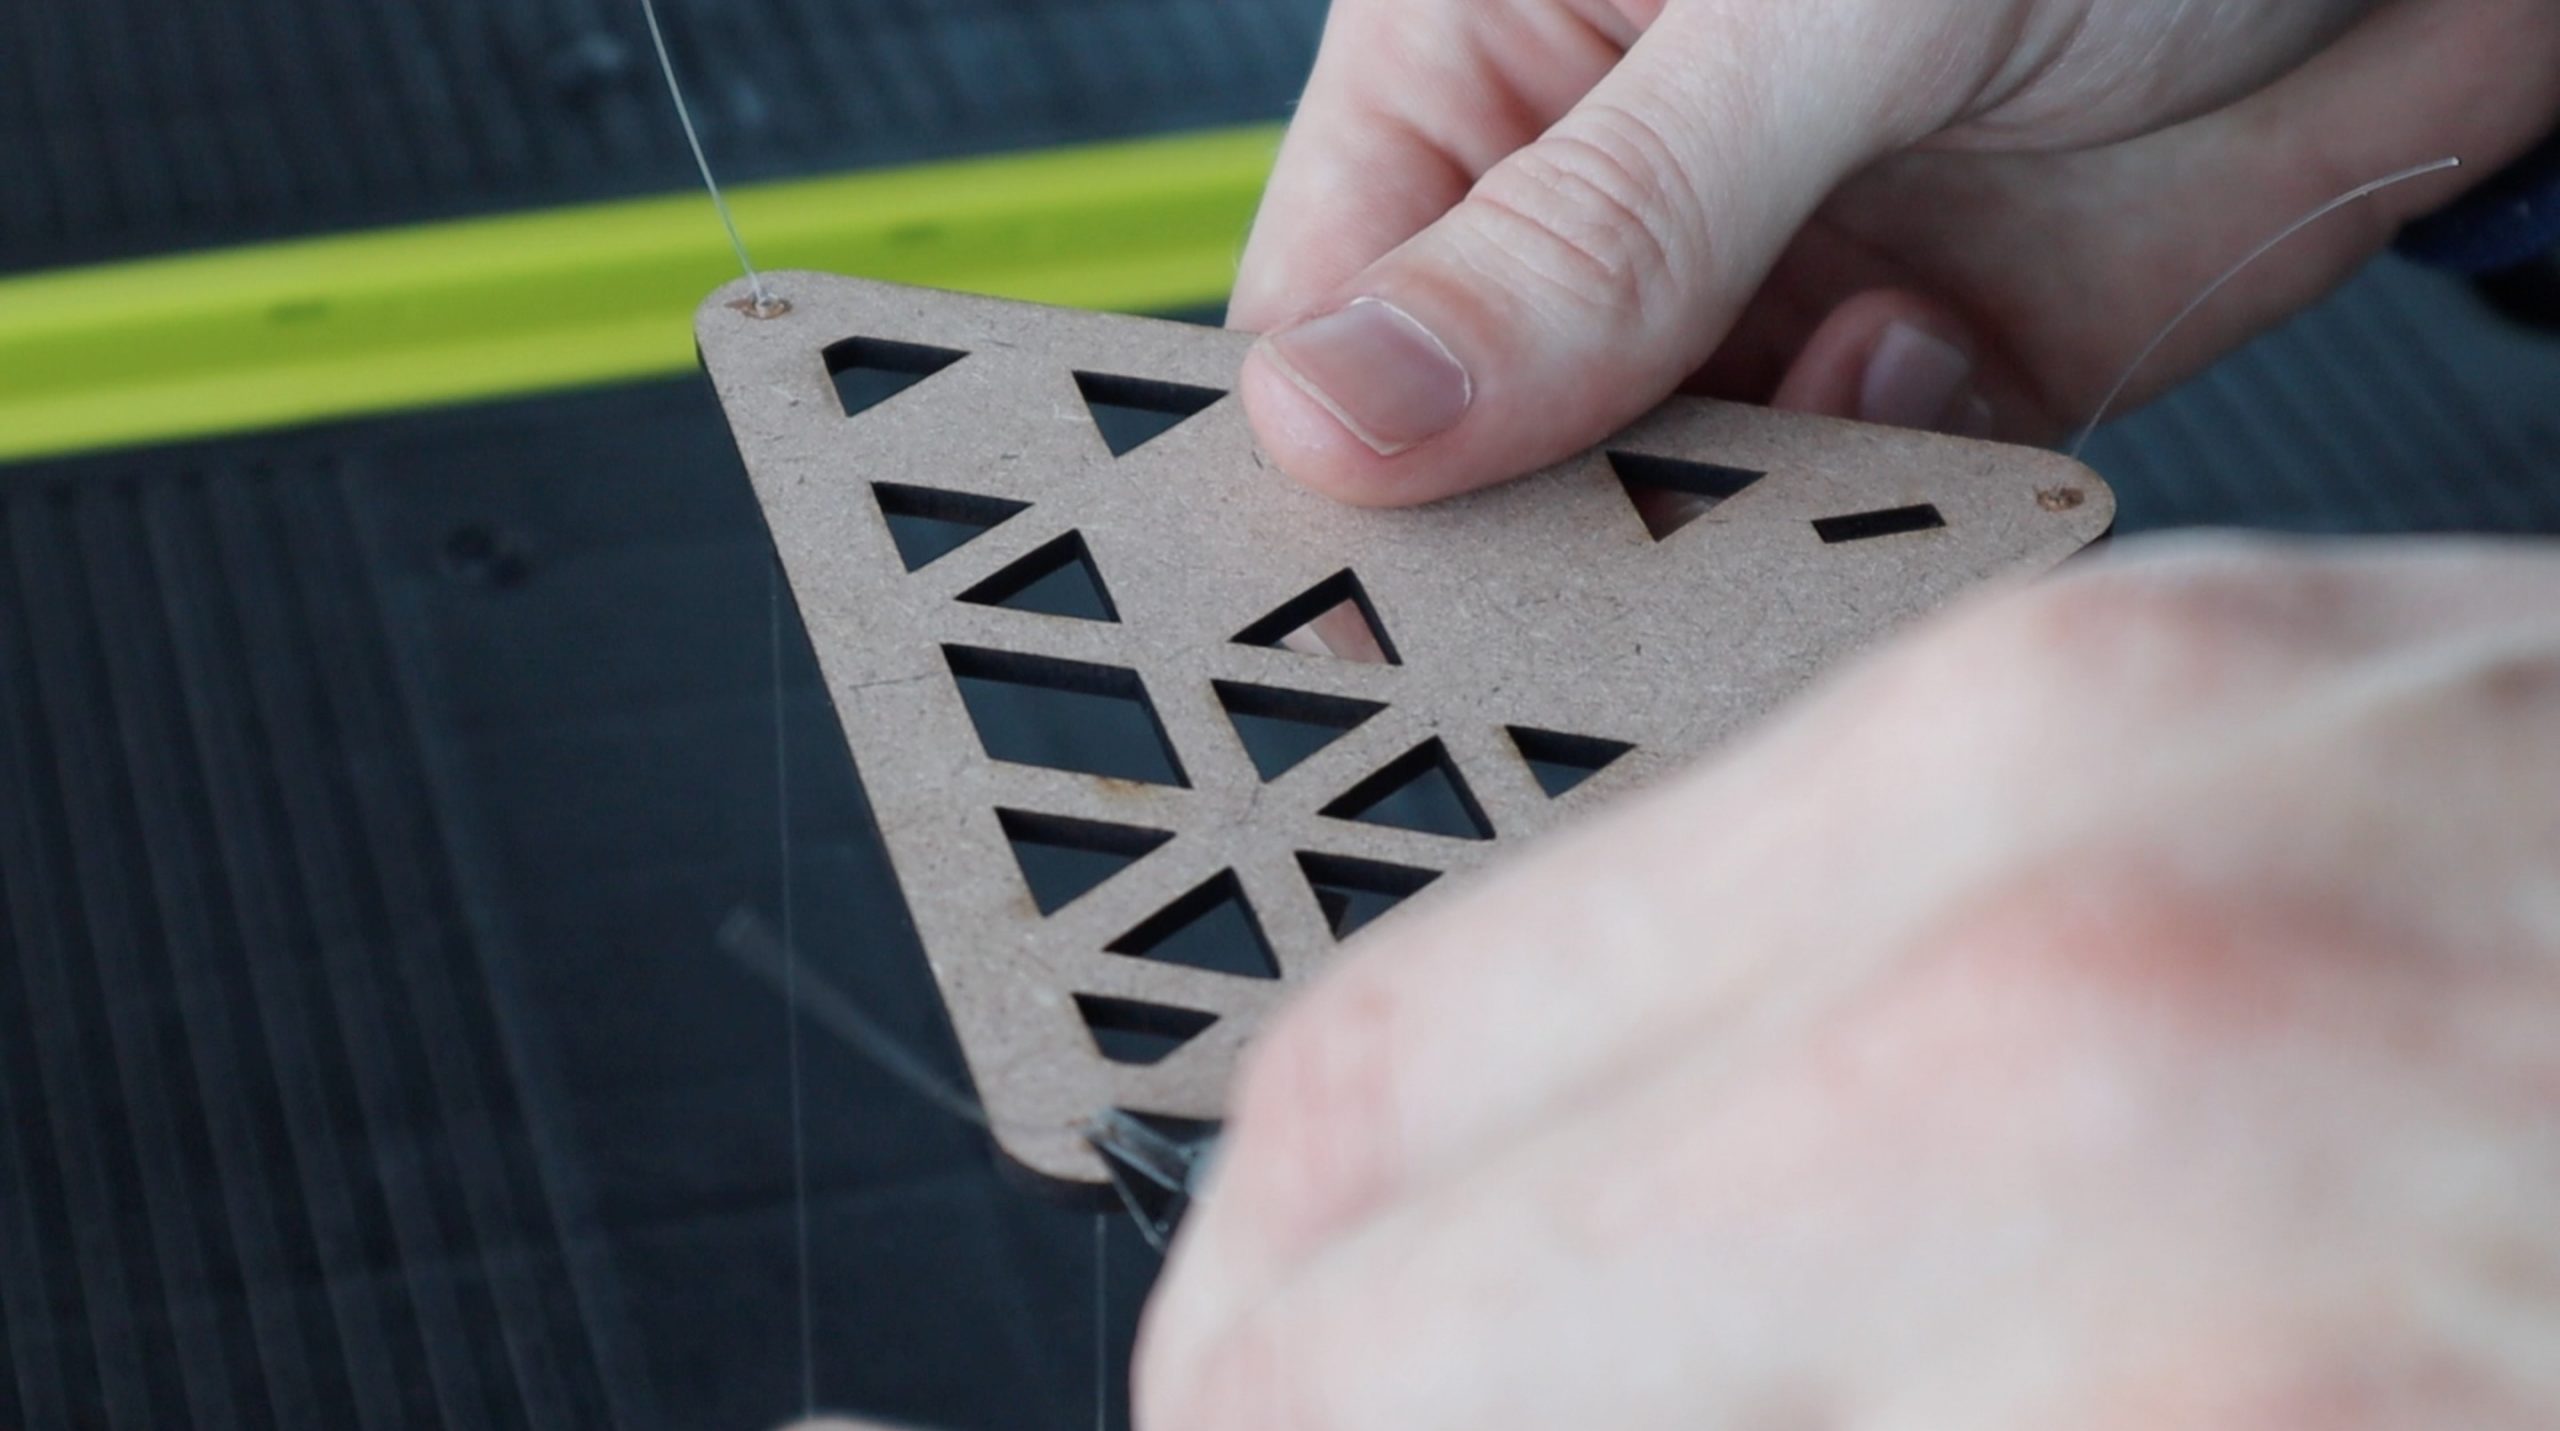
Once you’ve cut out your components, you need to drill the holes through them for the fishing line or thread. I drilled these using a 1mm drill bit on engraved markings. You can adjust the drill bit size to suit the diameter of your fishing line or thread.
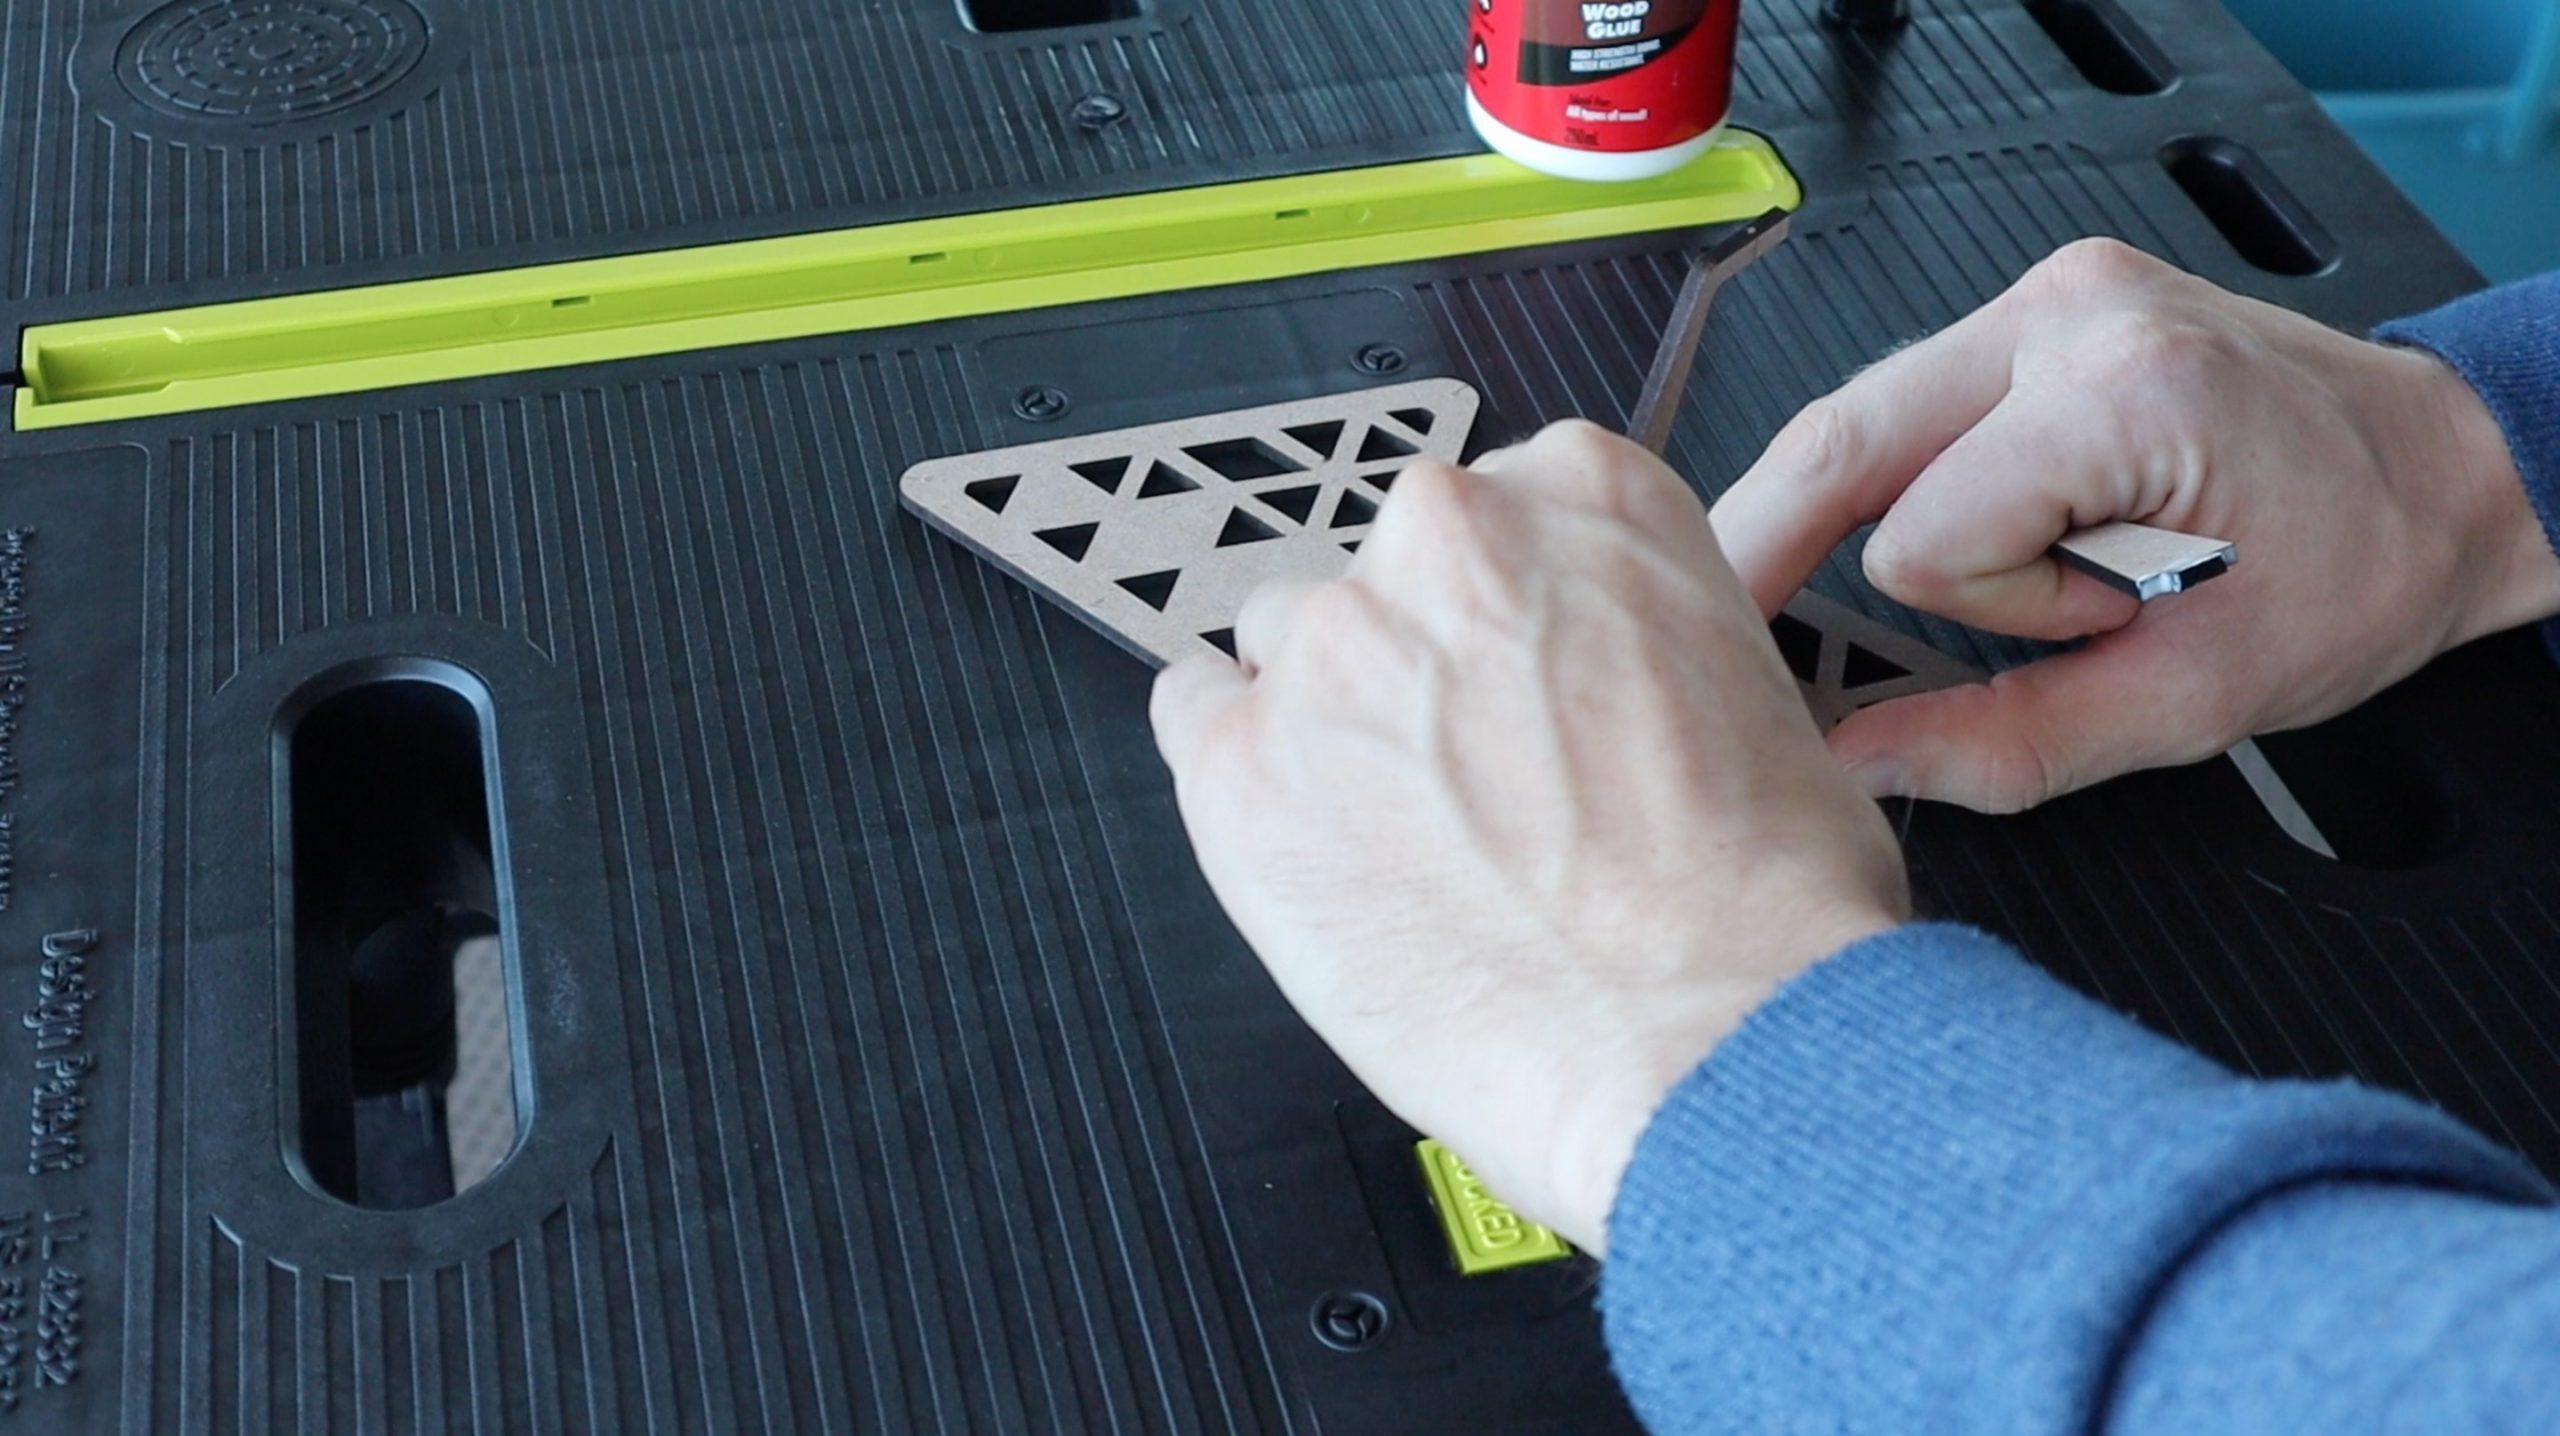
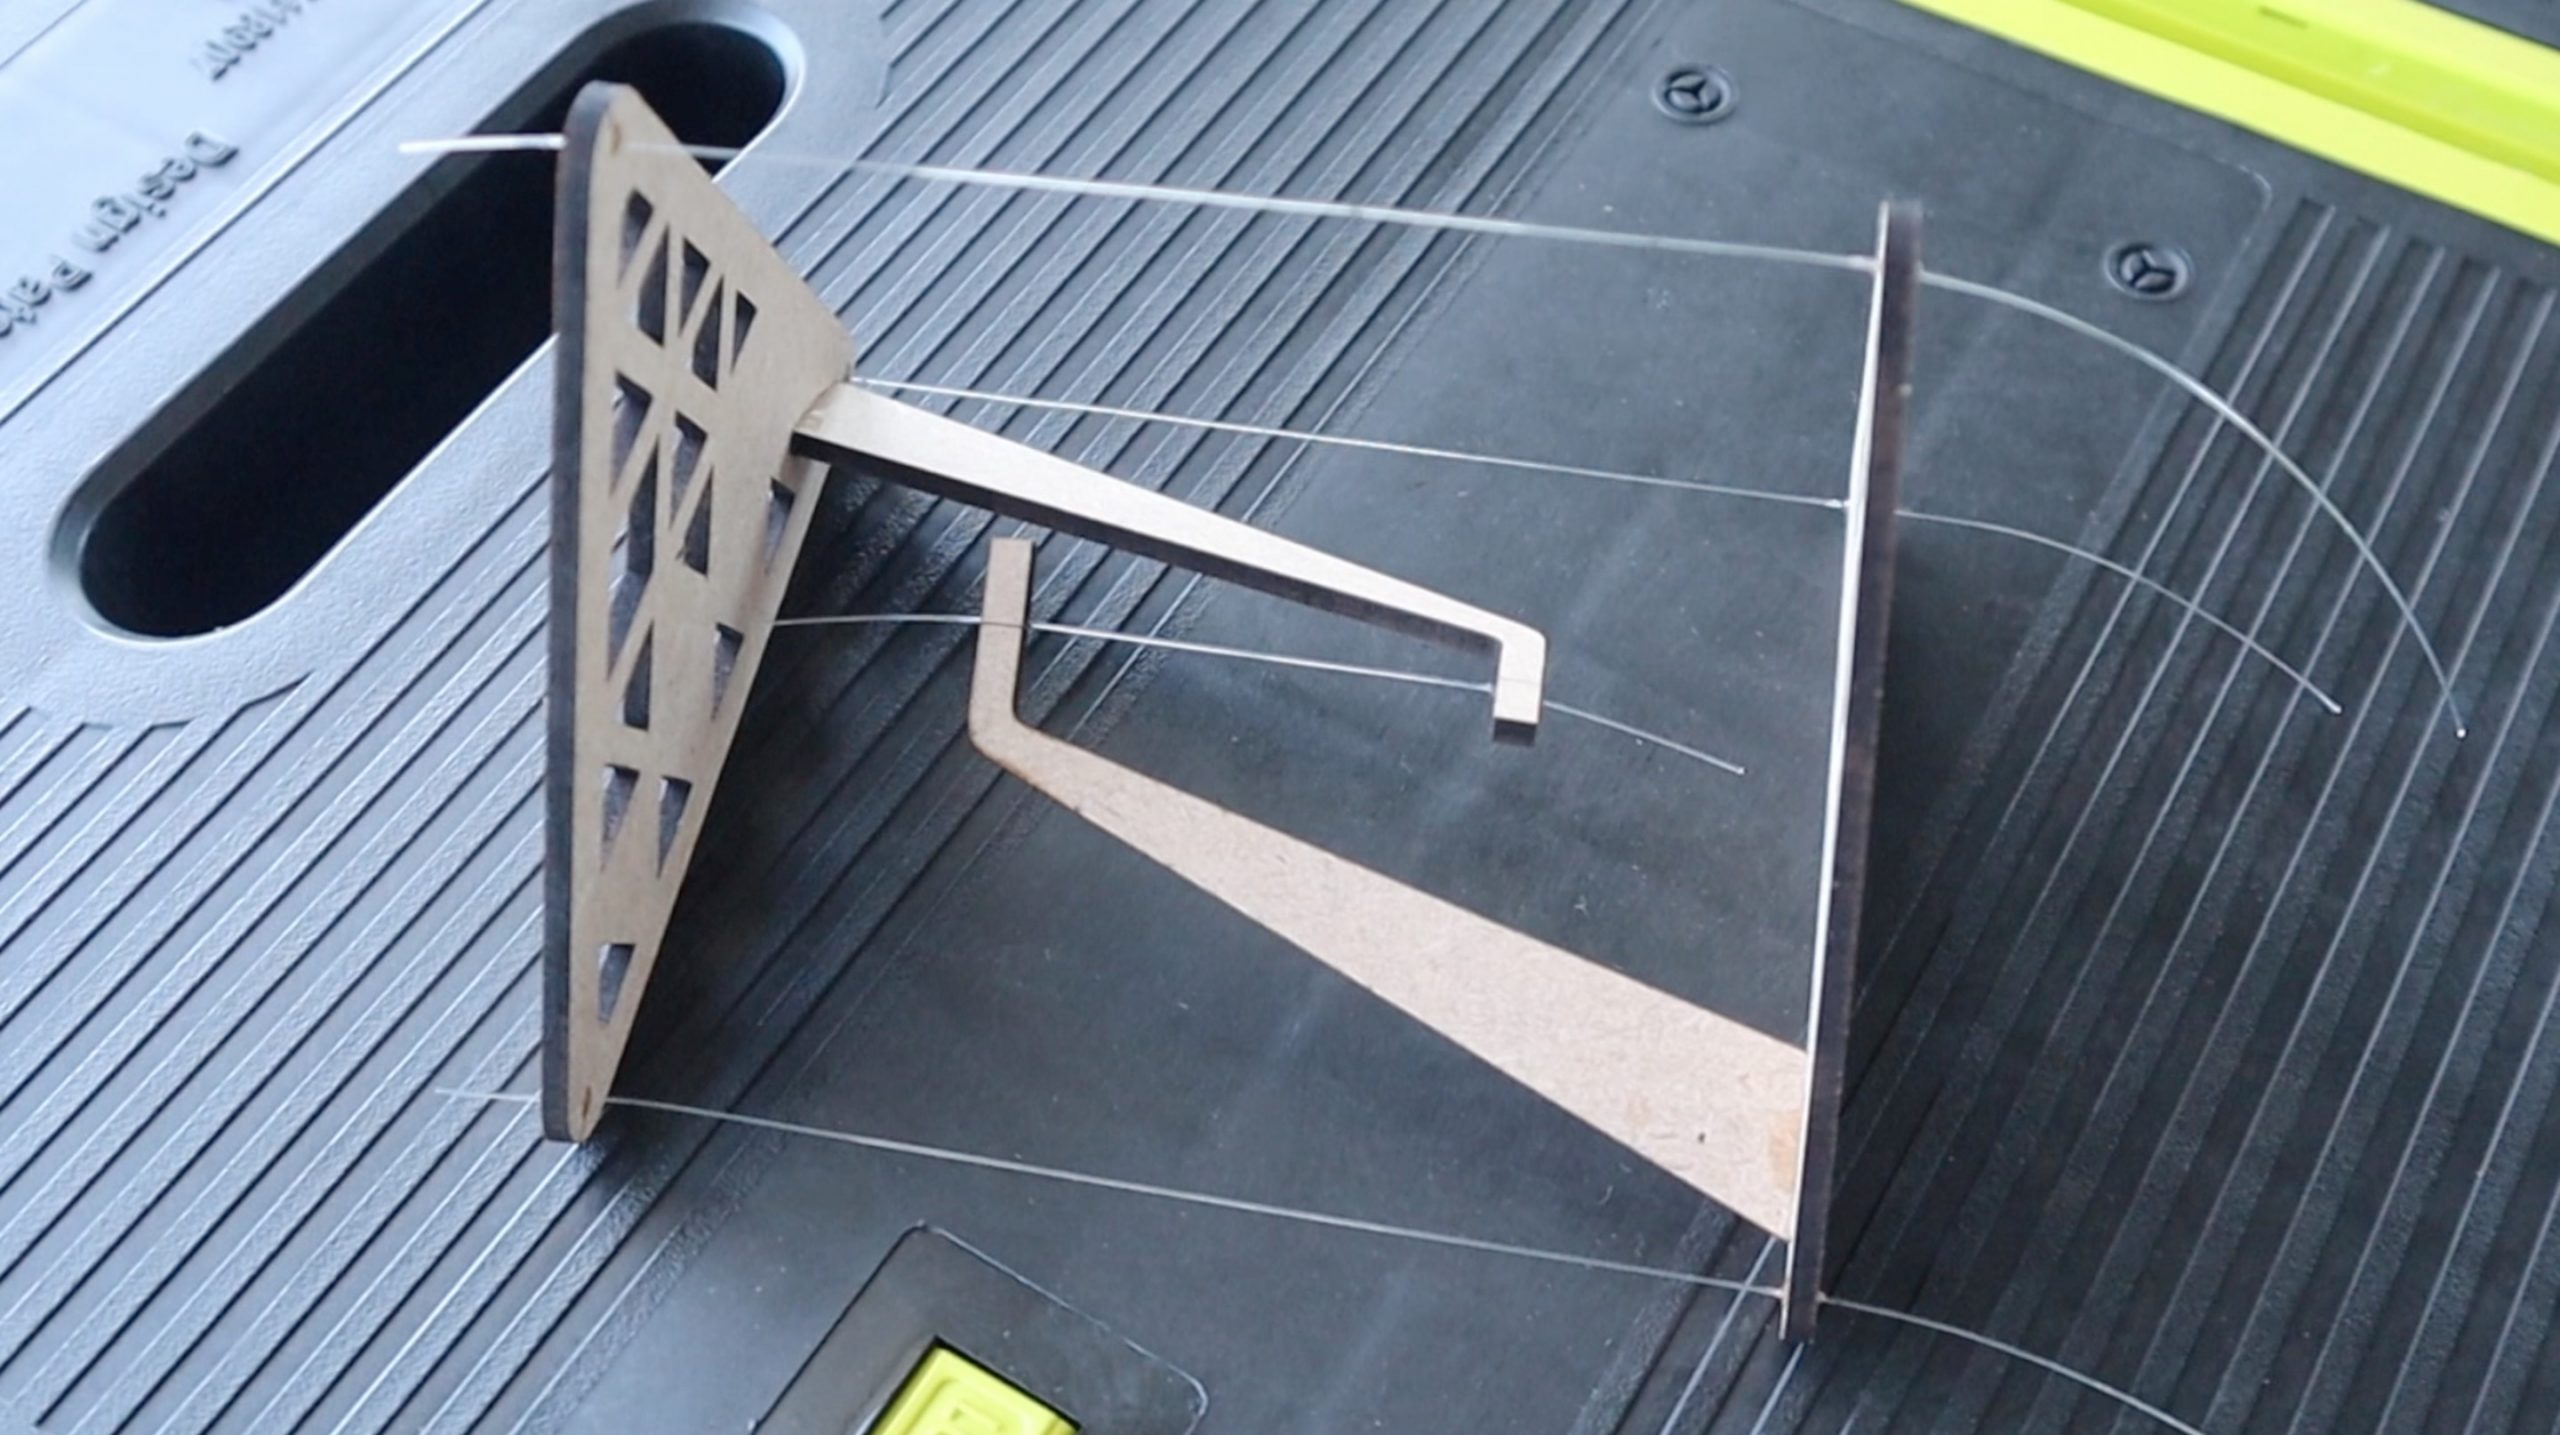
You’ll then need to glue the vertical pieces in place using PVA wood glue and wait for the glue to dry. There is a slot designed into the table ends to position and align the vertical support.
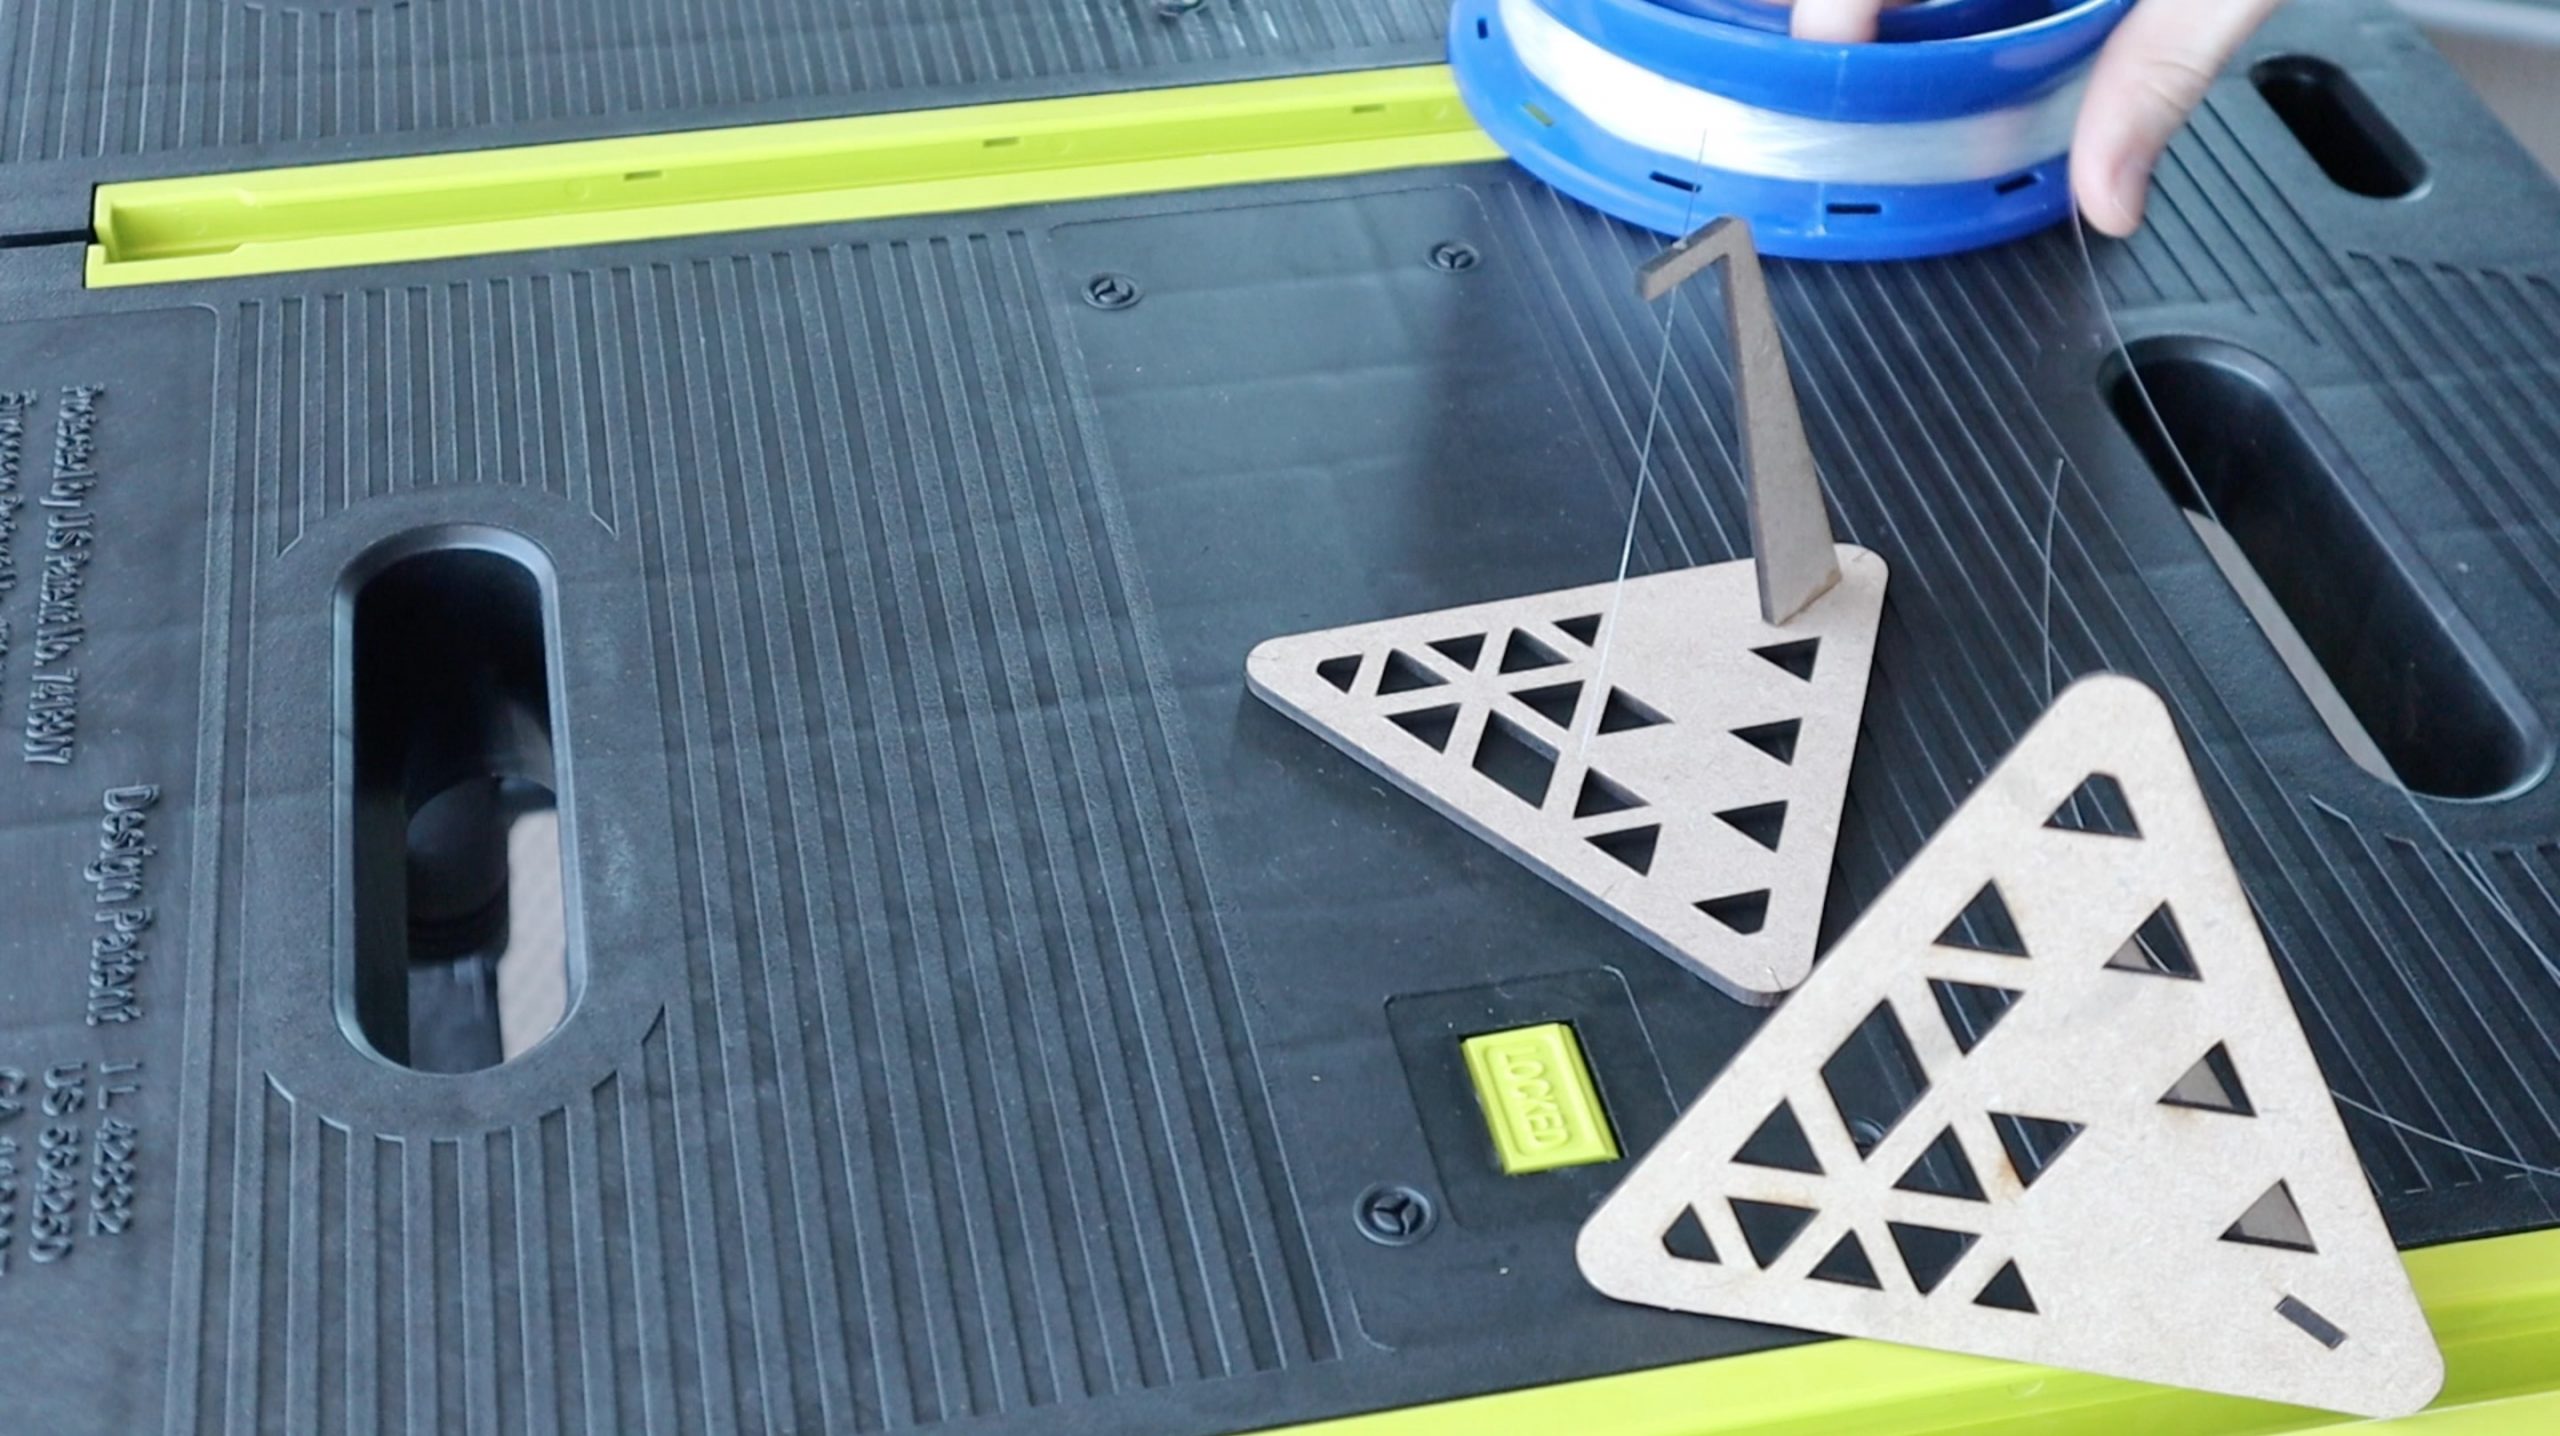
Once that’s done, you can add your fishing line or thread. Fishing line is a bit easier to use because it doesn’t fray and it’s more rigid, so its easier to thread through the holes. Cut four lengths a lot longer than you need, you can then trim them when you’re done. I found that lengths of around 200mm (8″) worked well.
Glue one end of each line into the bottom side of the table first. You can either tie a knot at the end of the lines or simply glue them into place with some super glue. I found it easier to position them accurately and glue them into place rather than trying to get the knot tied in the correct place. A single drop of super glue on each side was sufficient to hold the line in place and dried quite quickly.
Then glue the tension line in the middle into place, leaving around a 50-60mm (2″) gap between the two centre pieces. Glue or tie both ends of the tension line into place.
Then fed the three outer lines through their holes. The last step takes a bit of patience to get right. You need to glue or tie the three outer lines into place so that there is a little bit of tension on the centre line but also keep the top and bottom surfaces as close to parallel as possible. So all three lines need to be as close to the same length as possible. It helps to use a ruler to get this part right. Depending on the length of your centre strand, you’re looking for these lines to be around 130mm (5″) long. Also, use a small amount of glue to temporarily hold them in place until you’re sure that they’re correct so that you can undo a joint if you need to.
Once you’re happy with your table, trim off the excess fishing line and make sure that the glued joints are secure and dried.
If you’re using magnets, glue the outside three lines into place at the correct and even length, around 130mm (5″) and then add the magnets to the middle afterwards, with opposite poles facing each other so that they’re attracted to each other.
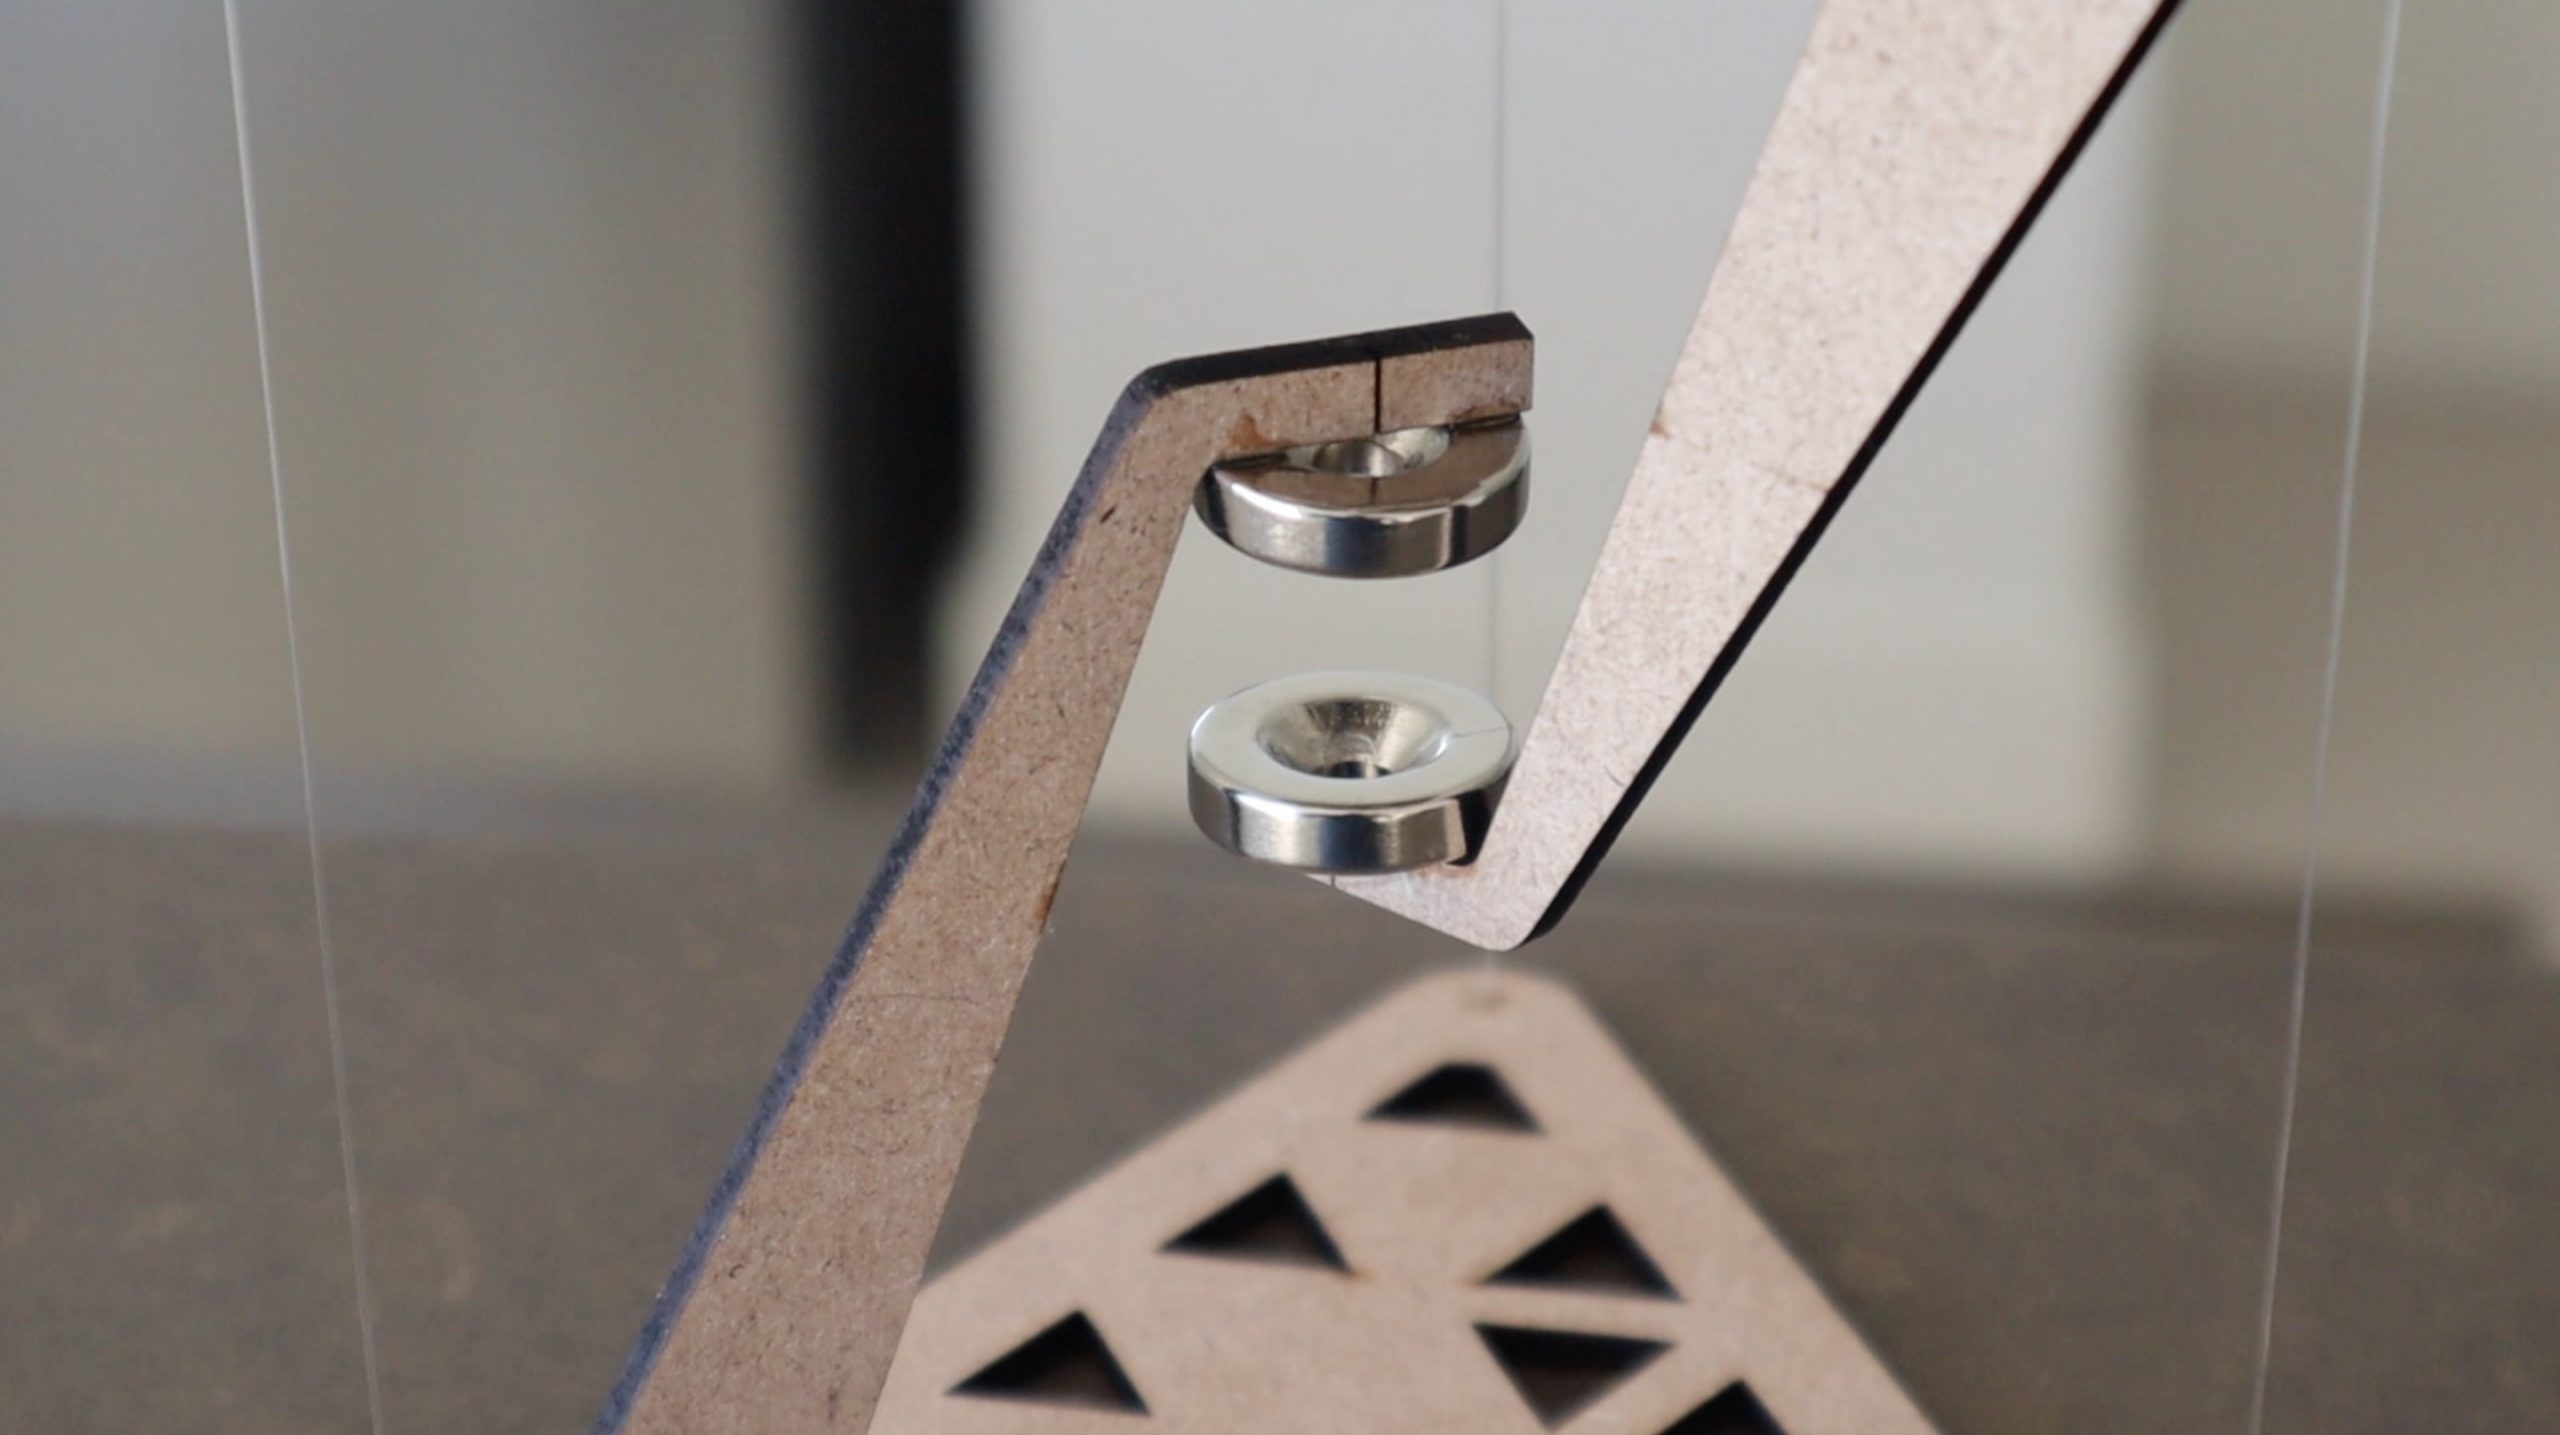
The magnetic table looks cool, but can’t really hold much weight. You could get more by positioning the magnets closer together as the magnetic force of attraction between two magnets is proportional to the square of the distance between them. There is a bit of a tradeoff here though because if they’re too close together then you can see the gap between them well and then it just looks like the magnets are rigidly holding up the table.
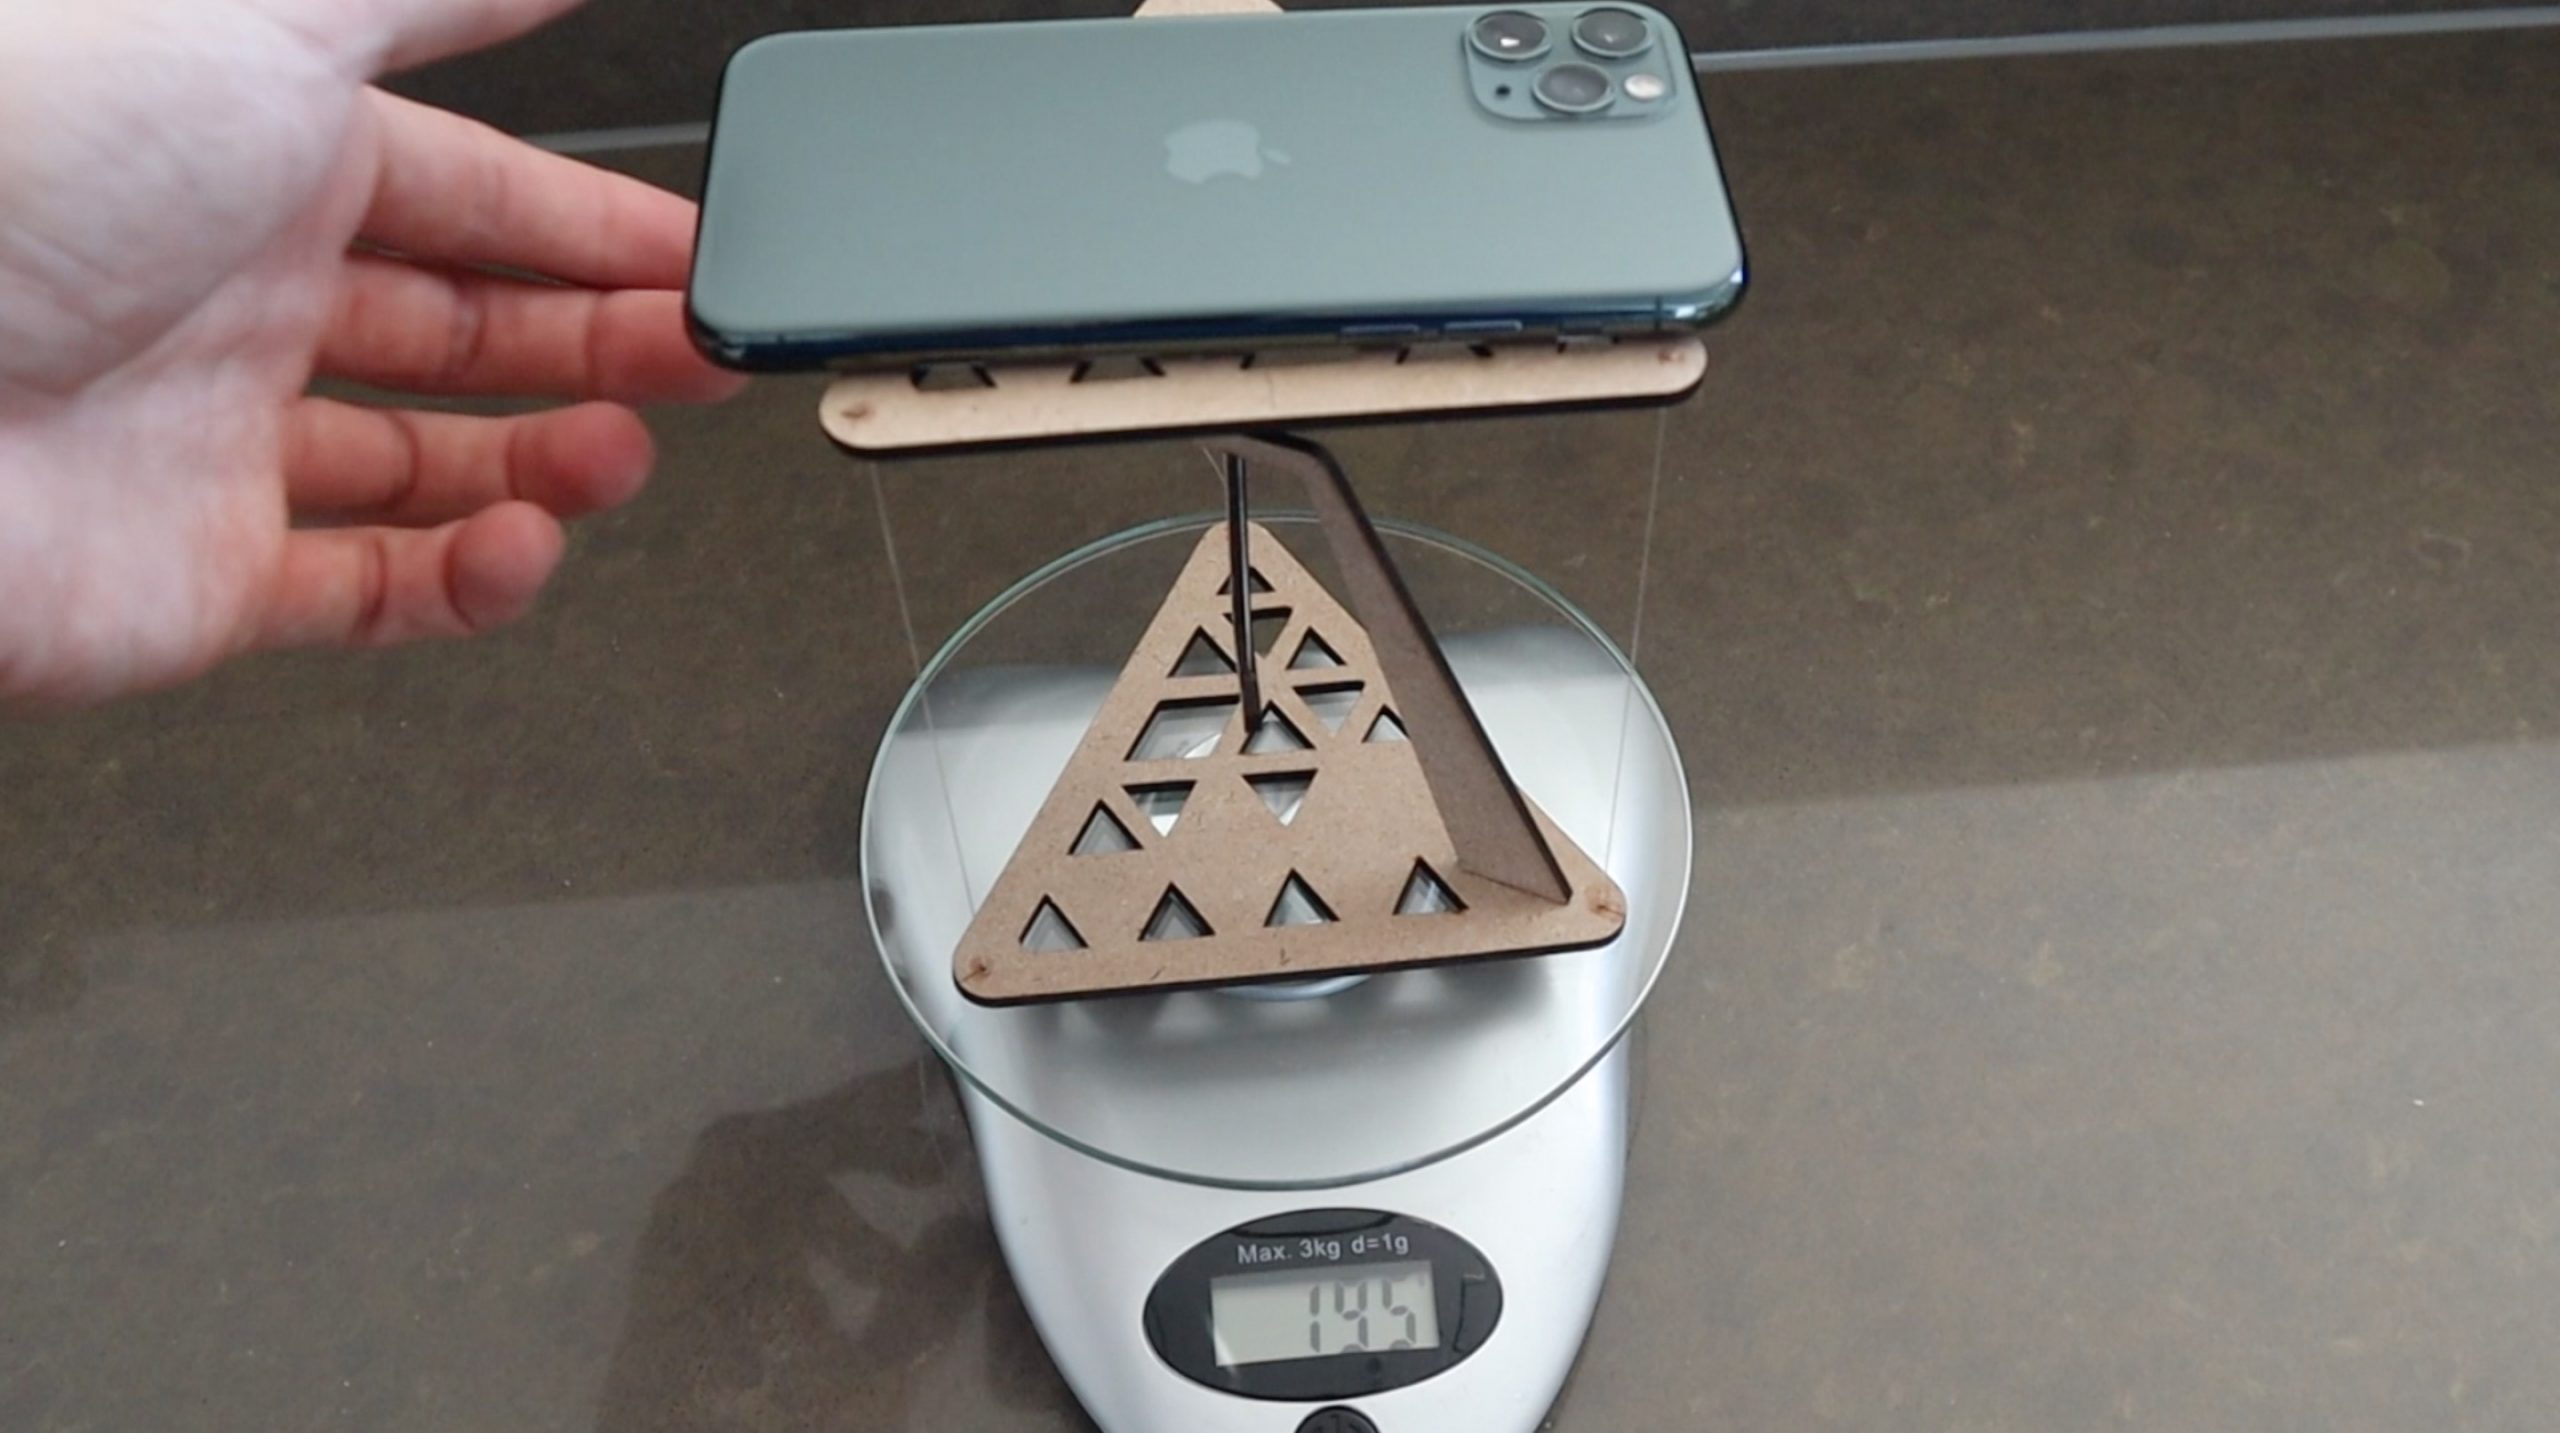
I tested the fishing line table to see if it could hold up my phone. It held up just under 200 grams but the outside lines did start flexing, so it probably couldn’t take too much more than this.
These tensegrity tables are surprisingly rigid, you can even pick them up and hold them sideways.
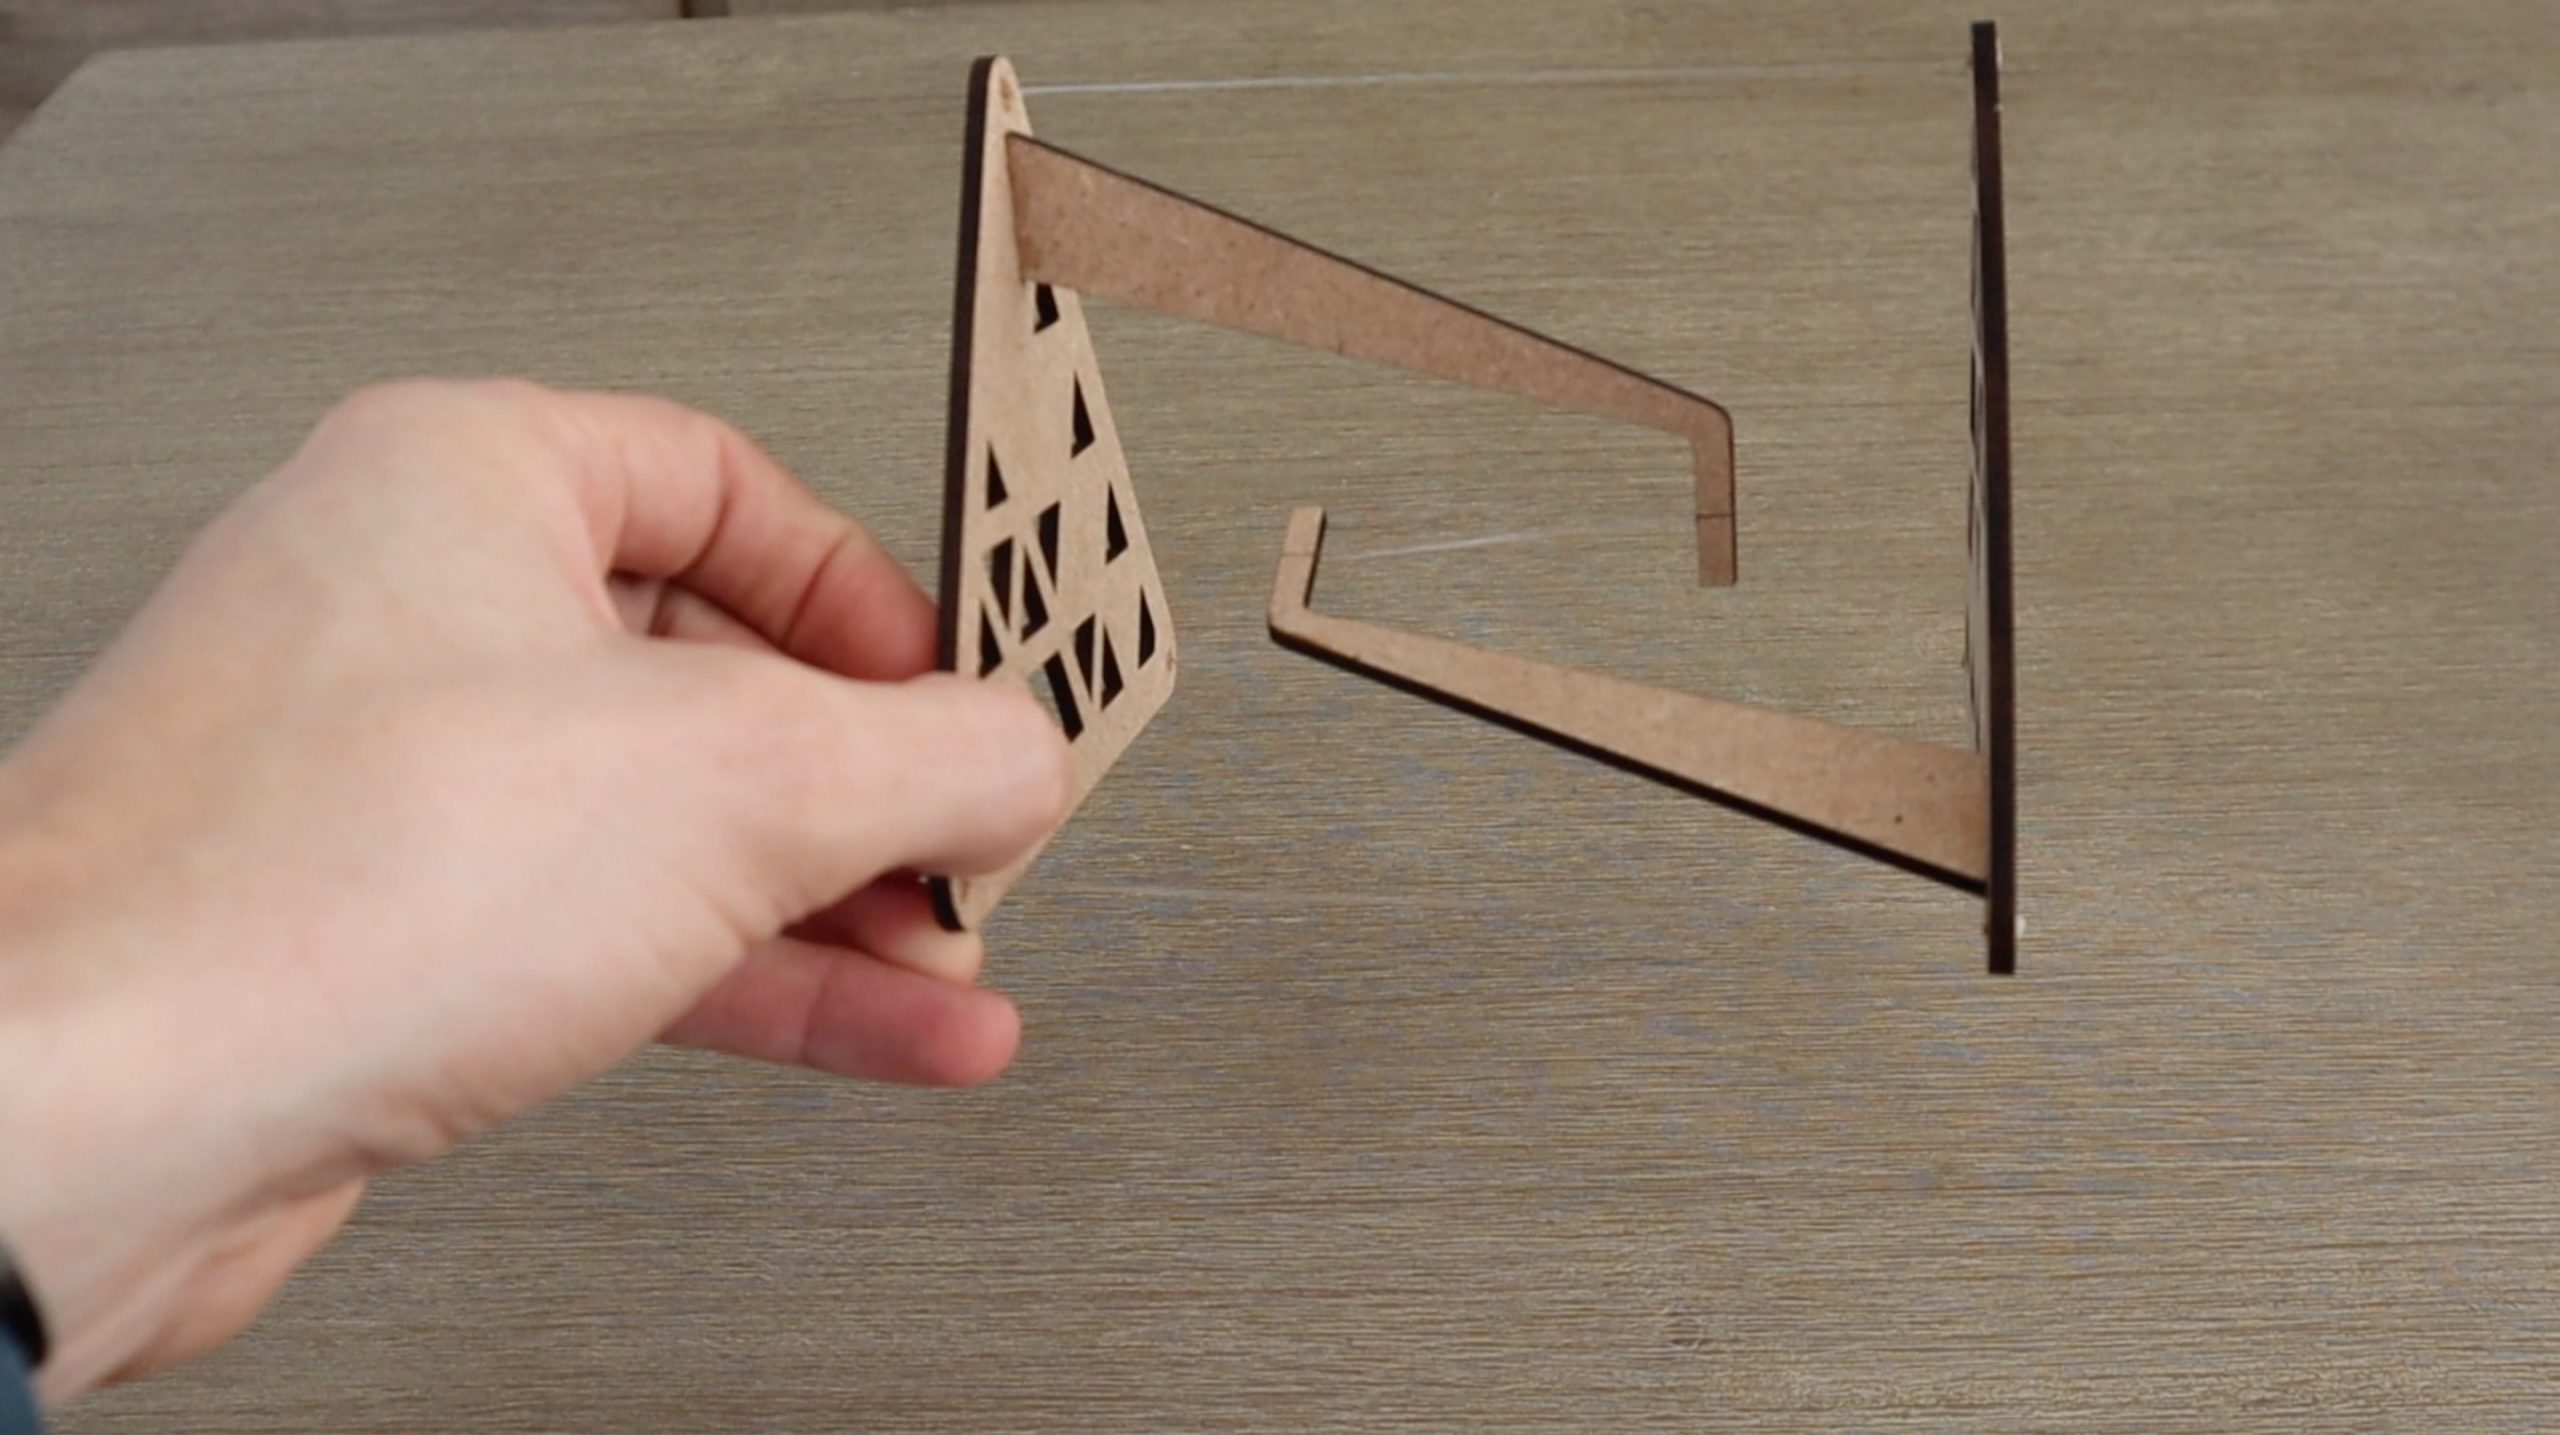
The magnetic one will also hold itself up sideways but it collapses if you put too much weight on it. You can just pull the magnets back up towards each other to reset the table.
Enjoy making your own tensegrity tables! Let me know how it goes for you and what your designs look like in the comments section below.
Community Builds
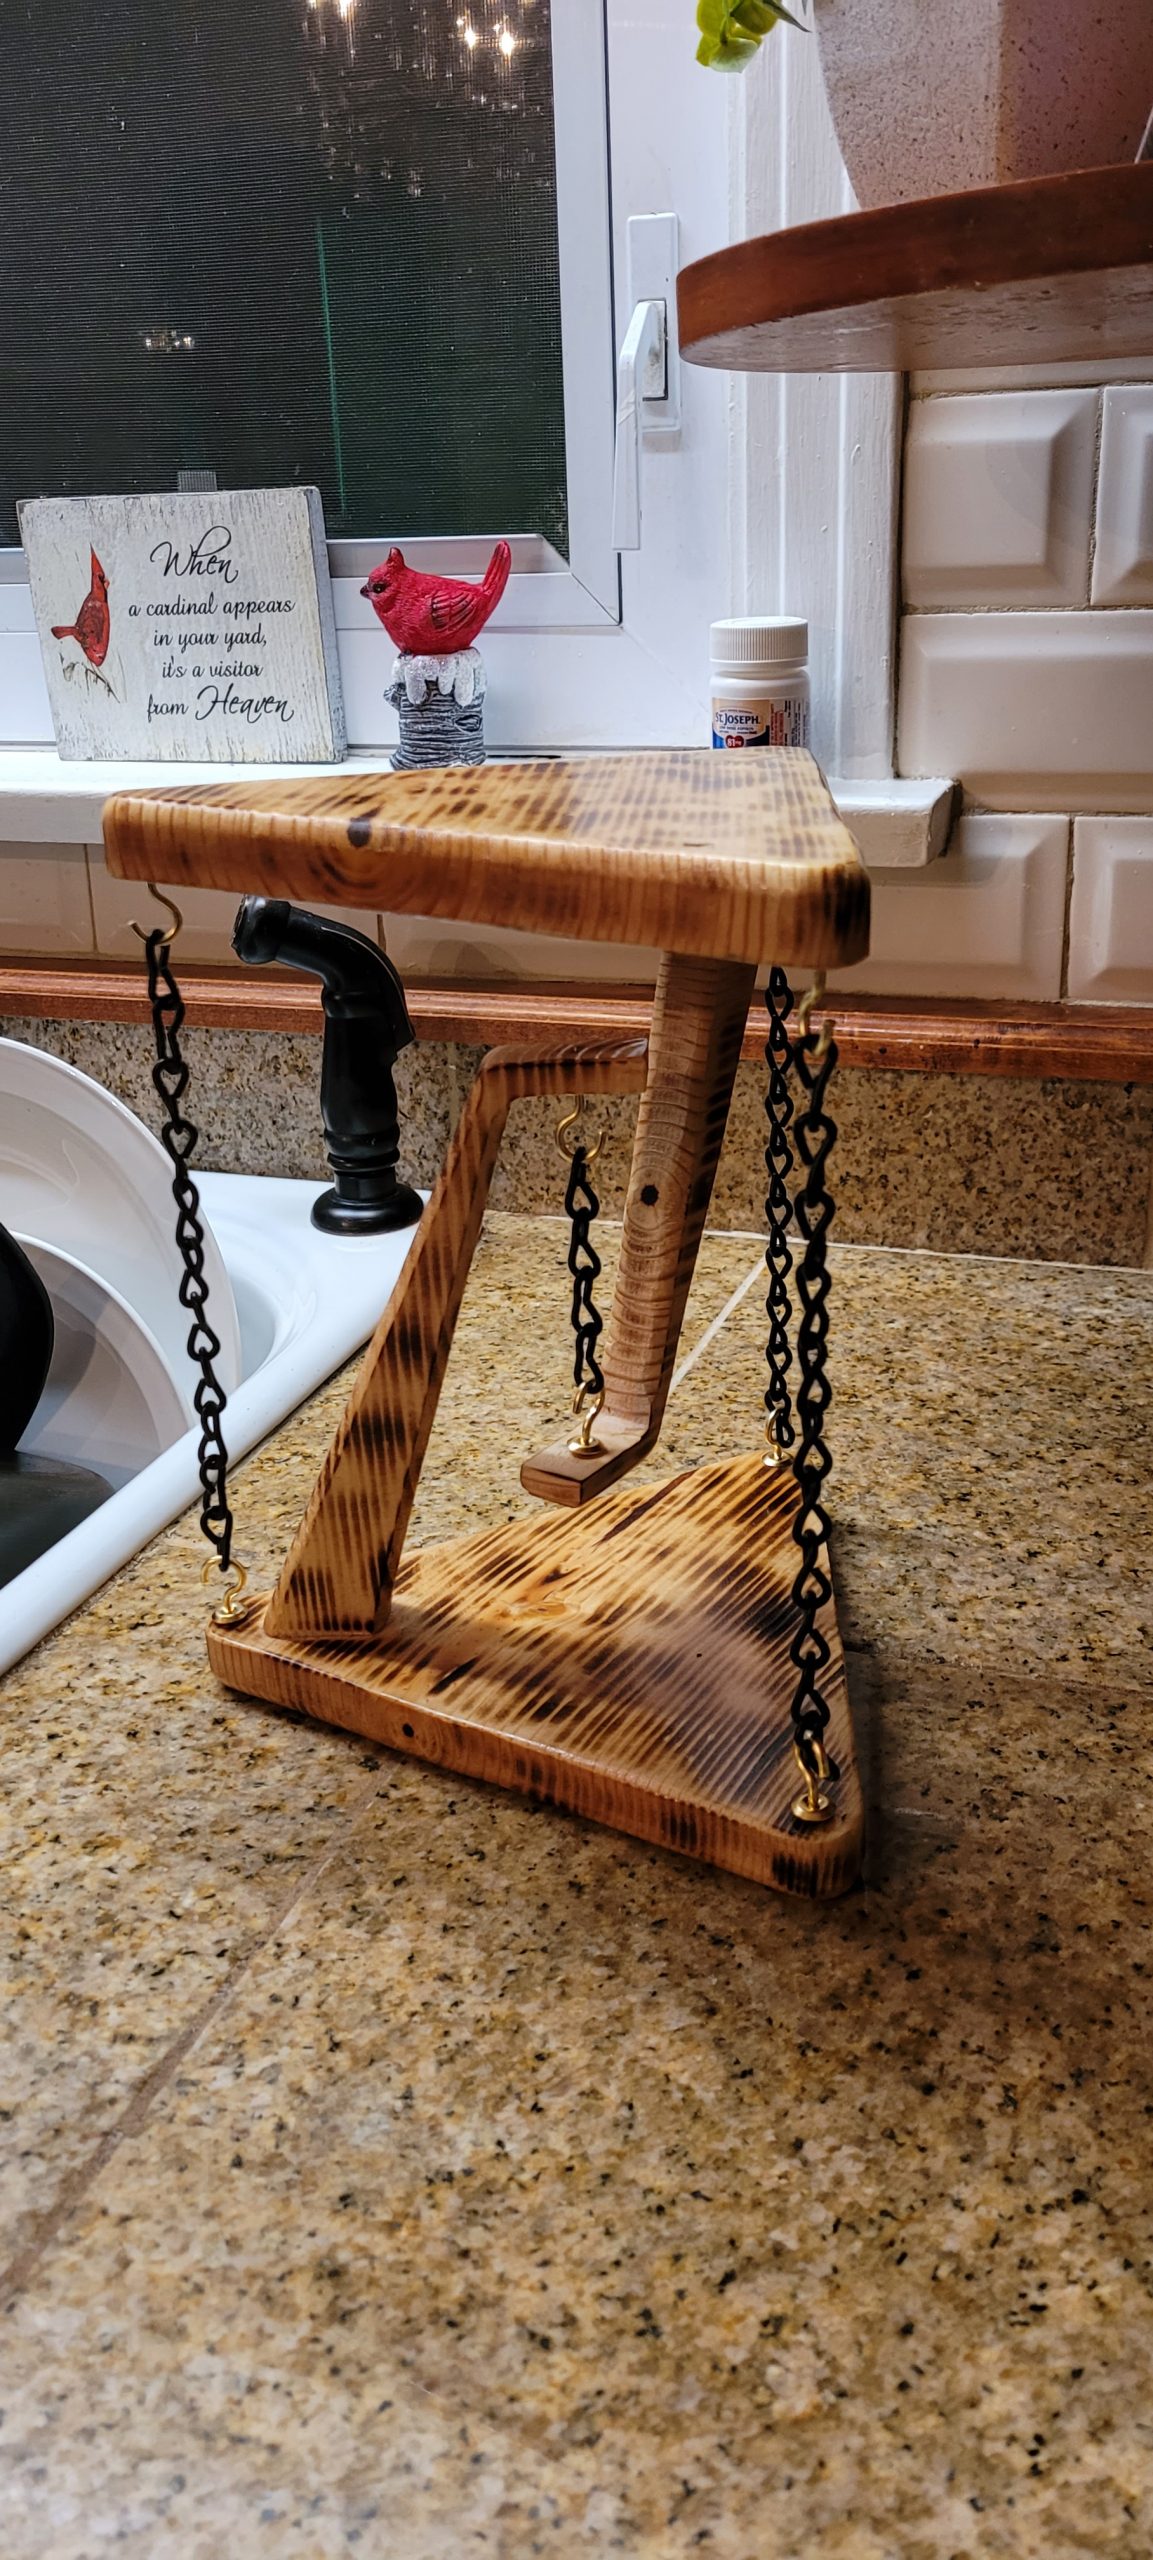
Michael Marletto built a larger version of the table from wood and suspended the surfaces using chains. It really came out well and can probably take quite a lot more load than the smaller MDF ones:
Share This Guide
Michael,
Very well done. I would like to make these bigger and thicker. Would they still work?
Thank you so much.
Yes I’m sure they would. There is nothing particularly scientific about the size. As long as the general geometry is kept the same they should work at any size. Let me know how this goes!
https://photos.app.goo.gl/ur13qQH93vBLvbS46
Michael, came out quite nice. Thank you
Oh awesome, I’ll get this posted to the end of the article for others to have a look at.
I did build it bigger. Tried to send a picture but could not. It come out really nice
That’s great, happy to hear you managed to build a bigger one! It’s come out looking great!
Thank you for sharing, was a very nice project to do with my new k40 ?
That’s great!
Is it stable under horizontal thrust and displacement out of the original geometry?
It has some rigidity in the horizontal direction, but obviously cant take a lot of load as there is very little support in that direction.
To make things easyer to assemble, you could include, in the plans, 3 extra pieces to secure the bases in place, to help you to put the fishing lines and knot/glue them in place with the exact lenght and desired tension – and after the lines are in place, you simply take these 3 pieces out.
Thanks for the suggestion, that would definitely make assembly easier.