
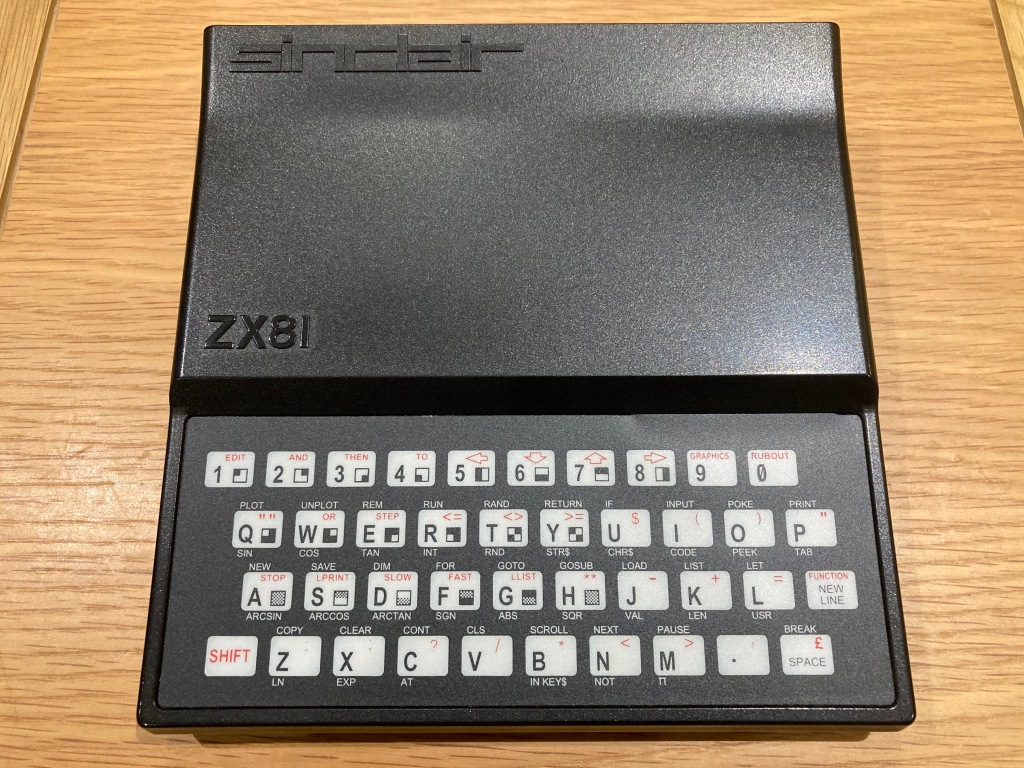
I recently got my hands on my first Sinclair ZX81, yet another 1980s 8-bit computer to add to my collection. The machine was in very good physical condition and came with several accessories as well as its original box, however it was sold as “untested”.
The Sinclair ZX81 was one of the early machines produced by Sinclair, and was the replacement for the ZX80 in 1981 – technically they were almost identical, but whereas the ZX80 used discrete components the ZX81 used a Ferranti ULA (Uncommitted Logic Array), reducing the chip count from 21 to 4 and substantially reducing materials costs.


The ZX81 seemed to be all original, and featured a 1981 ISSUE 1 mainboard with 1 KB of factory-installed RAM – the CPU and ROM were socketed.
It came with an original assembly manual (the ZX81 was available to buy in kit form, which was cheaper than buying assembled), my favourite quote from which is “…the majority of faults on kits are due to bad soldering…if you find a bad joint or short, shame on you”.


The ZX81 is notoriously difficult to tune into a TV over RF, and even then I don’t own a TV with an RF input, so I’d have to modify the machine before I’d be able to test it.
There are several steps which I like to take when performing a complete restoration on a ZX81, which include fixing factory or age-related problems, and future-proofing.
As such, I planned out the servicing, preventative maintenance, and upgrades that I wanted to perform, as follows:
#1: Modify the RF video output to display composite video instead.
#2: Replace the original voltage regulator with a modern switch-mode equivalent.
#3: Replace the original connectors with new parts.
#4: Replace all the electrolytic capacitors on the mainboard.
#5: Refurbish the case, including fitting a new keyboard membrane.
#6: Refurbish the power supply.
#1: Composite video modification:
The Sinclair ZX81’s only video output is modulated RF via an RCA jack, as it was designed to be compatible with old-school televisions as opposed to expensive monitors – however, this limits its compatibility with modern displays and reduces the quality of the video signal, due to the degradation caused by modulation and subsequent demodulation.
This is very similar to the later Sinclair ZX Spectrum 16/48k – in the Spectrum, it is possible to modify the RF modulator to output a composite video signal instead of modulated RF, which offers a much better image quality and is compatible with most modern displays.
Theoretically, then, this should also be possible in the ZX81. Apparently, a direct modification (i.e. capacitor-only) on the ZX81 can lead to a dark picture, so it is recommended to install some form of amplification circuit instead.
I therefore decided to install a composite video amplifier board from TFW8b, which involved removing the lid from the RF modulator, disconnecting the 5V power supply to the modulator PCB and redirecting it to the adaptor, disconnecting the video input to the modulator PCB and redirecting it to the adaptor, disconnecting the RCA jack inner pin from the modulator PCB and redirecting it to the adaptor, and connecting the ground (0V) connection to the adaptor (i.e. from the modulator can).
You can see my installation below. I’ve done it in a reversible manner, and it is impossible to tell from the outside that a modification has been performed – I also installed insulating tape on the inside of the lid of the modulator to prevent the adaptor from shorting on it.

I then tested the system – unfortunately, although the ZX81 was outputting a composite video signal, it looked extremely dark on my display.

It turned out that the earlier variants of the ZX81 ULA (2C158E/2C184E), which directly drives the composite video output, do not correctly generate a “back porch” signal – this provides a reference for the contrast levels, so without it the picture displayed is very dark. The later 2C210E ULA fixes this hardware bug, but original ICs are now very rare.
My ULA part number was not marked, but coupled with its early date code (19th week of 1981) this meant that it was likely a 2C158E, one of the “buggy” ULAs.
I therefore had two potential options: replace the ULA with a modern CPLD-based equivalent which correctly generates the back porch signal, or replace the amplifier board with an equivalent that generates the back porch signal itself.
Both options were about as expensive (around £30.00 at the time). Replacing the ULA would require desoldering and socketing the original which may cause damage, and would be obviously non-standard; replacing the adaptor board would require removing, gutting, and reinstalling the RF modulator, but would not be visible from the outside.
Based on these factors, I decided to install the alternative adaptor board. According to the user manual, this required desoldering the RF modulator using my desoldering station, a Duratool D00672 (a difficult task as the large mass of metal disperses the heat), removing the original modulator PCB and can divider, installing the new adaptor board and all its connections, then reinstalling the RF modulator.


I re-tested the system, and it now seemed to be outputting a bright, stable, and crisp composite video signal which displayed well on my TV.

#2: Replace the voltage regulator:
From the factory, the ZX81 uses a 7805 linear regulator (attached to the large heatsink at the bottom of the board) to regulate the 9Vdc input voltage to 5Vdc. Linear regulators are inefficient, unreliable, and produce a lot of heat, particularly under load – this heat builds up inside the case, increasing the interior temperature and subsequently reducing the lifetime of the electronics.
Modern, switch-mode, drop-in replacements for the 7805 are available, such as the Traco Power TSR-2450 – I removed the original heatsink (held in place by a bolt) and desoldered the original regulator, then installed one of these in its place.
#3: Refurbish the I/O (ports, edge connectors, etc):
I/O ports and edge connectors on computers see a lot of use which can mean that they get loose and unreliable, and they can corrode during use or in storage.
As such, I always install a new power input jack and new “ear” and “mic” connectors, all of which are 3.5mm mono jacks on the ZX81, which can be bought new from Retroleum. I also carefully clean both sides of the edge connector with a white eraser, and clean all of the IC sockets with contact cleaner.
Using the same type of jack for the power input and other interfaces was a design flaw on the ZX81 and was subsequently rectified on the ZX Spectrum, which uses a more typical DC jack instead of the 3.5mm jack. Using the same type of jack reduced the number of different types of components involved in the build, but meant that the PSU could be plugged into the wrong port and cause serious damage to the computer.
#4: Replace all the electrolytic capacitors on the mainboard:
Electronic components generally don’t “age” as such, except for electrolytic capacitors, which are commonly used for filtering, smoothing, and decoupling in both high- and low-voltage electronics.
These capacitors typically comprise aluminium windings insulated by a liquid electrolyte, which can dry out over time and negatively affect performance (even failing dead short), or leak out and cause corrosion to the PCB and surrounding components – as such, they should be replaced as a part of preventative maintenance.
As such, I always replace all the original electrolytic capacitors with high-quality modern equivalents – this didn’t take long on the ZX81, as there are only a few of them.
I used a commercially available capacitor pack from Retroleum.


#5: Case restoration (including keyboard membrane):
The keyboard in the ZX81 uses a membrane, comprising several plastic layers with printed conductive tracks, which make a contact when a key is pressed.
These membranes were cheaply produced and become brittle with advanced age, meaning that most of them end up failing with use or breaking on removal.

Luckily, modern-made keyboard membranes are currently available for the ZX81, therefore I usually fit one during my ZX81 restorations.
On the ZX81, the keyboard overlay is a part of the keyboard membrane itself, so does not need to be removed separately like on the ZX Spectrum.
The keyboard membrane is simply adhered to the upper case, so can be carefully peeled off and removed; then, the surface should be thoroughly cleaned using IPA to remove all traces of the original adhesive; then, the replacement can be installed.

Once the membrane was installed I tested it, and all keys registered correctly.

The case itself just needed a good clean, and a new set of four rubber feet.
#6: Restore the power supply:


Functionally, the original PSU was working fine – I always install a modern mains plug (3A fused) on any PSUs that I use, and check the output voltage(s). Aside from that, the PSU casing and cabling just needed a good clean.
I’d usually recommend using a modern PSU with any vintage computer, as the originals can be prone to failure – however, the ZX81 takes an unregulated 9 Vdc input which is regulated internally, meaning a PSU failure would be unlikely to damage the computer, so an original PSU (with a modern plug) should be safe to use.
It is normal for these unregulated 9 Vdc PSUs to output a voltage greater than specified (typically around 15 Vdc unloaded), even under load, as this will be roughly linear to the AC input voltage – according to its datasheet, the 7805 voltage regulator can output 5 Vdc at up to 1.5A and handle an input voltage of up to 25 Vdc.
Testing and Conclusion
The computer still seemed to boot OK following all of my modifications. However, just because a computer boots, that doesn’t mean it’s working properly. Thorough testing is necessary to verify correct operation, so I did as much testing as I could.
- All keys register correctly.
- Composite video output works OK.
- Reads and writes correctly from/to an external tape recorder.
- External 16K RAM expansion works OK.


Another restoration complete – happy days!


Hi there
I have noticed on the internet that some zx81 computers are worth more the others.
Can you tell me why this is please.
Kind regards
LikeLiked by 1 person
Hi Jim,
This is quite often the case with vintage computers, and it usually has to do with rarity and/or condition.
Tested computers in good condition will obviously sell for more than untested or non-working computers in a shabbier condition.
As for rarity, some early models are usually rarer, therefore more collectible, therefore more valuable.
For the ZX81, very early mainboards had a bodge board fitted to the ROM, whereas some later mainboards have the rarer “fixed” version of the ULA.
Many thanks,
Adam
LikeLike
Hi Adam,
Thank you for your quick response.
I was just Looking on the internet and found that many people are saying
That the early zx81 computers did not have a serial number.
Which I have found out to be untrue considering I have just listed a zx81
To which I am the sole owner too on eBay with a low starting price.
The zx81 is an issue 1A brought in 1982 if your interested I can
Send you the item number in the next email.
You will probably seen that my one is the only one on eBay.co.uk
With a green reference number
I have also updated the listing with extra information on other numbers
On the bottom of the listing
Would like to hear your thoughts
Kind regards Jim
LikeLiked by 1 person